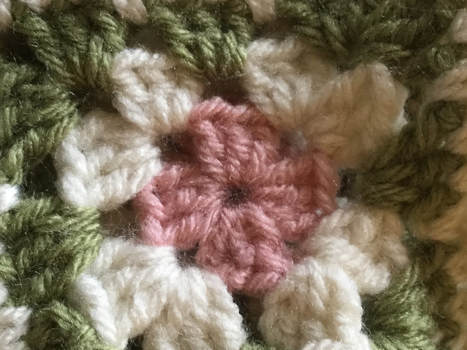
 According to Wikipedia, a crocheted granny square is produced in rounds from the center out to produce a lace-like square of fabric. It typically starts with a center ring from which you crochet 4 sets of 3 double crochets. Each succeeding round adds shells and larger rings to the piece. There are many variations, creation of granny squares is an art in and of itself. In my pre-blogging days, I associated the granny square with afghans composed of hundreds of these delightful colorful pieces. I really admire the artistry and persistence of the crocheters who who design and complete these intricate blankets. After actually designing and constructing a baby blanket I realized that I did not have the even hand or attention span to create another. One solution was to crochet extended squares. While I would still have to cut and weave in many ends from each ring, this task was nothing compared to the process of combining many squares to complete one blanket. I still find the artistry of the Granny square intriguing. I am in the process of researching and trying to replicate some of the more interesting designs and color combinations. I decided to use the granny square to create smaller pieces or to make it an accent in a larger project. Frequently Granny squares are thought of as "country", "square," or "old fashioned." I wanted to take the best of the art to create pieces that were fun to wear or use and fashionable. As I scrolled through Pinterest's visual data base I found many options. My criteria would remain as always:
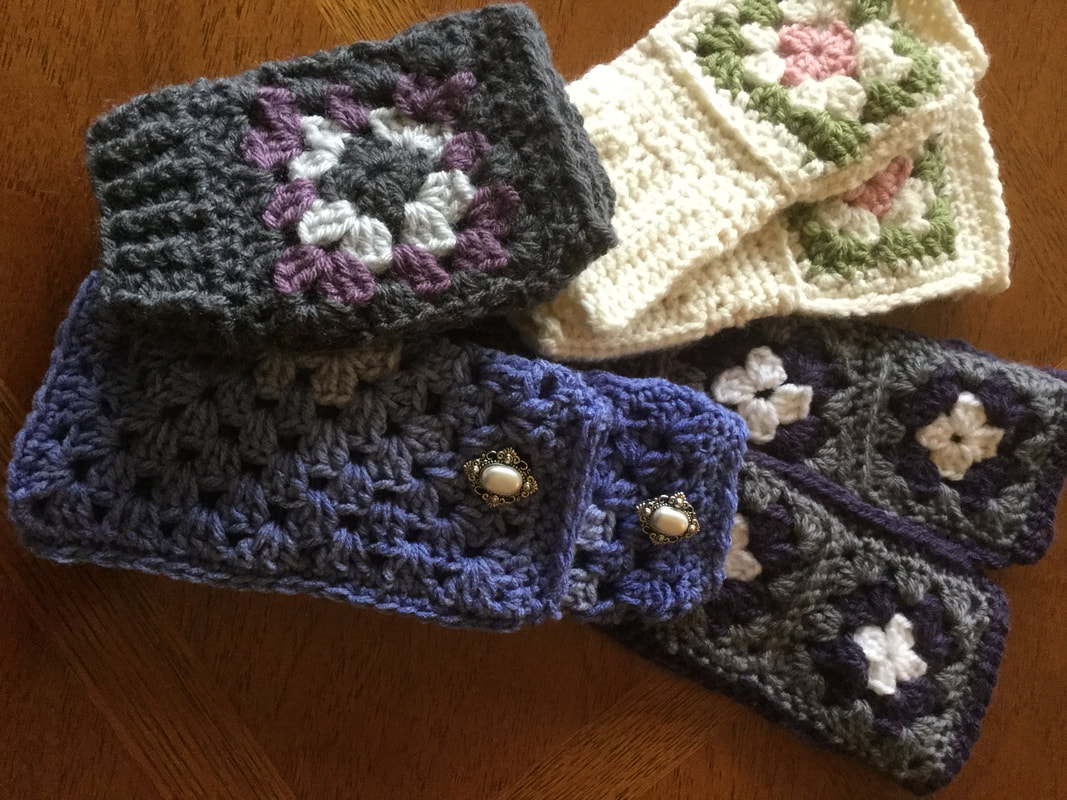
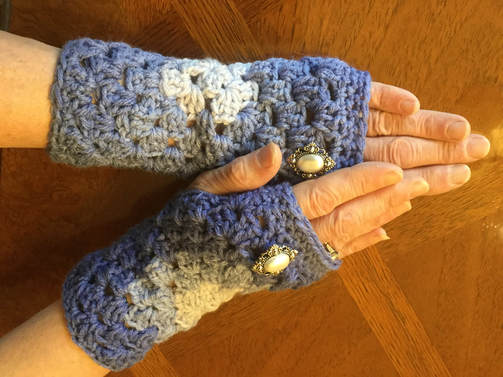
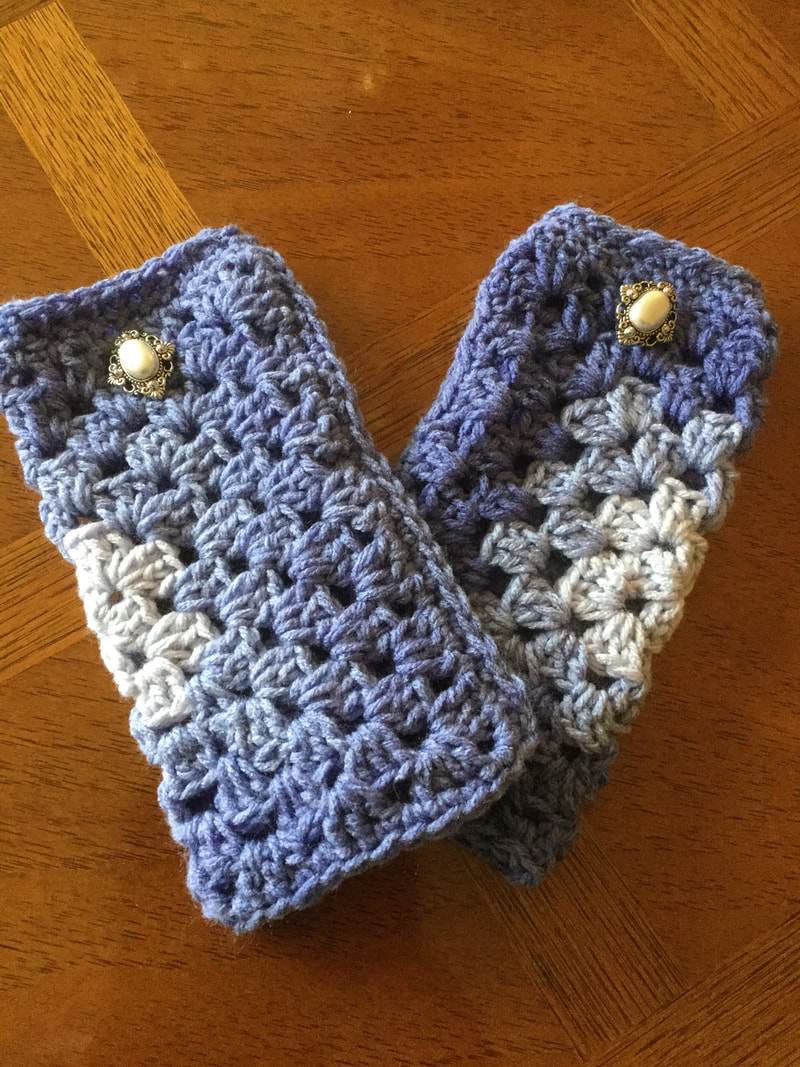
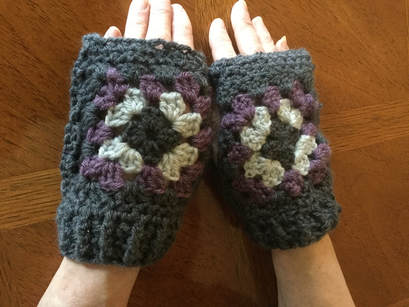
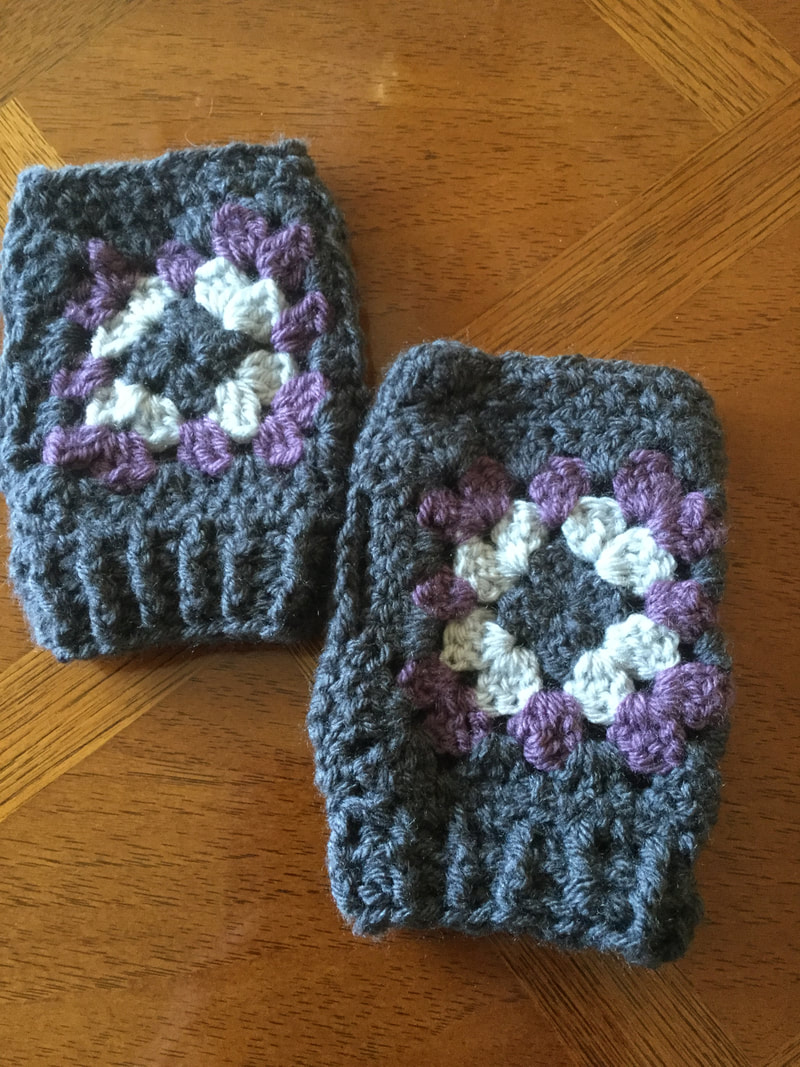
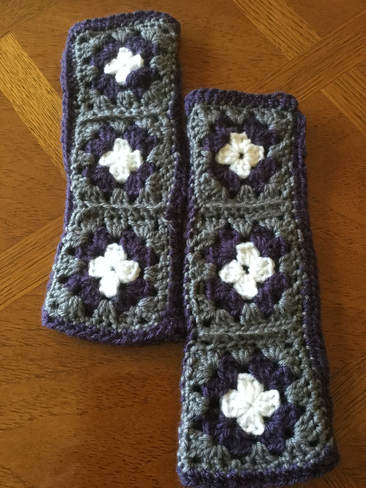
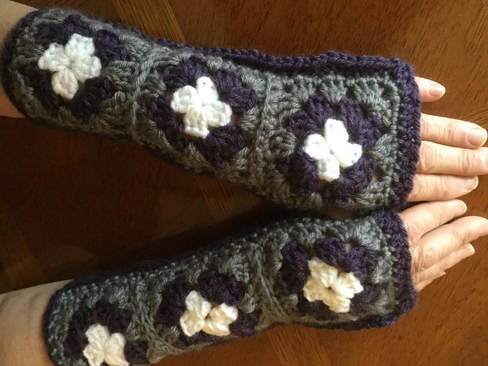
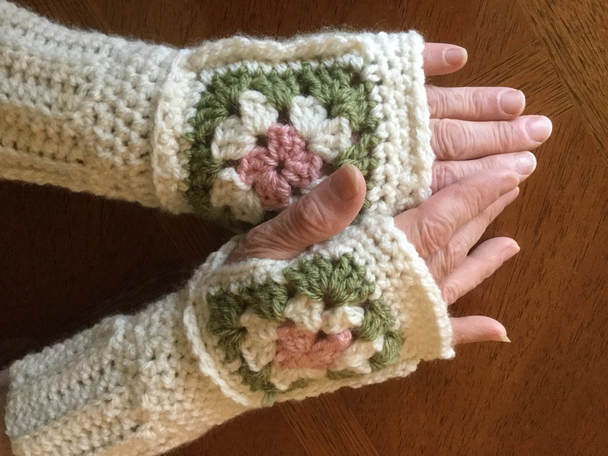
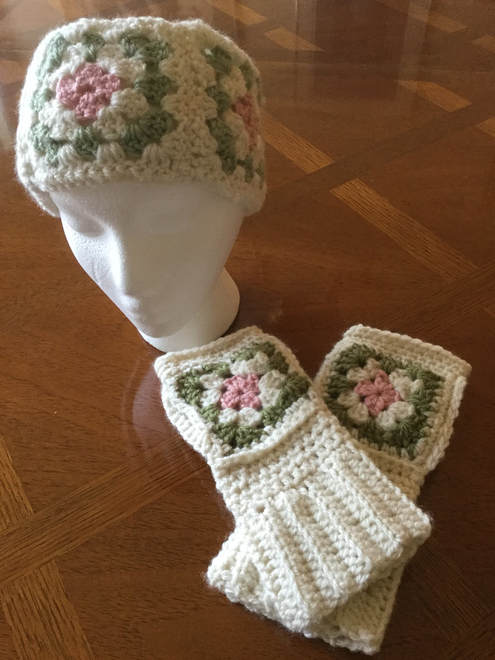
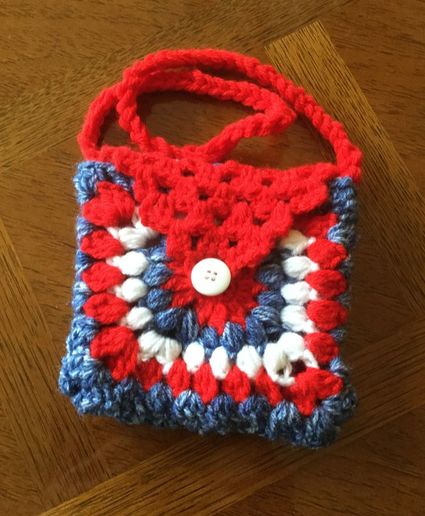
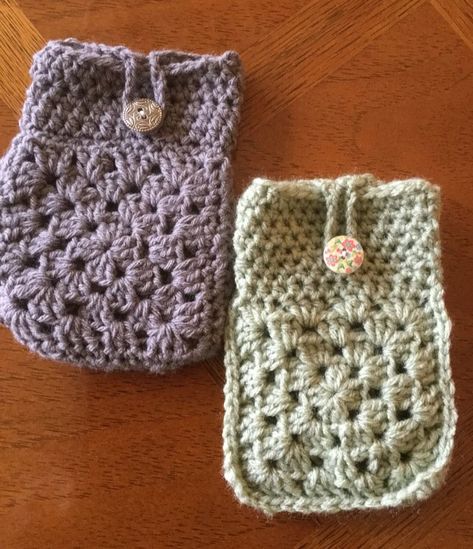
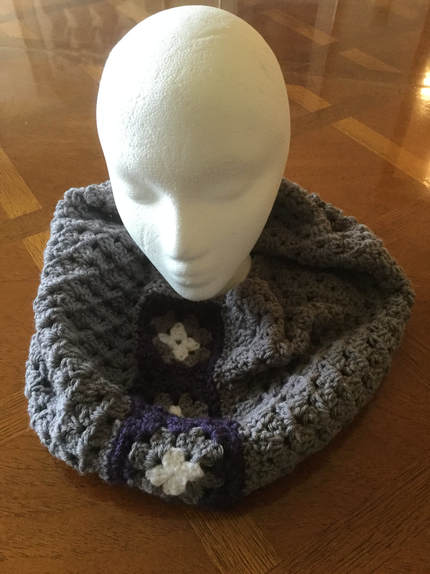
From my search I discovered a variety of purses, bikini tops, shorts, slippers, gloves.vests, tunics, hats, coats.sweaters, hoodies, scoodies, retro shrugs, pockets, mug cozies, haltertops, headbands, ponchos,and cardigans. The bikini, halter tops, and shorts were definitely out. Large projects like the coats, cardigans, and shrugs involved too many Granny squares. Since I enjoy and sell quite a few gloves, hats, purses, headbands they seemed like a good place to start. My first square was to use 2 single squares to make a pair of gloves. Directions can be found in "Last-Minute Granny Square Gifts: 6 Charming Porjects Made from 1 or 2 Granny Squares" from sarakayhartmann.wordpress.com. The pattern calls for 8 rounds, but I prefer a slimmer glove with 7 rounds. The square is folded in half and seamed, leaving a space for the thumb. At the bottom of the glove, single or half double crochet for several rounds to make a cuff. I made my glove from Red Heart Super Saver in Denim Ombre. With the color variation, I did not have to cut, join, and weave in ends. A shorter pair can be found at "Granny Square Crochet Wrist Warmers" from sewhappycreativeuk.wordpress.com. My piece resembles the gloves in the pattern picture. However, I decided that I did not want to go to the trouble of making 4 squares with different colored rounds. I crocheted two multicolored squares for the packs of the hands and 2 solid squares for the palms. Construction became confusing when I wanted to have the seam on the inside. I kept on getting the thumbs for both gloves on the same side. When I left the seam on the outside I did not have this problem. Next time I will crochet the 4 multicolored pieces so that I do not have this problem. This project is great for using up all of those small pieces in your scrap pile. The arm warmers pictured below are based on the pattern in "Starburst Granny Square Arm Warmers" from whistleandivy.com. The design in my pair is the more traditional granny pattern. Actually the row of squares started out as an accent piece for a cowl I will show later on this article. However, I ran out of the rich purple Vanna's Choice and could not find any of the same color. Therefore I frogged the purple and repurposed the granny squares. The grey arm warmers make an interesting winter-fall accessory. These gloves are are on the narrow side, to my daughter's delight. If they do not go at my next fairs, I think that they will have a new home. The winter white with rose and green were crocheted on a whim. I started with the four matching granny squares and then worked on how to attach them and create a cuff. I chose an outside seam for interest. At each step along the way I fitted the pieces on my hand and made changes as necessary. The cuff was crocheted with alternating Front and Back Post Double Crochet. Once complete, I designed the headband Three squares made the front of the headband. Then I attached the off white to one side and crocheted with Half Double Crochet to make sufficient rows to encircle my head. Finally I joined this back piece to the connected squares to finish the headband. createI have been working on a variety of young girls purses that are popular with the preschool and elementary school crowd. The granny square provided the perfect vehicle for a new design. While my other purses had a solid body, contrasting flap, and a flower decoration, the decoration of these purses was the granny square. I tried out the flower motif that used cluster and puff stitches for the first few rounds before transitioning to the traditional squared off clusters to make clean cut edges. I like these flowers and will continue to experiment as I pieces for spring and summer fairs. The phone cover pouches made effective use of the solid granny square. I crocheted two squares with 4 rounds and then single crocheted around each piece. Next, I held both squares together and single crocheted through both layers to make an outside seam. When I reached the top of the second side I turned the work and began to single crochet around the opening. The number of rows depends on the size of your phone. A 20 stitch chain was attached to the center of one side to form a loop. A button was affixed to the other side so that the pouch could be closed. There are many images of scarves and cowls made entirely of granny squares. I found a way to include the design in a solid piece. I attached 3 squares to form a column Then starting on one long ledge, I crocheted the 3 dc clusters that made up the granny square in rows until the piece measured about 40 inches. I crocheted the last row to the other side of the column and blocked the cowl. I really like the way the column of granny squares breaks up the solid gray of the cowl. I enjoyed working with the granny square, but these projects are only the beginning. There are so many floral and animal motifs that make granny squares interesting and colorful. I made a hat for this article, but I want to try it on a real person before I show it to the world. I saw a very exciting scoodie (scarf and hood) that I would like to try alternative to a hat. Also, I want to design a sweater for my granddaughter. I would like to place a larger granny square on the back. I haven't figure out yet whether I would use granny pockets or other sections on the front or arms.
Please share your experiences, projects , and ideas for using Granny Squares. Do you have any hints or strategies for streamlining the process?
2 Comments
Lisa
12/2/2017 03:48:27 pm
These are fantastic!!
Reply
Christine Hall
12/17/2017 12:36:59 pm
Lillian I love the colors you used for the Head Warmer & mitts. Kind of Spring Time in Winter!! <3
Reply
Leave a Reply. |
Archives
November 2022
Categories
|


 RSS Feed