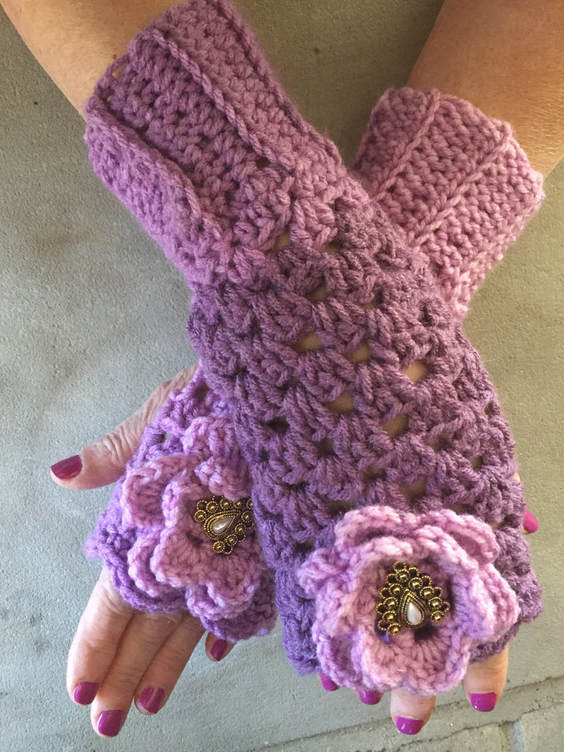
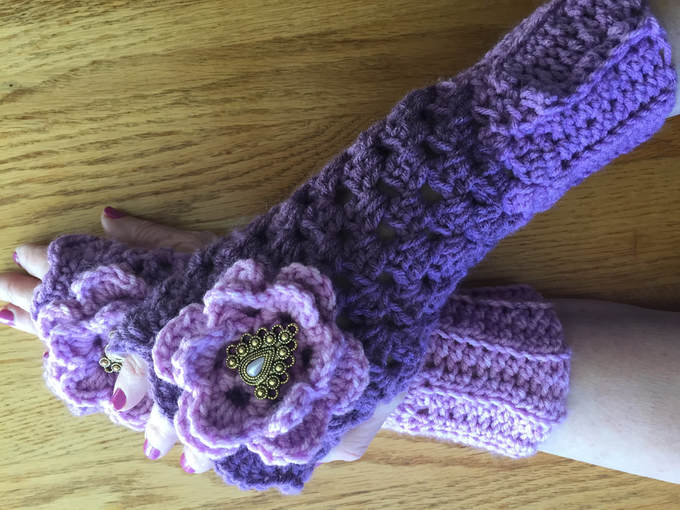
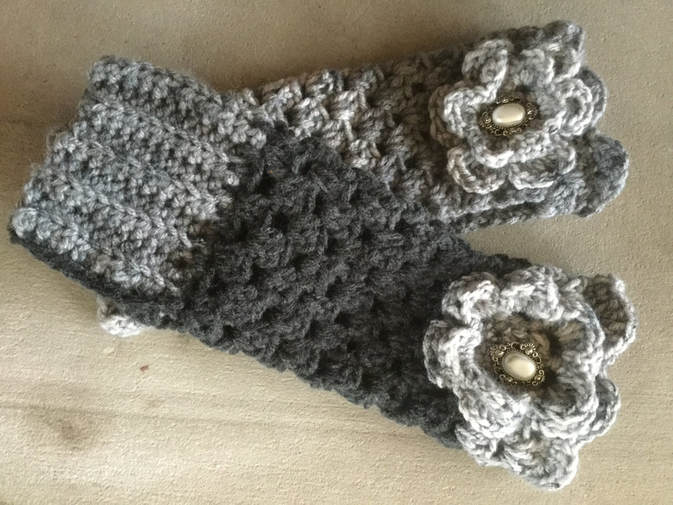
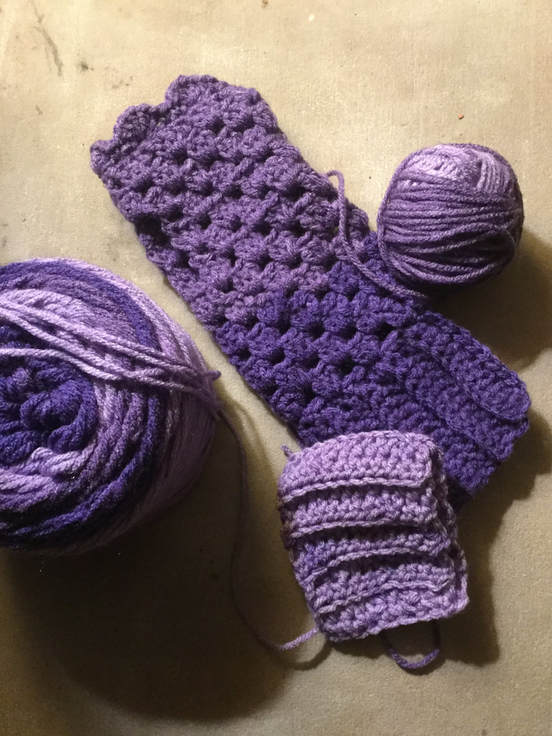
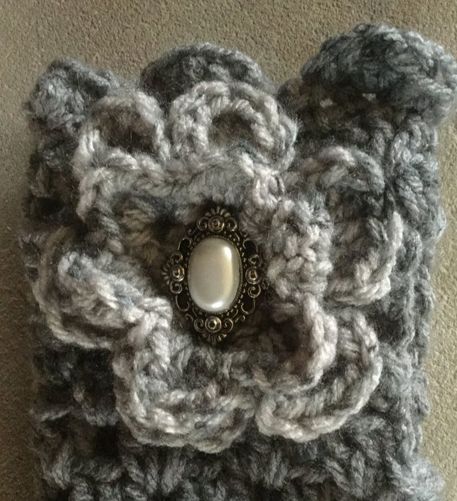
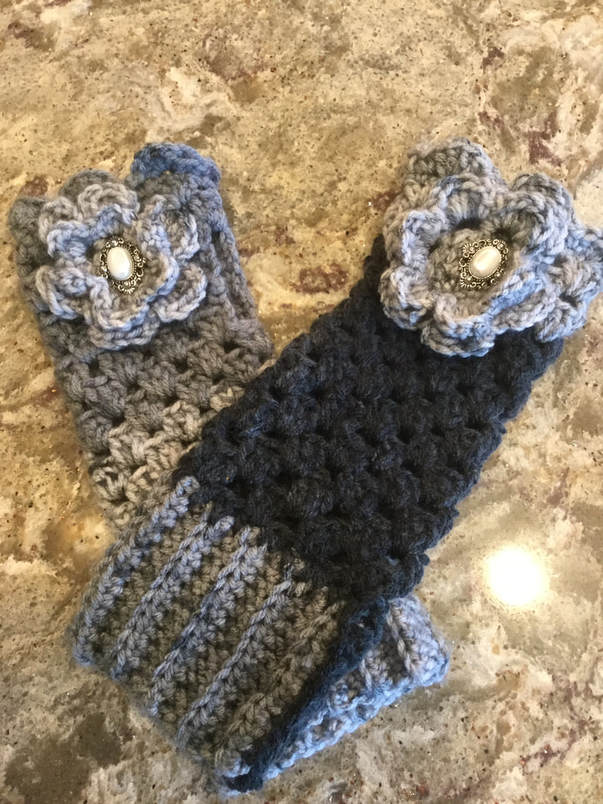
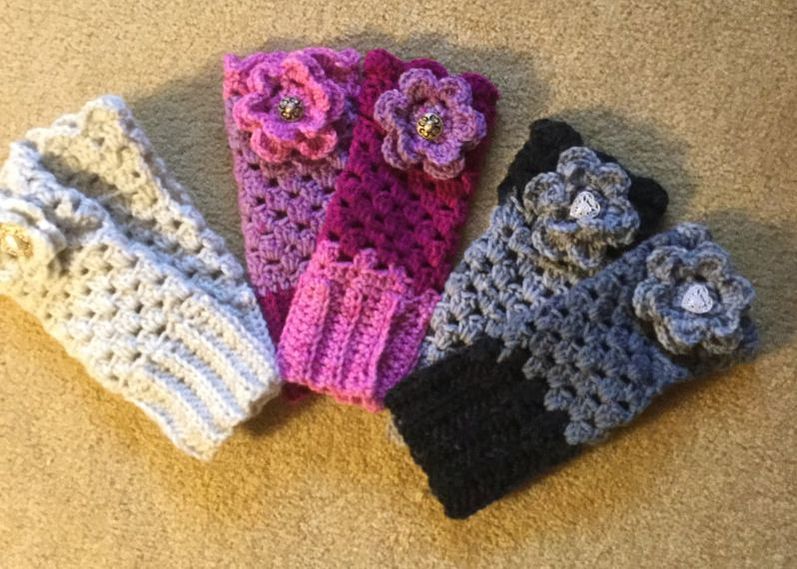
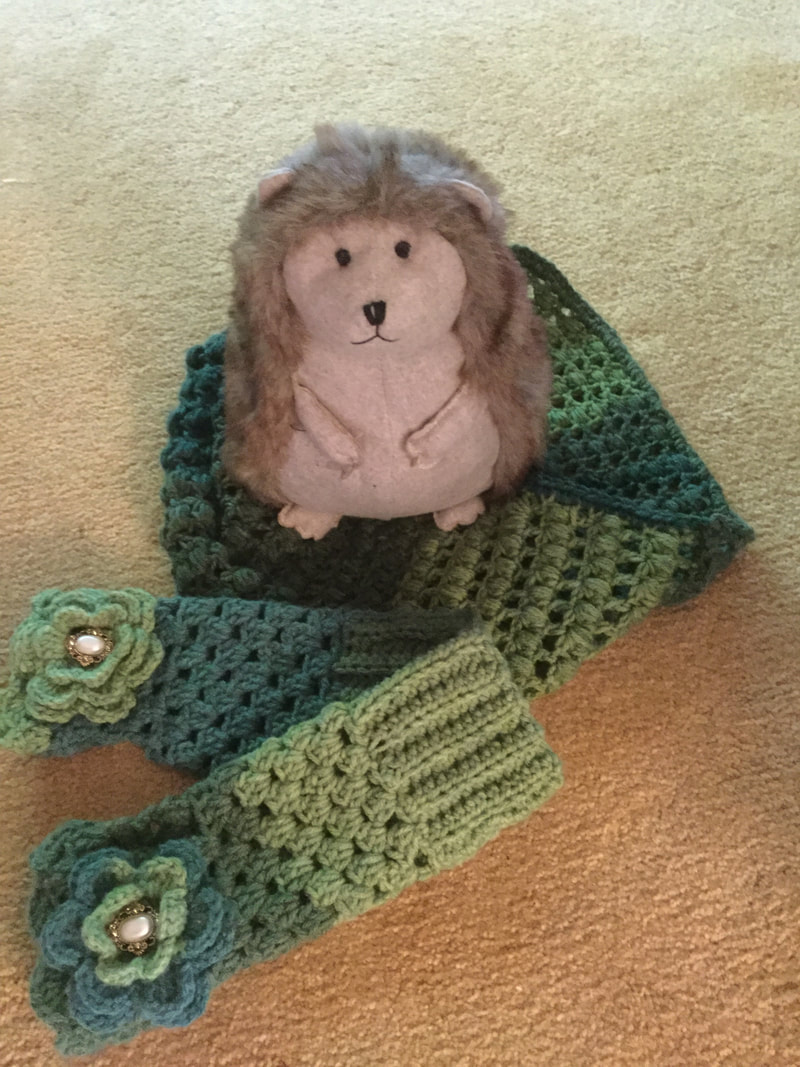
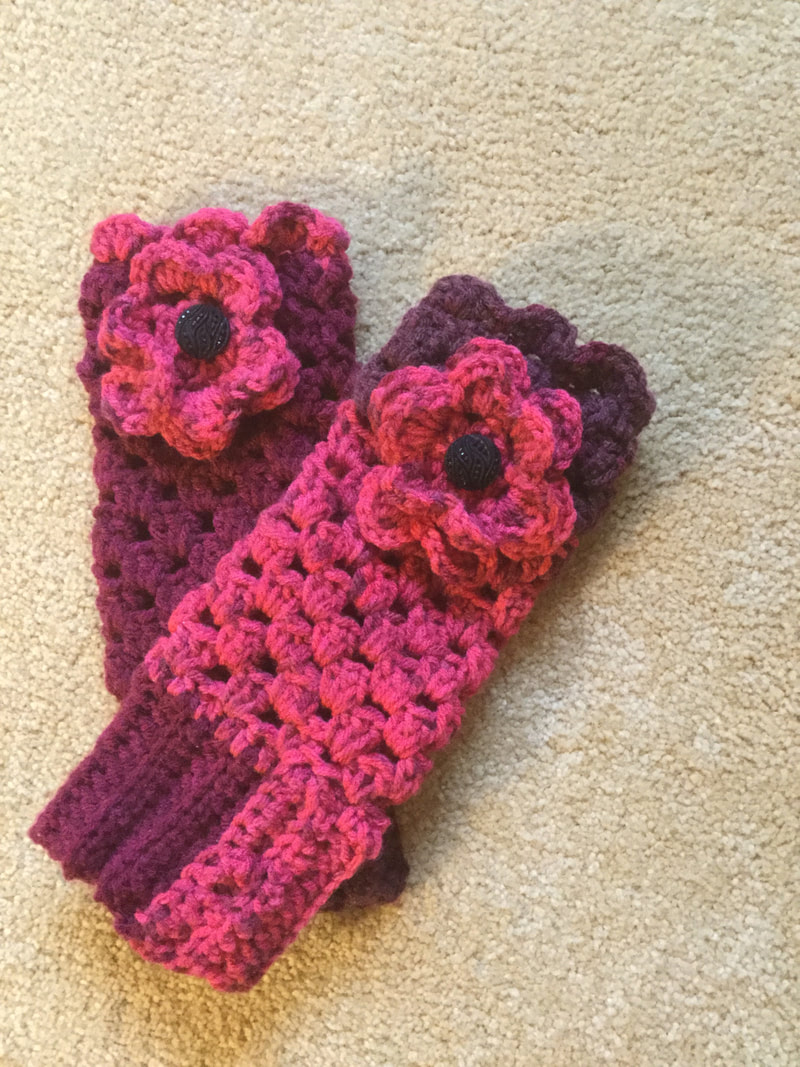
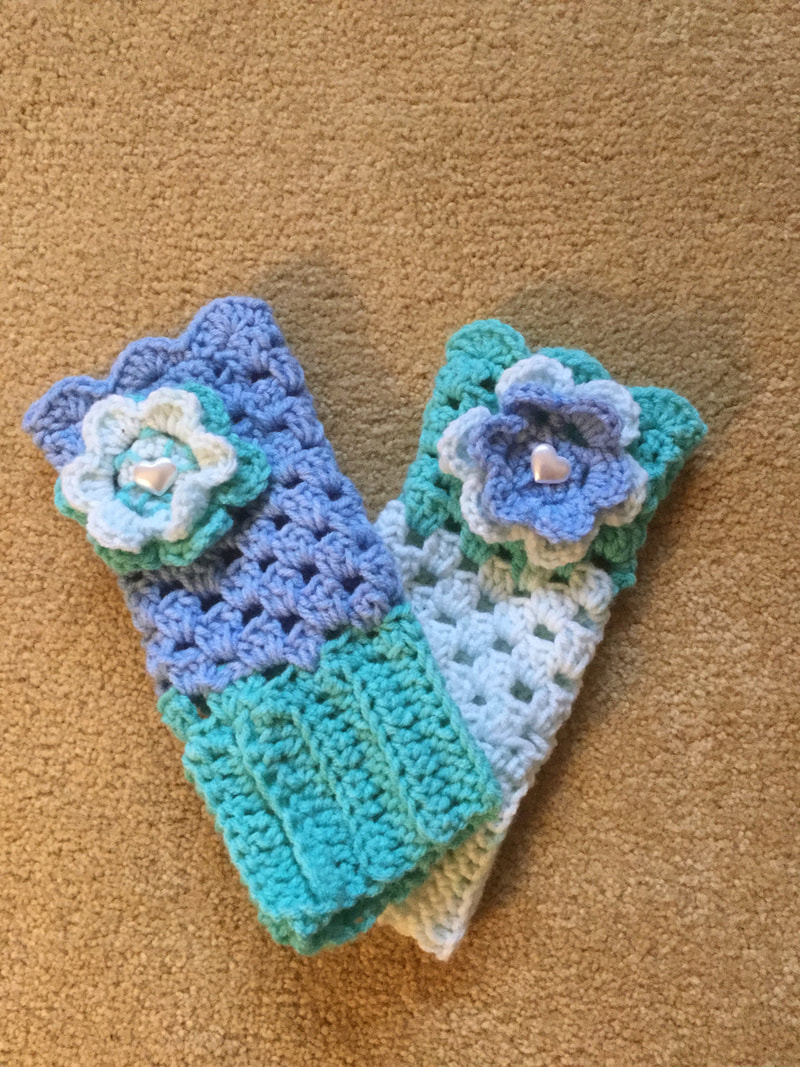
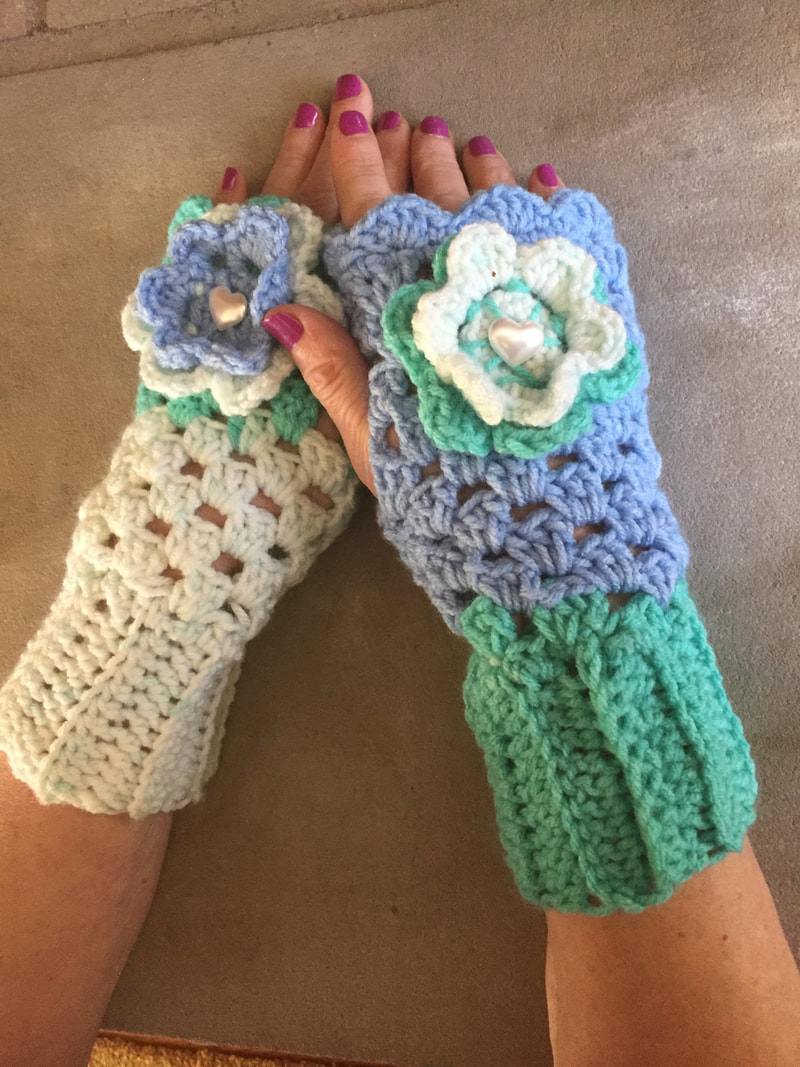
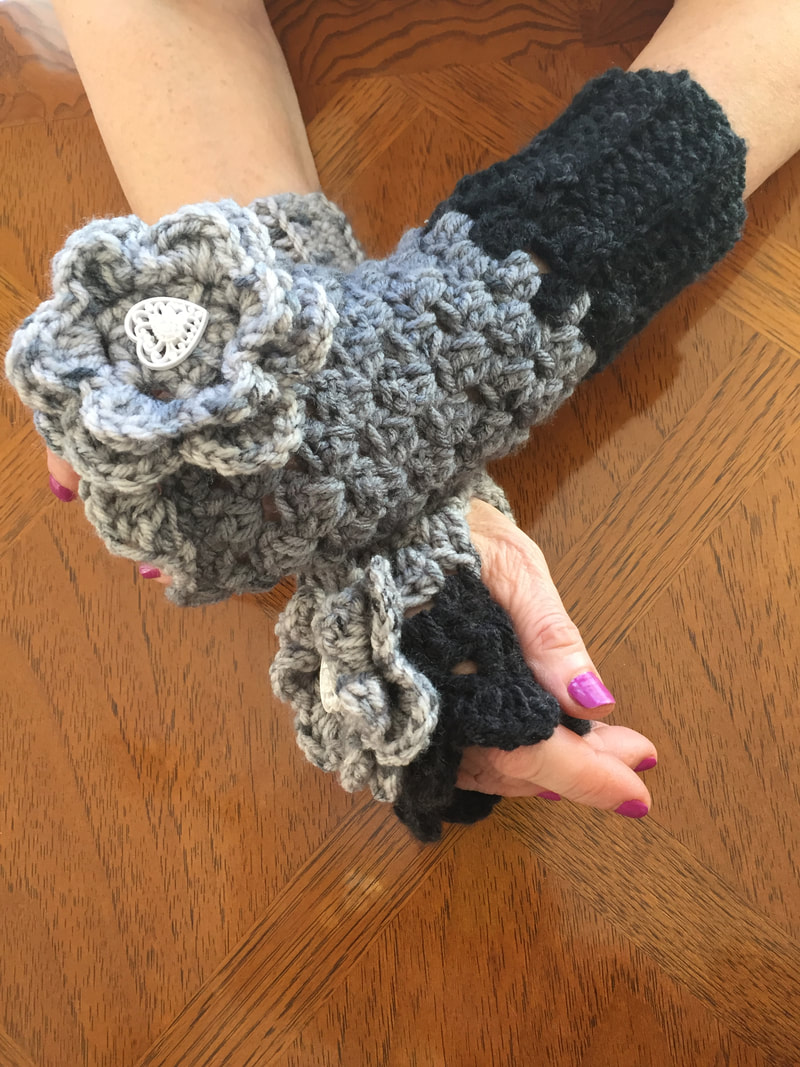
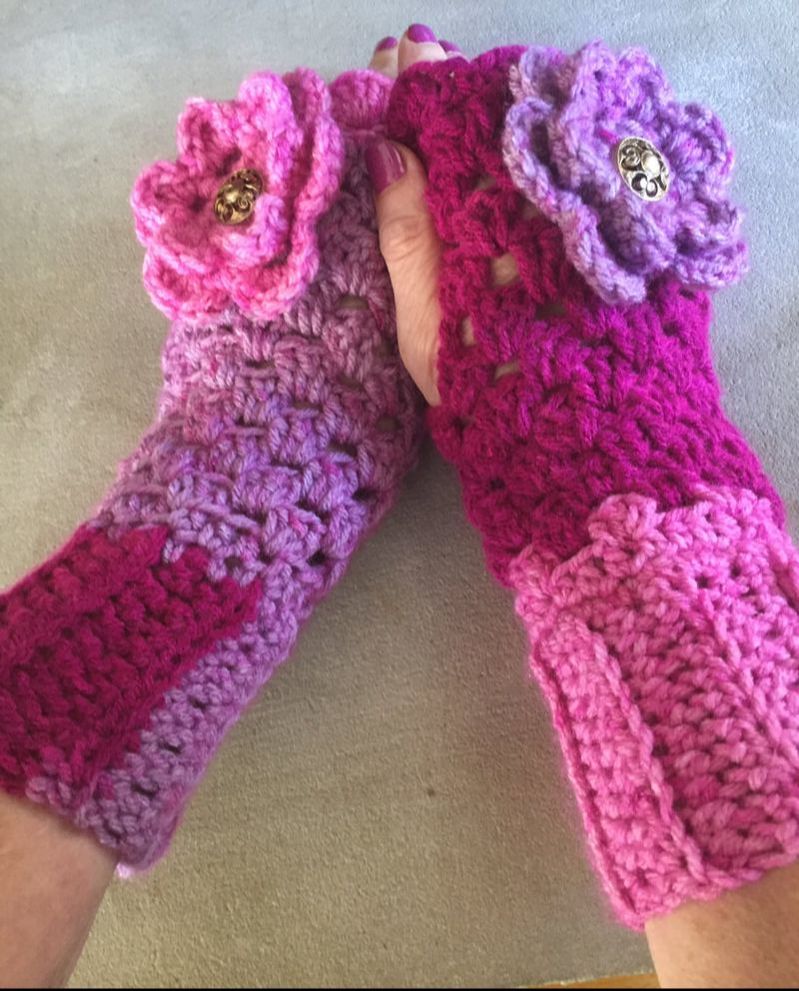
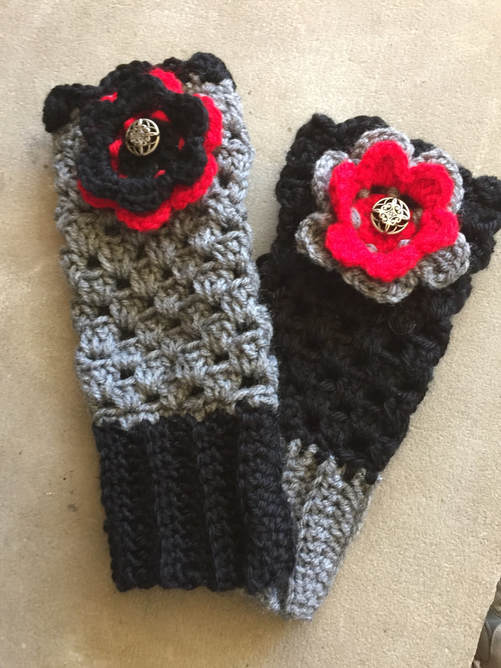
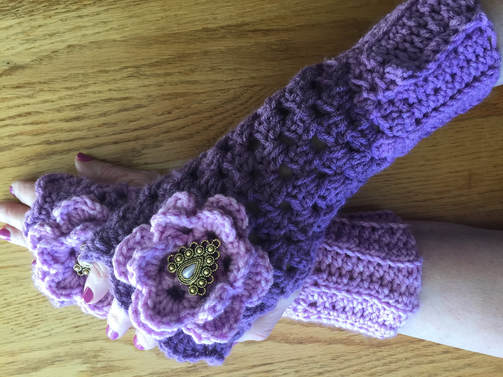
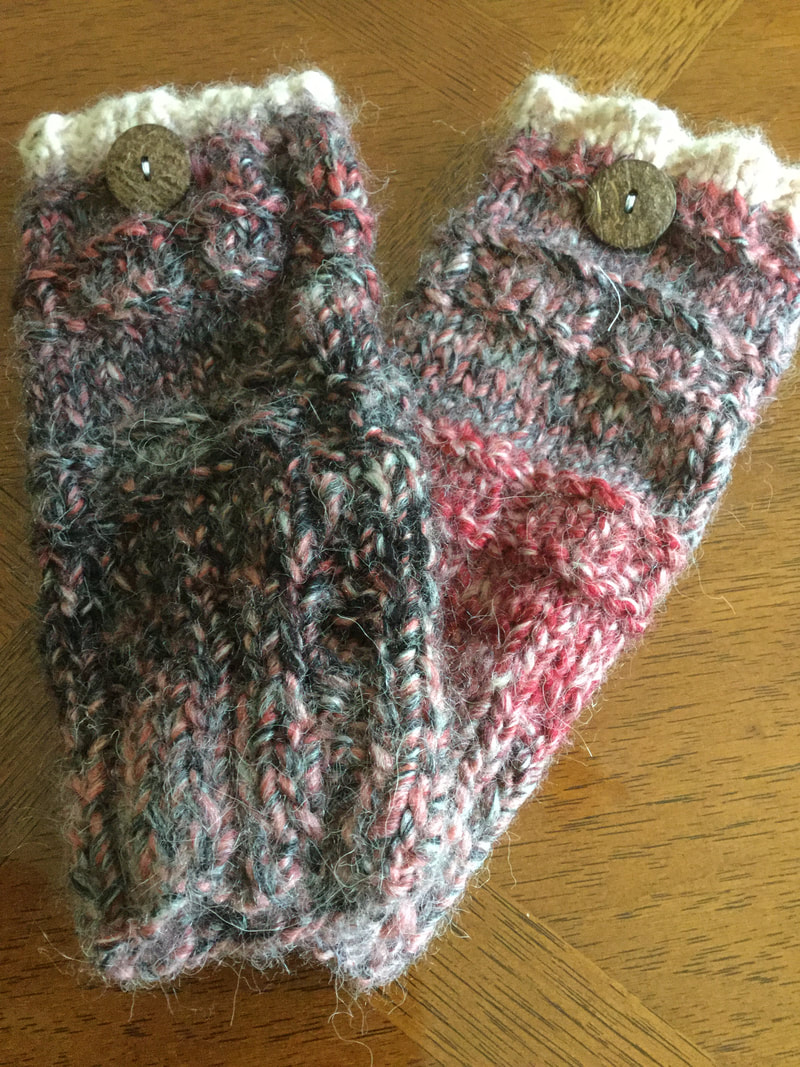
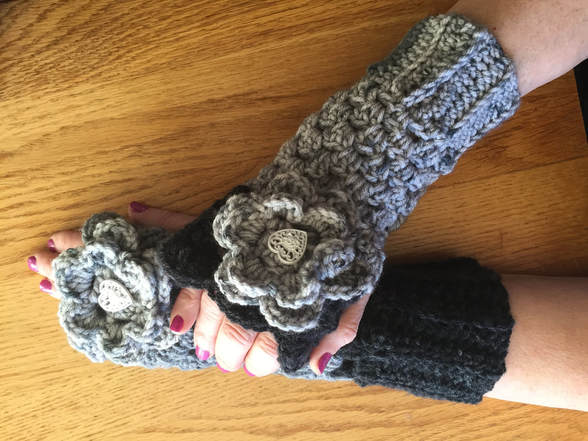
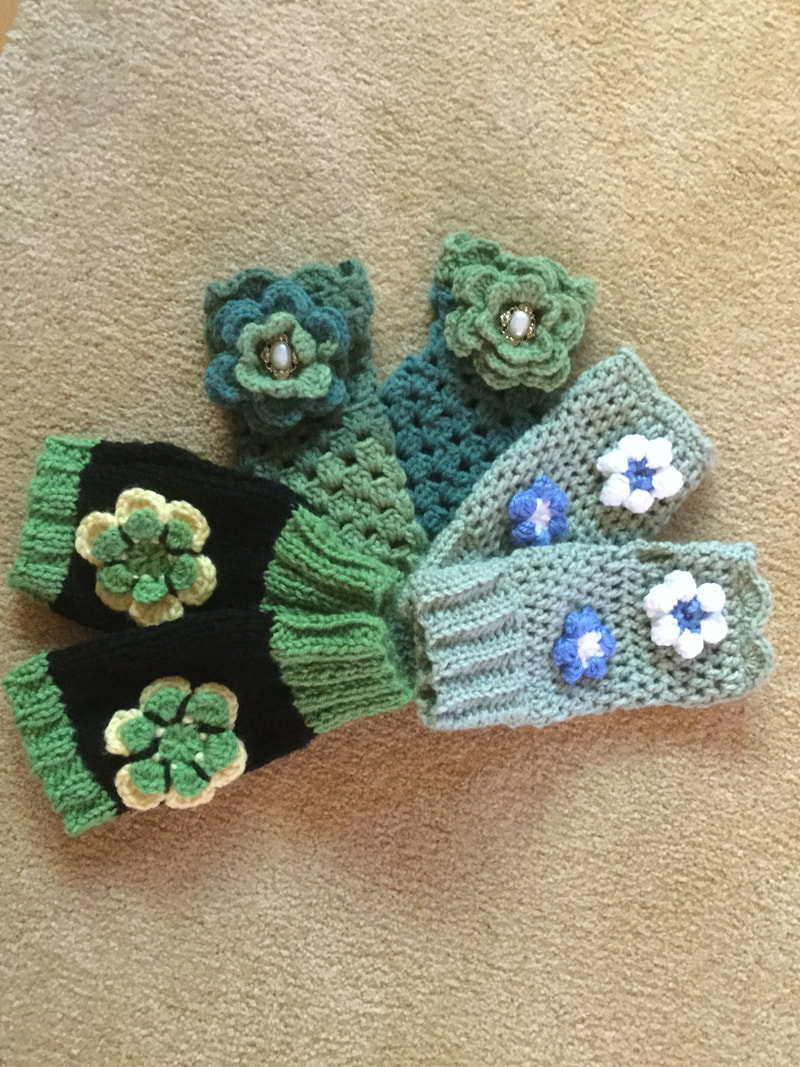
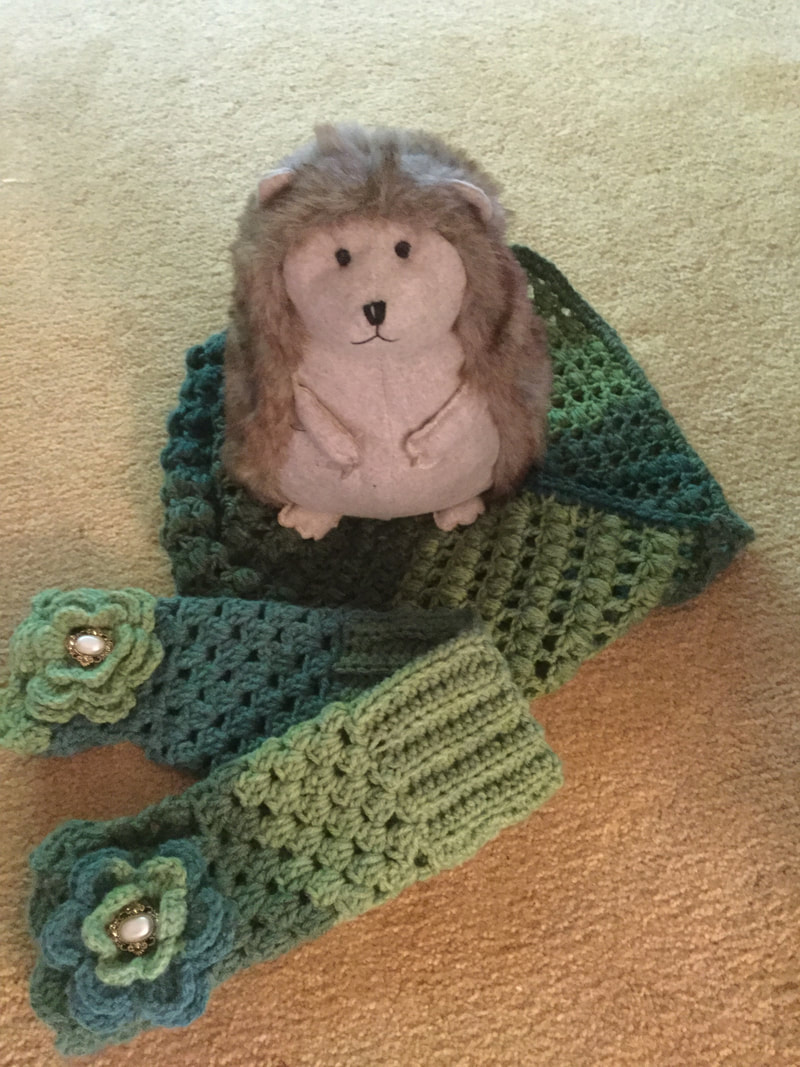
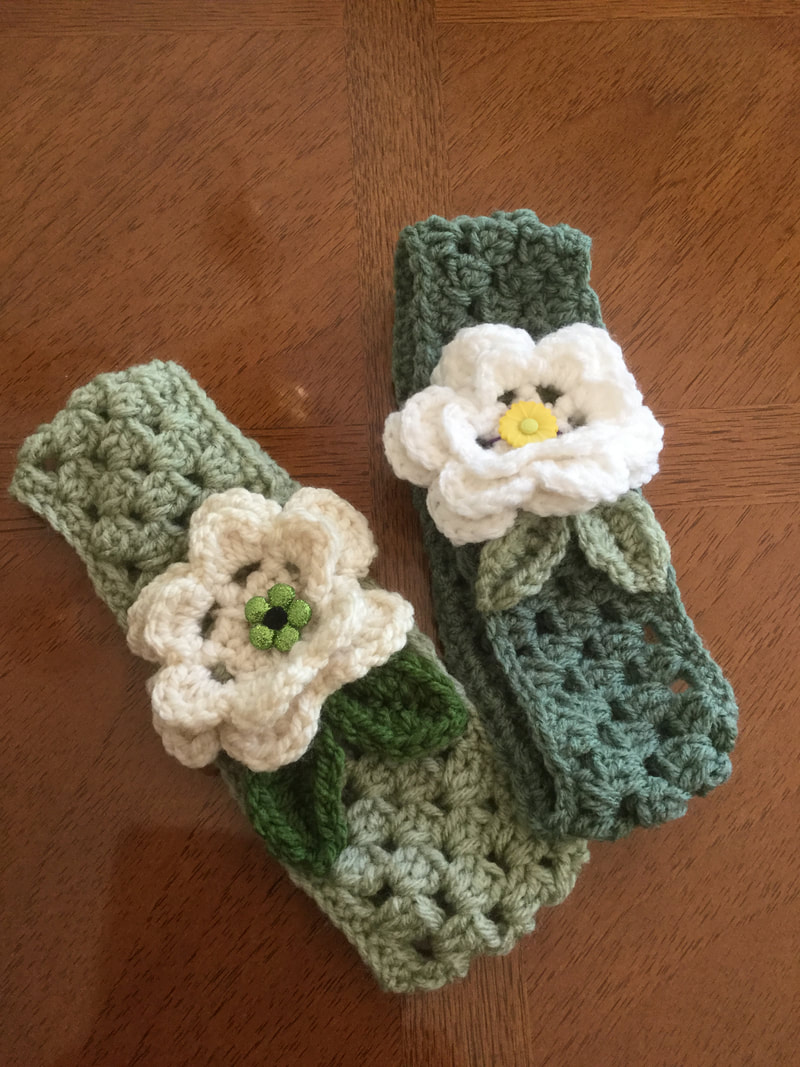
 In celebration of the first anniversary of www.lilcreates.com, I am posting the Free pattern for my signature fingerless gloves. Although I have posted 4 personal designs in the past year, this design has proven to be the most intricate and yet rewarding of them all. By writing down the directions, my crocheted pieces are consistent and correct. When I follow the pattern that I have created, I do not forget necessary steps and the each glove in the pair is true. This is my favorite pattern above all. I really enjoy crocheting these gloves. Since I sold out of all of my grey to black tone gloves during the last holiday season, testing the pattern affords me the opportunity to fill in my inventory as I work out any kinks. As I crochet, I am trying to make the directions clear enough that someone trying the pattern for the first time will know what to do. This FREE version may appear rough. I am working on a future pdf pattern that I will offer for sale on Ravelry or another online sale platform The pattern will need to meet my standards and answer two questions. Do I understand the directions? If I follow the directions carefully, will I be pleased with the finished gloves? As you follow this new pattern, please note any sections that puzzle you. I would appreciate your feedback so that I can make corrections. This pattern is for your personal use only and may not be copied or sold. Gloves made from the pattern are also for your personal use or for gifts. If you post your interpretation of this pattern, please refer back to the source at lilcreates.com. Although I sell these gloves at fairs and as personal commissions, I may be selling them on the Internet in the future. Crocheted Fingerless Gloves: Mismatched Coordinated Handwarmers by Lillian Malkus Published In: www.lilcreates.com Craft: Crochet Category: Fingerless Gloves Date: February 21, 2018 Suggested Yarn: Sweet Roll by Premier Yarns or other suitable worsted self striping or varied colors Yarn Weight: Worsted Weight (#4) Hook size: 5.00mm H Hook; 4.00mm G Hook Size: Circumference 7 inches; Length 10 inches Top comes just above knuckles and reaches to mid forearm Fingerless Glove fits average adult woman Skill Level: Beginner to Medium Level Abbreviations: ch: chain; sc: single crochet; hdc: half double crochet: dc: double crochet; granny cluster: 3 double crochet in same space; ss: slip stitch; blo: back Loop only Materials: 1 skein of Sweet Roll by Premier Yarns or similar alternative self-striping worsted weight yarn. Crocheter may also substitute 3 colors of worsted weight yarn from same manufacturer or yarn type. Worsted weight yarn can vary widely. It is important to use consistent weights to achieve desired effect in finished gloves. Crochet Hooks: 5.00mm H hook; 4.00mm G hook Cuff: Chain 13. HDC through back loop only (blo) to end of row (12 stitches) Repeat until you have a strip with 11 ridges. This should encircle the wrist. Do not cut at this point. Fold cuff so that short sides are touching. Single crochet ends together to form a circle. With crocheted seam you will have 11 ridges. Hand: I like to leave the crocheted seam facing out to the right. Row1: HDC around cuff to form a base for the clusters in hand. Start just after the seam and continue around. You will have 24 stitches. This will take you back to the beginning. Row 2: Crochet 1 double crochet stitch in first apace after the seam. Crochet 2 additional DC in the same space to make you first cluster. Skip two stitches and make the next space. Continue around until you have 8 clusters. Join at top of first cluster. Row 3: Slip stitch (ss)2x until you get to the first space made by the skip 2 from the previous line. Start your first cluster and continue around for a total of 8 clusters and join. Rows: 4-8 Continue with cluster rows. You will note that with each row you are slip stitching andf making clusters one space over at the end of row 8, do not join. Turn work. Row 9: (starts thumb space) DC into first space between clusters. DC 2 more times in same space to make first cluster.Continue around until you have 8 clusters. Chain 3. Turn work You will be leaving a space the width of one cluster for the thumb hole. Row 10: Chain 3 to make a Double crochet into first space. Crochet 2 more DC in same space to make you first cluster. Contine until you have 7 clusters. DC into last stitch. Row 11: Slip stitch into chain. Crochet a cluster into the space made by the chain 3. Continue around until you have 8 clusters. Do not join. Row 12: Repeat Row 10 Row 10: Chain 3 to make a Double crochet into first space. Crochet 2 more DC in same space to make you first cluster. Continue until you have 7 clusters. DC into last stitch. Row 13: Repeat row 1w. Row 11: Slip stitch into chain. Crochet a cluster into the space made by the chain 3. Continue around until you have 8 clusters. Join to cluster at beginning of row. This will close the thumb hole space. Row 14: SS over first few stitches until you come to open space. Start making cluster stitch. Continue around making clusters. You will have 8 clusters. Join. Row 15: ss over first few stitches. Make another row of clusters. At this point you you will have two rows over the thumb hole. Row 16 Sc around the clove in each stitch and into space between stitches.you will have 24 stitches. Trim: Alternative one. Switch to G hook and HDC around the glove for a simple straight edge. Alternative two: Switch to G hook. SC around the glove to make a base for the scalloped trim. Crochet a scalloped edge around the top of the glove. SS to join and fasten off. Cut and weave in ends. Make a second glove following the same directions. With the self striping yarn, each glove will be different but coordinated. In the pair I crocheted to work out the final steps for this article, the first glove started with a light gray and melded into a darker gray. The second glove started with the darker gray and moved on to a charcoal color for the hand before ending with the lighter gray for the scallop trim. Flower: Examine your yarn to see which color bands to see which color will provide the right contrast to the gloves. Although the gloves are different, I sometimes like to use the same color for the flowers on both gloves.For this pair I selected the lighter gray. I use a 2 layered 6 petaled flower. As I did not create directions for the flower,I refer you to Maryjanesmaryjanes.com (Three Layer Flower from Crocheting the Day Away) or to Mango Tree Crafts (Six Petal Flower Free Crochet Pattern and Photo Tutorial). There are also several choices FreeCrochet.com. Some crocheters find it helpful to play a YouTube video until they get the sequence right. Make sure you leave a 12 inch tail for attaching to the gloves. You will only need to follow the patterns for two layers so that the blossoms fit squarely on the glove. also, I am working on the directions for the flower that I use most often. I hope to publish the pattern and ways to use the flower in a future article. Sewing on Flower: Place your gloves on a table so that the thumb openings face one another. This will be the top of each glove. It may be helpful to tie a bit of yarn on each top side so that you do not forget which side is which when you start sewing. Imagine that you are playing the piano. You want to make sure that you are sewing the glove to the top of each hand. once you have made an error, it is a messy job to cut out the flower and resew it on the reverse side.Place the flower so that the top of one petal lines up with the middle scallop. I like the top of the flower to lies at the base of the scallop, Make sure tghat the flower aligns vertically. Thread the yarn tail through a tapestry needle and bring it up through the center of the flower. Stitch the flower through one of the petal spaces and bring back up through the center. Continue until you have a star design in the middle of the flower.. To secure the flower, you can also stitch around through each petal as well. Weave in ends and cut the yarn. With a regular sewing needle, sew a decorative button into the center of each flower. Try the first glove on to make sure that you are happy with the placement of the flower and button before sewing on the second. Adaptation to Regular Worsted Yarn Select 3 coordinated or complementary colors of worsted yarn. Glove 1: Cuff: color A,: Hand: Color B; Upper Cuff: Repeat Color A; Flower Color C Glove 2: Cuff: color B: Hand: Color A; Upper Cuff: Repeat Color B; Flower Color c After you join the ends of the cuff, you will cut off yarn. Join next color at seem and HDC around and follow directions for glove hand as written above. Switch to first color for trim and third color for flower.For the second glove switch colors as noted above. You can use the same color for the flower for both gloves, or try a combination like the gloves featured below. For those who prefer a solid colored glove, just use the pattern without any color changes. The cream pair of gloves above show how the stitches and design are highlighted when the color is stays the same. I hope that you enjoy creating your own fingerless gloves from my pattern. I would appreciate any feedback. I will posting notice of this article on Facebook and Pinterest. If possible, I would love to see photographs of your interpretation of my design. Happy crocheting.
0 Comments
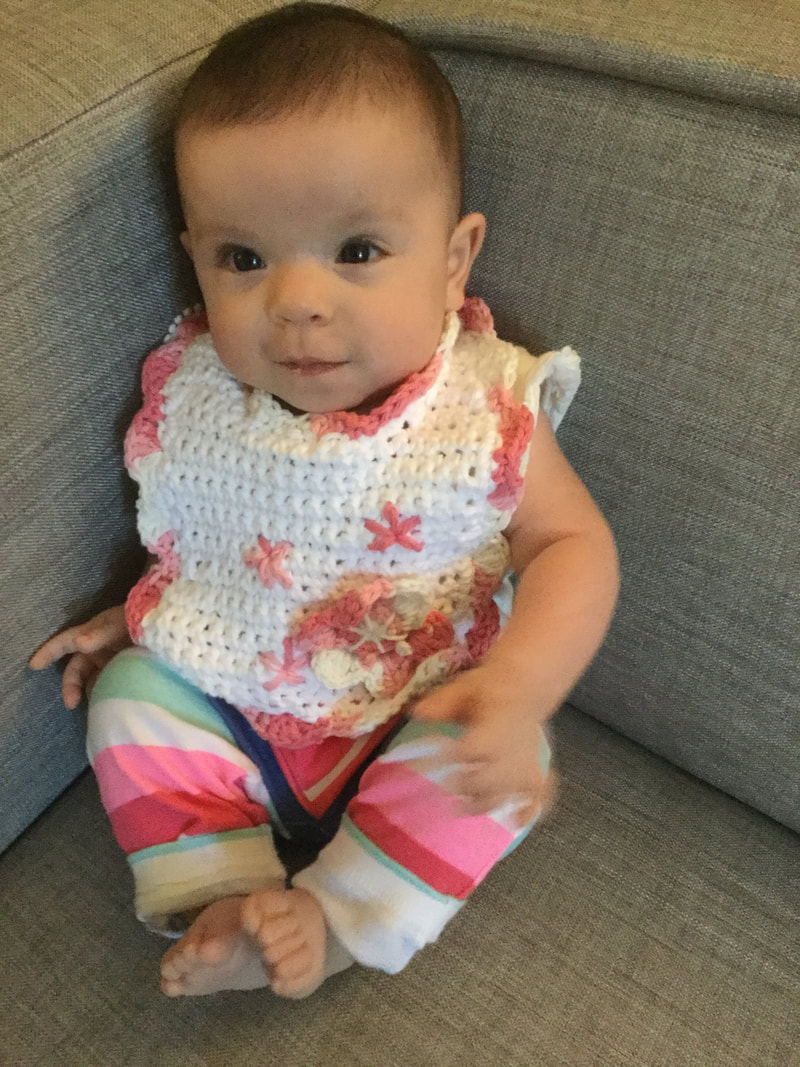
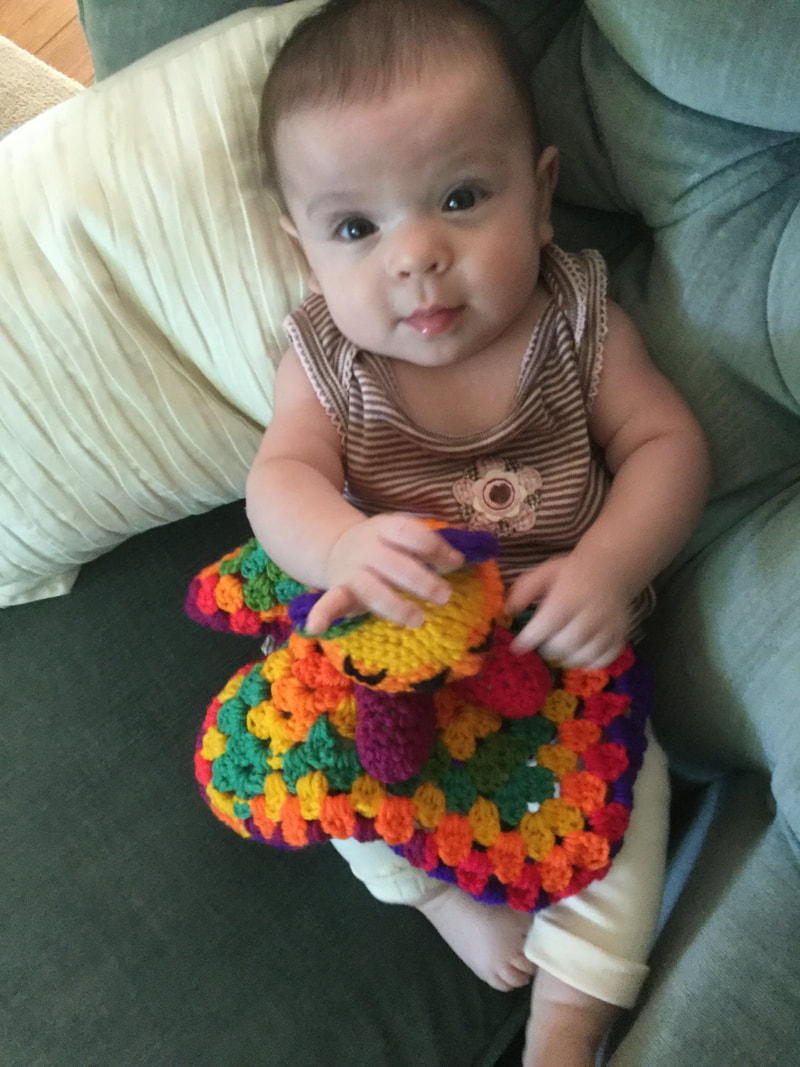
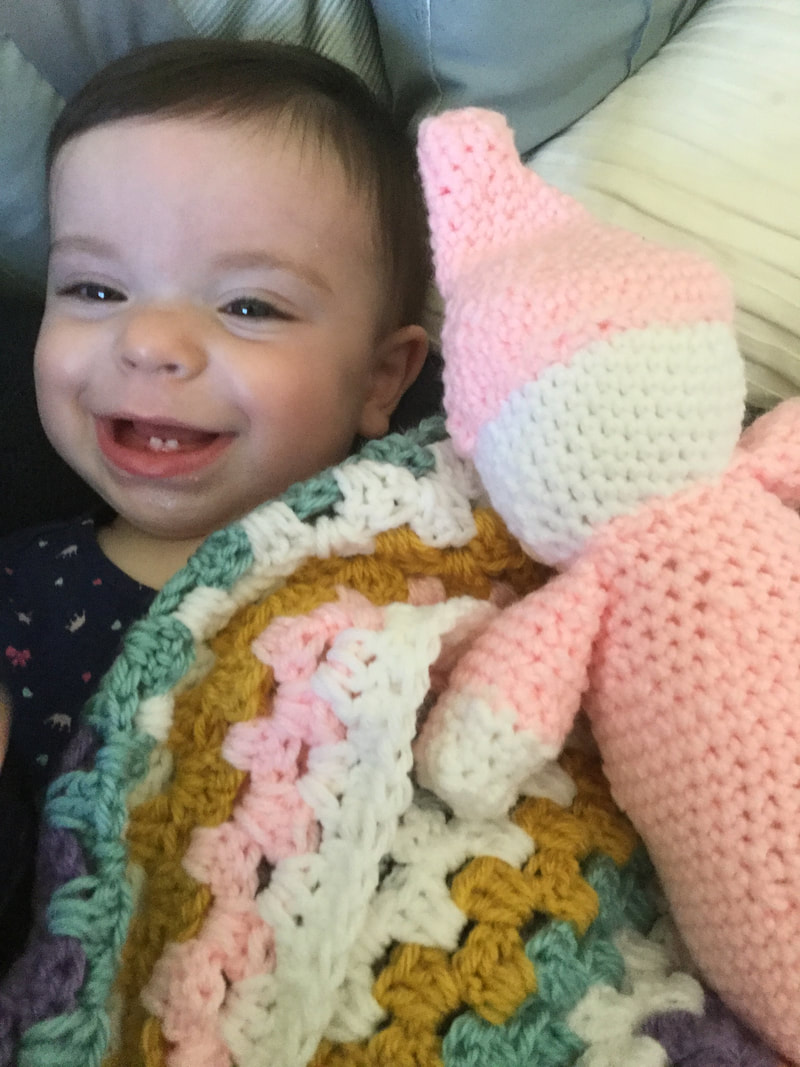
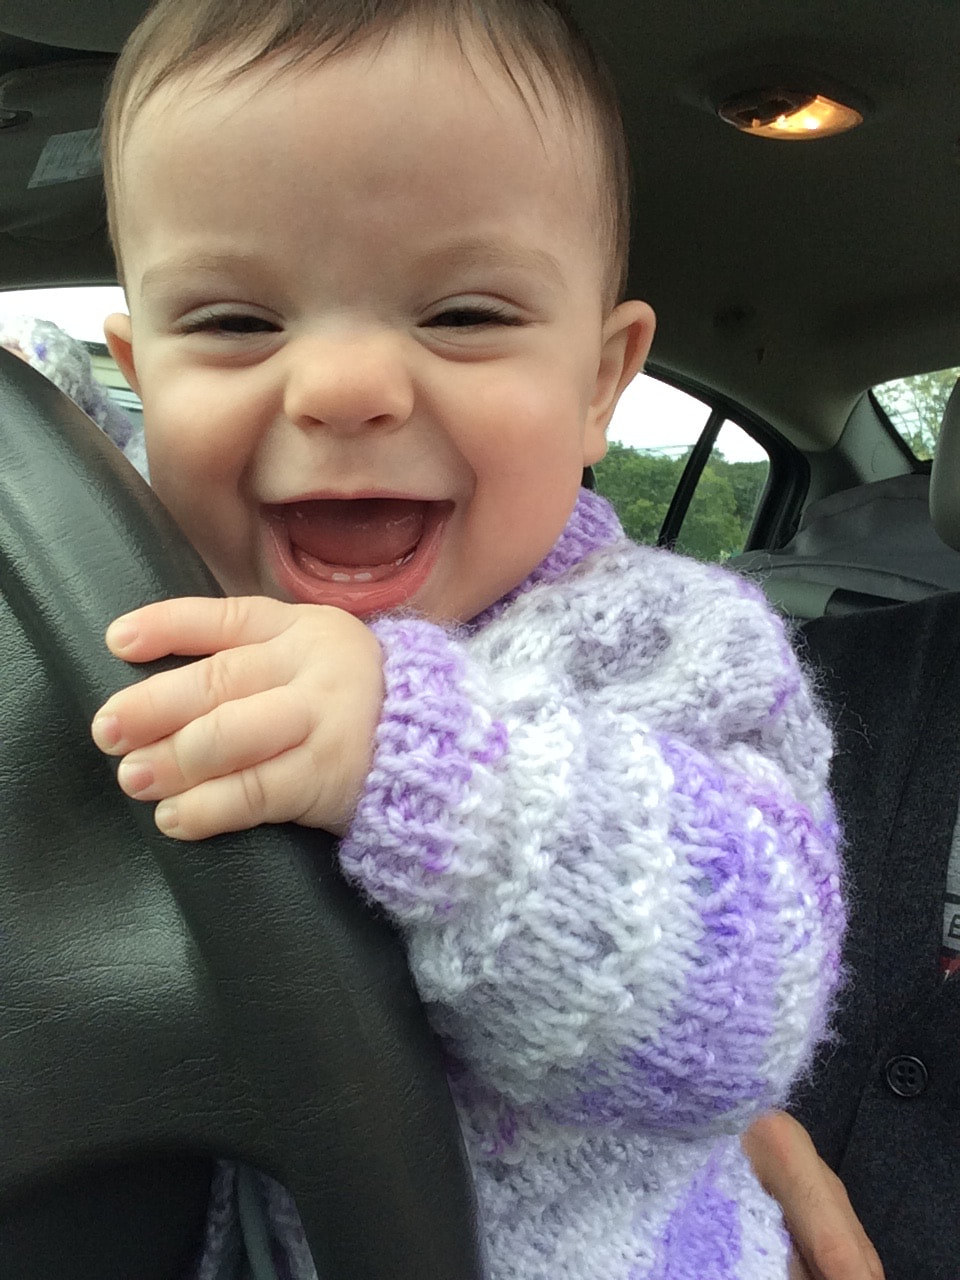
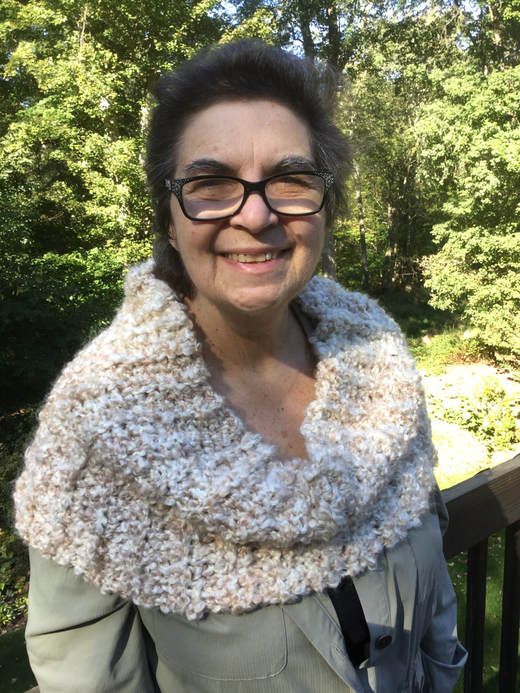 February 18 marks the first anniversary of my blog, www.lilcreates.com. Happy Birthday to me and get ready to celebrate. It has been a wonderful year of creating, learning, and sharing. I have published 58 individual pieces, brought in over 40,000 page views and reached over 21,000 different readers. Through a variety of Facebook groups and Pinterest Boards, I have had delightful "written conversations" with so many supportive and talented crocheters and knitters. I am so proud of this achievement and am ready to take on the challenges and goals for the following year. When I first set out on my journey of discovery, creativity, and reflection, I aimed to crochet and knit " art you can wear." To date, most of my pieces have followed through on that theme. I love both crocheting and knitting, but find myself crocheting more. I learned many new stitches and techniques as I explored new patterns and found ways to expand on my favorite blankets, headbands, baby sweaters, scarves, shawls, and fingerless gloves. I still find most of my yarns at the larger craft stores, but am frequently inspired by special fibers at my local independent shop. While I am learning every day, my wonderful readers inspire me with their creativity and skill. My host at Weebly.com offers stats that enable me to track total viewers as well as readers in a particular month for particular blog posts. I wish there was a way from this platform that I could track total views for a specific post over the long term. I learned that most articles reach their interested audience in the first four days after posting. However, I was pleased to learn that new readers discover articles on topics that have been published earlier in the year. Popular articles continue to pay viewing dividends. Crocheting articles reach a wider audience than knitting articles Fiber artists love free patterns. A picture is worth a thousand words, especially those of my smiling, adorable granddaughter, modeling one of my creations. My favorite articles have not always been the most popular, and I have had several unexpected, pleasant surprises. It still puzzles me when group members on Facebook don't go ahead to seek the actual link to my blog where they will find all the necessary information. To plan this year, I went back over my list of published articles to answer two questions. Which articles were my favorites? Which articles attracted the most readers? In rereading them all, I gained a renewed appreciation for the writing process and my evolution as a fiber artist and as a blogger. The most popular articles were:
My personal favorites were not necessarily among the most popular articles. However, these articles marked a new avenue for project development or a different way for me to get inspiration or to reflect on my crocheting and knitting journey.
http://www.lilcreates.com/lillians-blog/fingerless-gloves-mismatched-coordinated-handwarmers launched my favorite style for sale, gifting, and personal accessorizing. A pattern for these intriguing and versatile fingerless gloves has long been in the works. A partner anniversary blog posting will include the pattern to celebrate my one year anniversary. I could have waited forever to put together a perfect pdf pattern. Instead, I decided to go ahead with a rougher free pattern and invite feedback. This is my first step. Hopefully, I will have the pictorial formatted pattern ready as a paid pattern before long. Keep a lookout for my next post. Articles featuring my adorable, smiling, granddaughter as model and inspiration will always be among my favorite pieces. Some of these articles are:
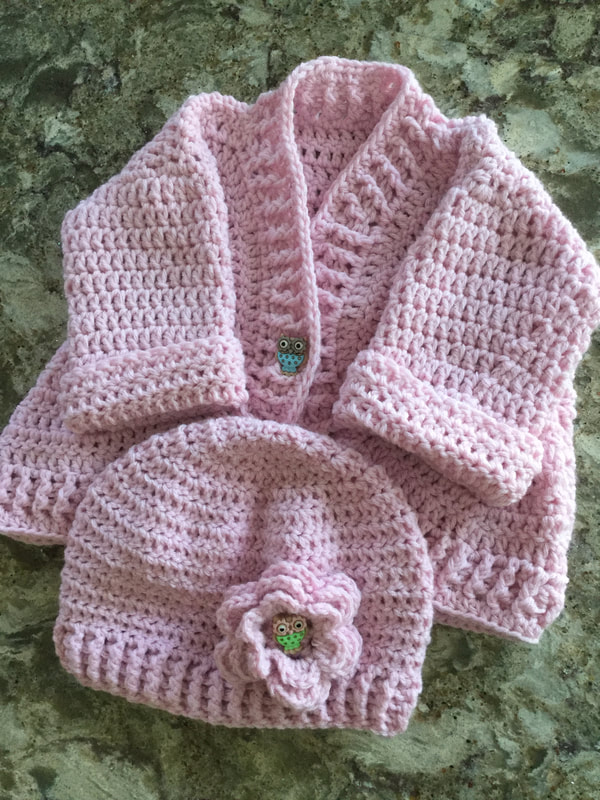
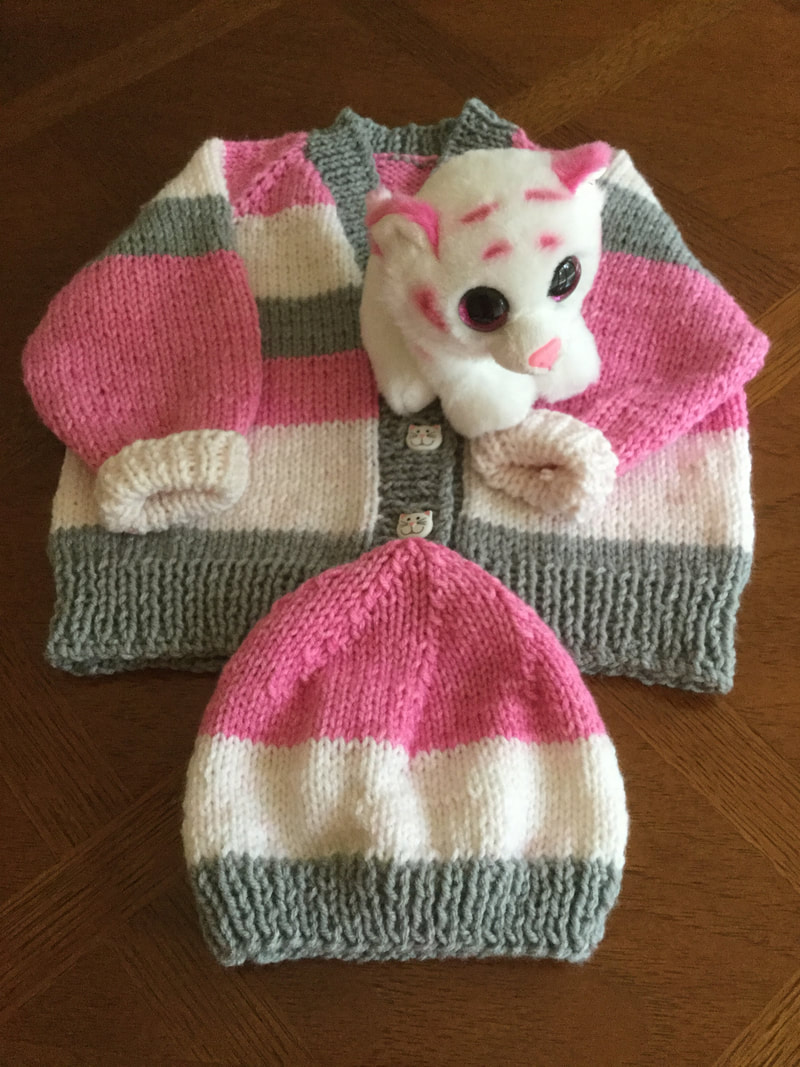
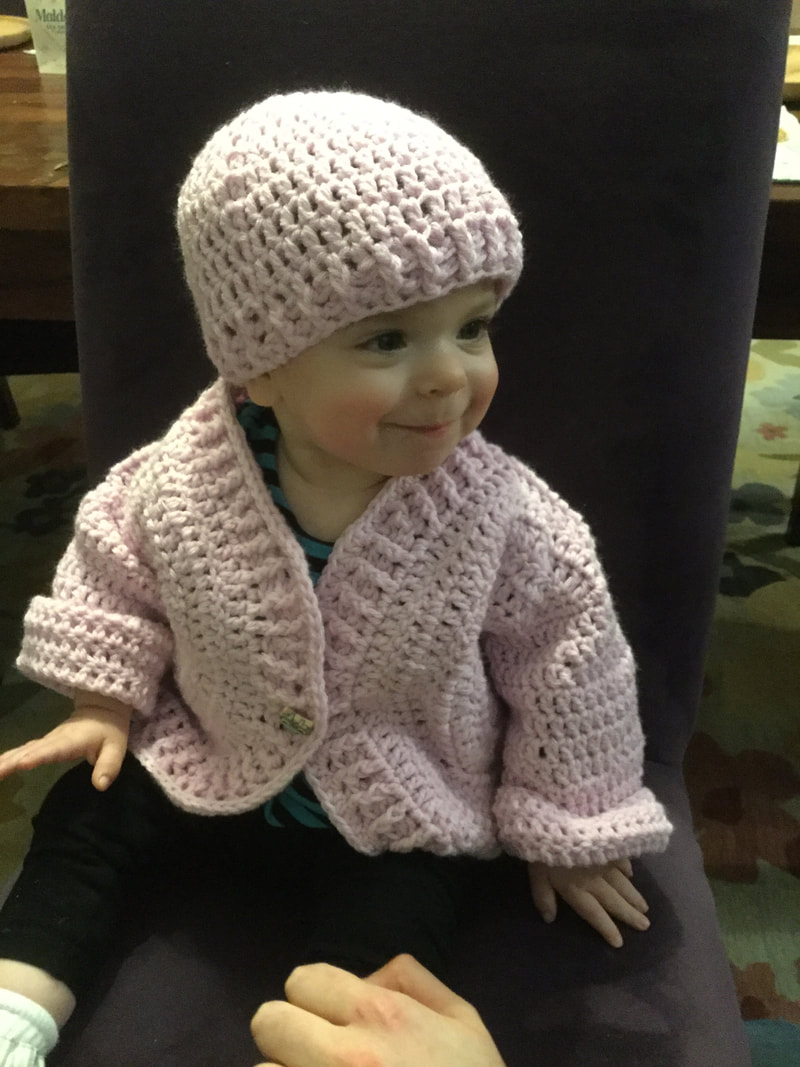
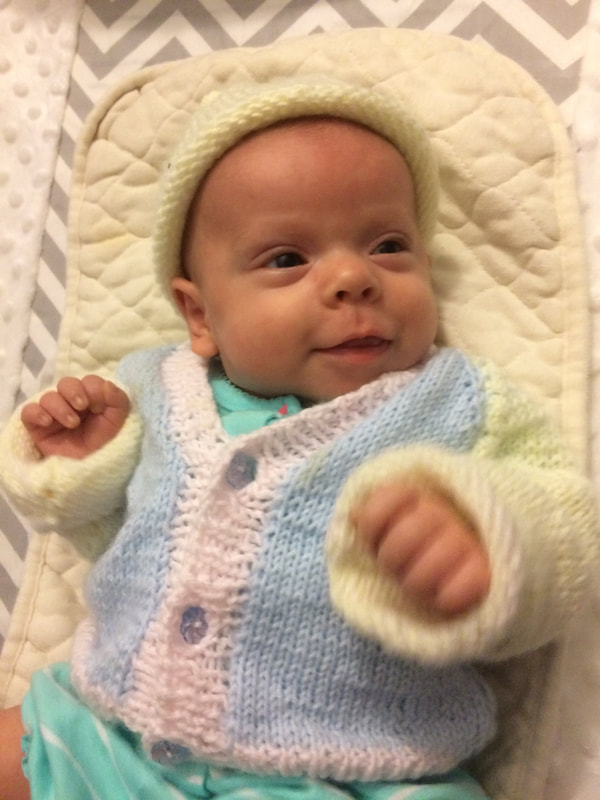
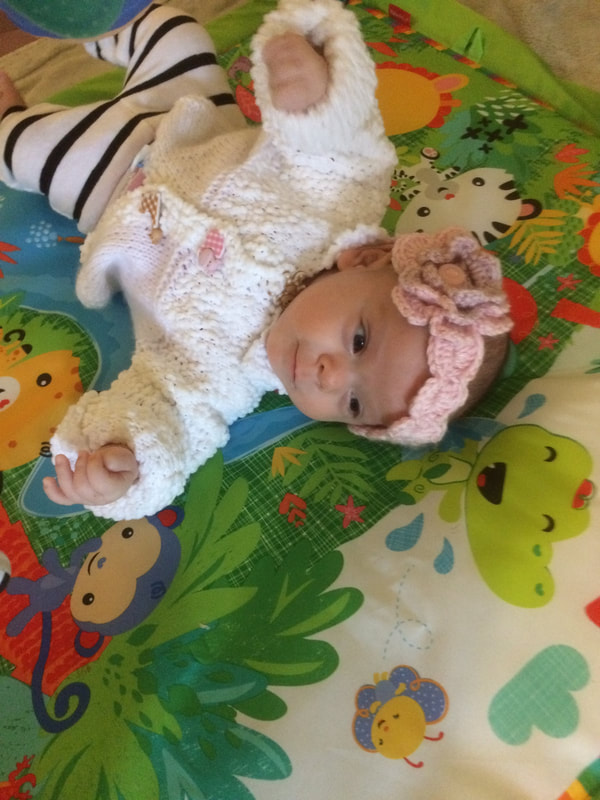
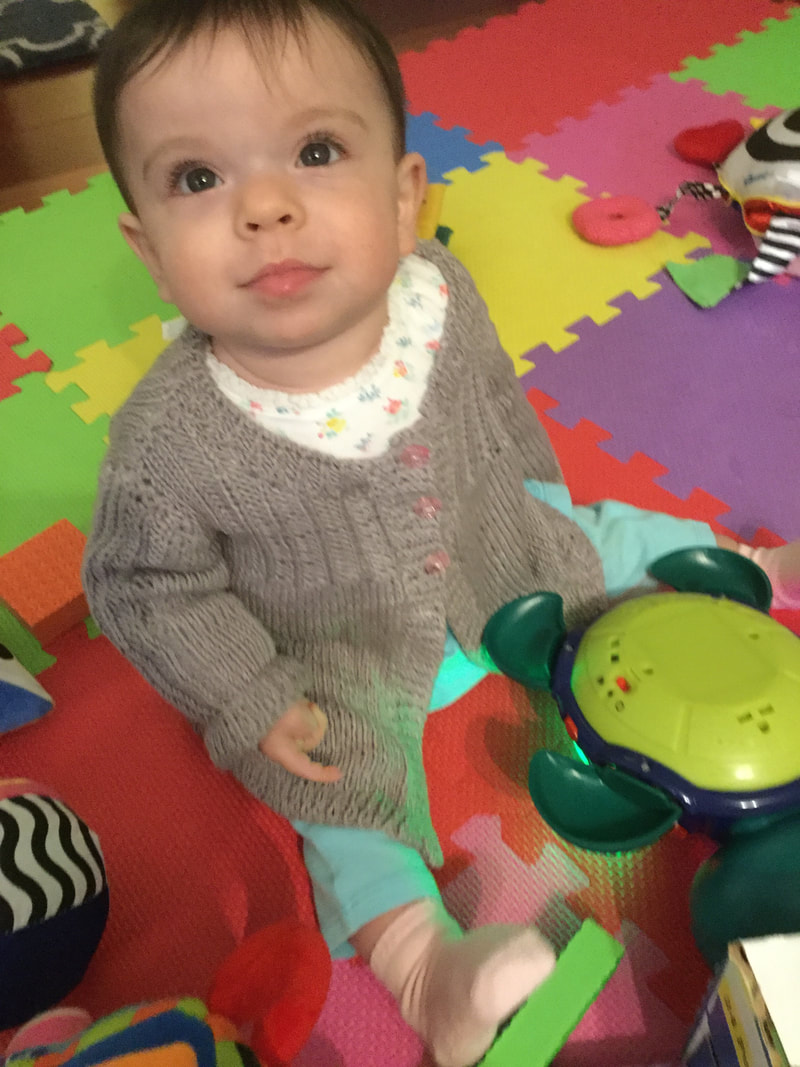
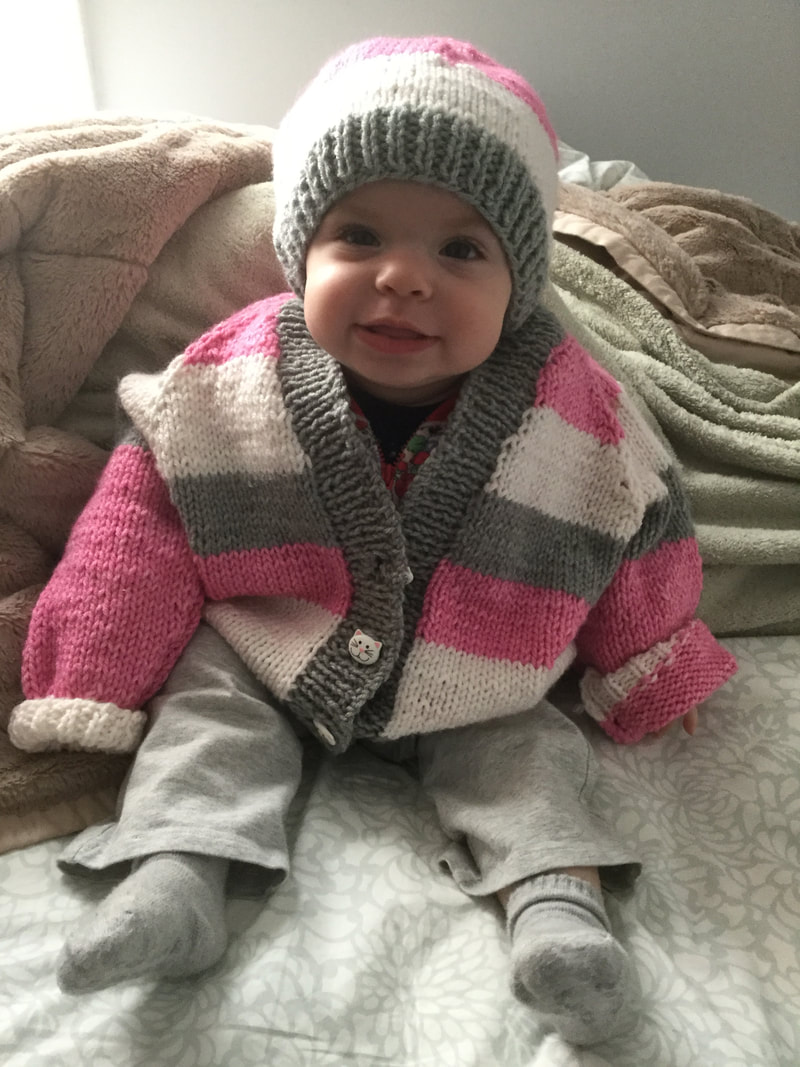
http://www.lilcreates.com/lillians-blog/a-little-girl-grows-up-a-year-in-sweaters chronicles the development of my granddaughter from the hospital through her first year. These knitted garments were an essential and varied part of her wardrobe. They kept her warm and were admired by many. I wrote that retrospective during the holiday season when many creative folks had other things on their mind than reading my blog. Besides these knitted pieces seemed to reach a narrower audience. Since that time, I have crocheted the blushing pink jacket and a denim blue ombre cardigan. I continue to look for crocheted pieces that will have the softness and smooth texture of my knitted garments Many thanks to my daughter and son-in-law who continue to dress her in these pieces of "art you can wear." Another pair of unsung favorites was:
Fellow crocheters and knitters, if you have been following this blog for some time, or even if you are new to www.lilcreates.com, please leave your favorite title with me. Hopefully, this article has peaked your curiosity. I invite you to discover or reread articles of interest. I want to make this blog interesting and relevant to my readers. Please list any skills or topics that you would want me to write about that would keep you reading.
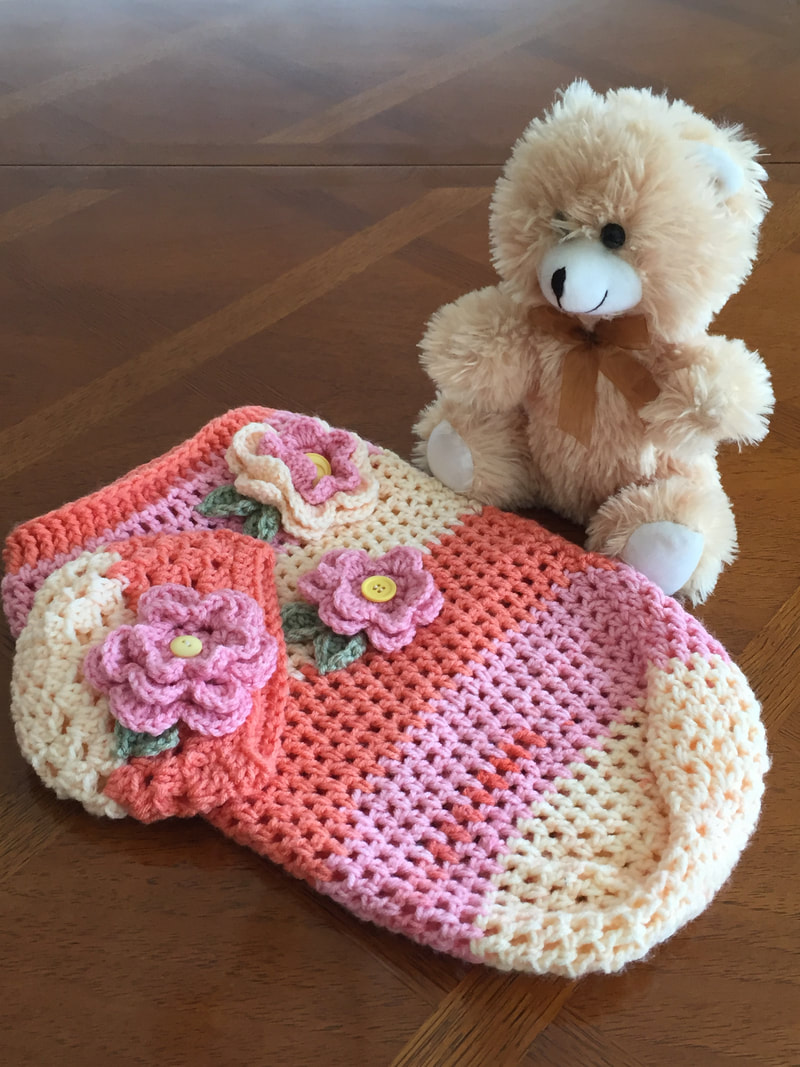
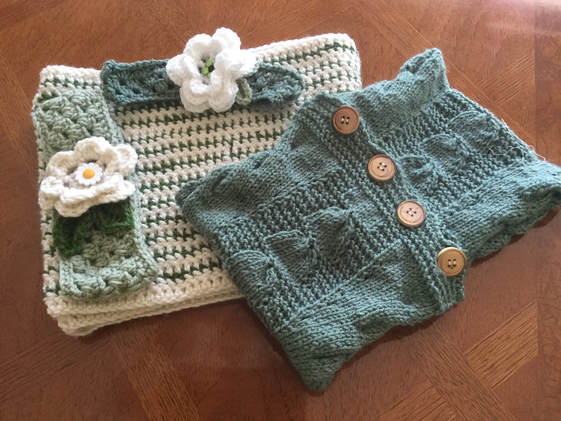
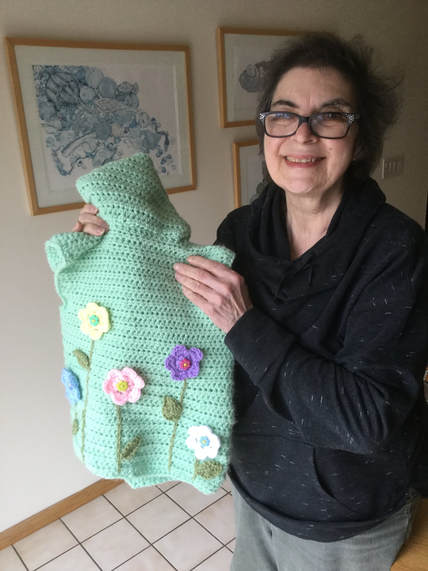
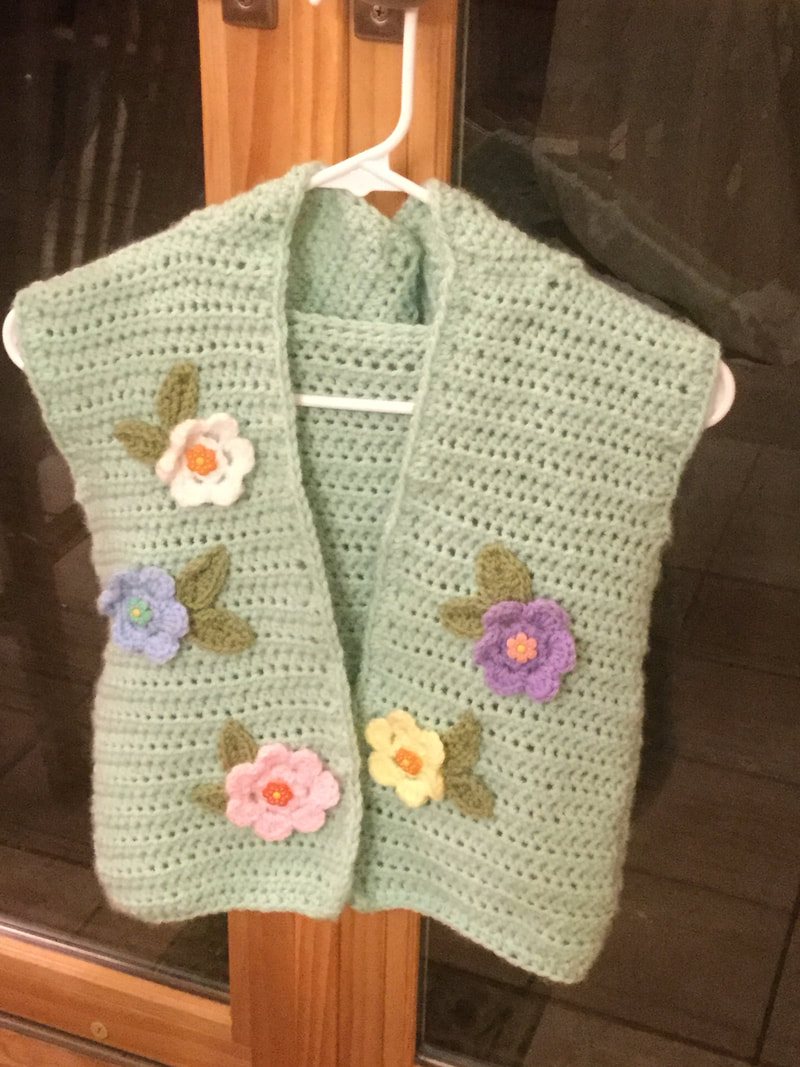
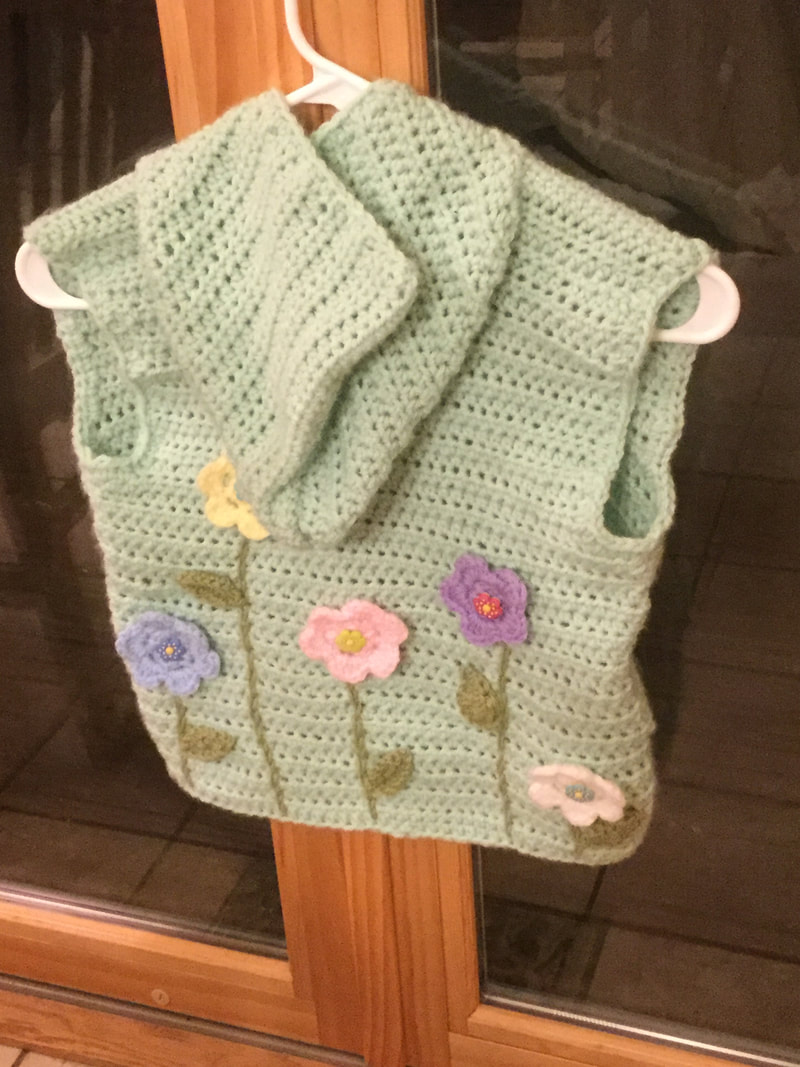
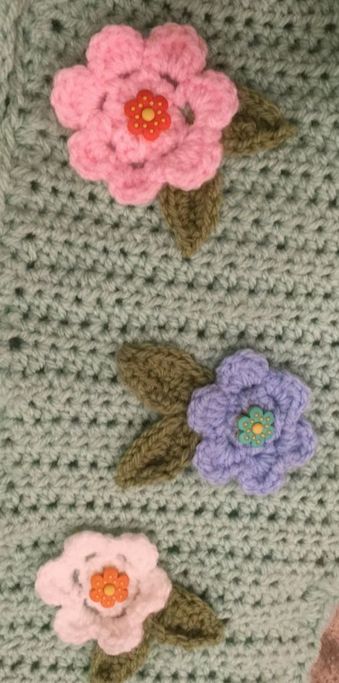
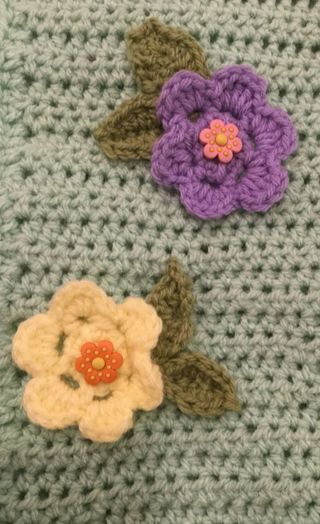
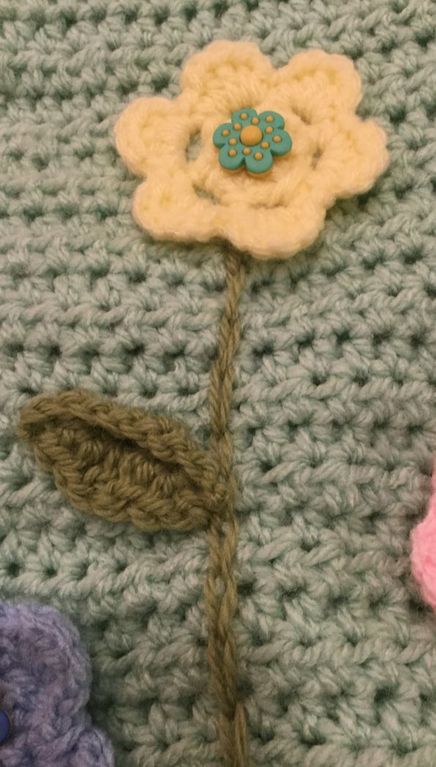
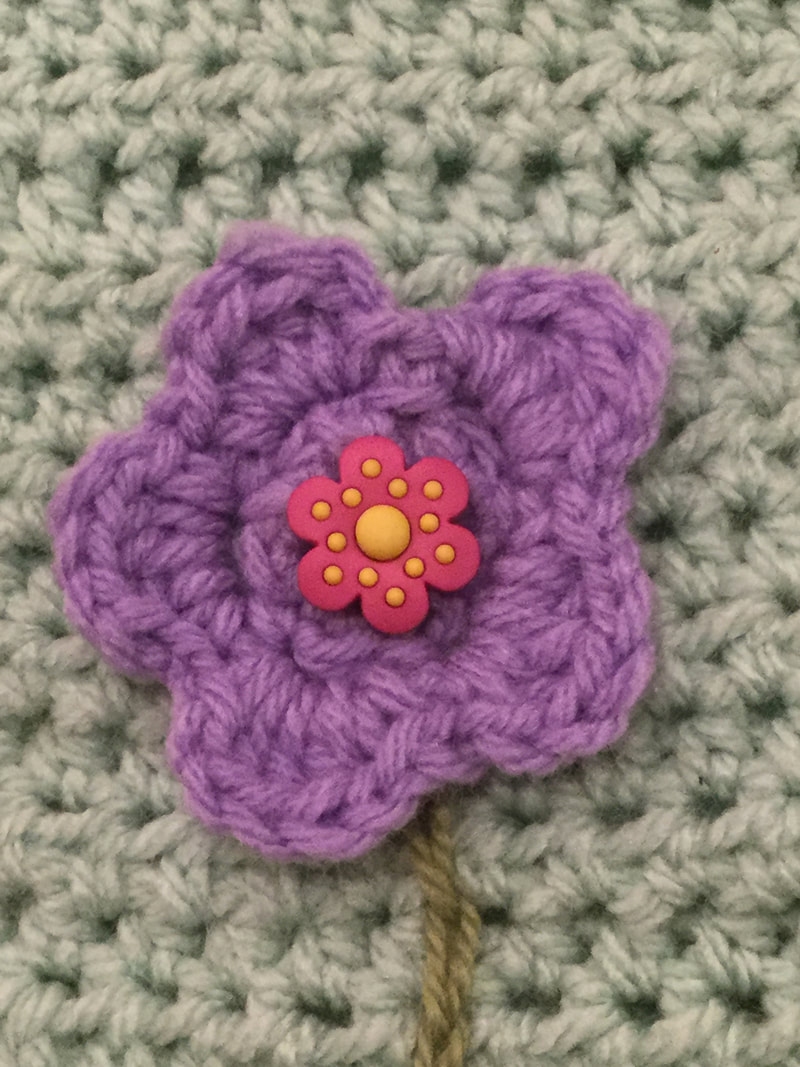
Here's to another year of www.lilcreates.com bigger, better, and even more creative in 2018. Let's raise our glasses in a toast to to all of us in the fiber arts communities. 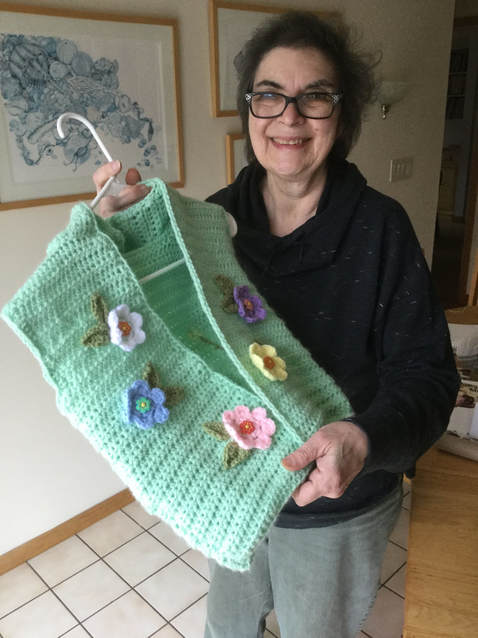 Creating a floral display on a crocheted garment has been my goal for quite awhile. I have used single flowers on my gloves and hats for some time. (http://www.lilcreates.com/lillians-blog/crocheted-flowers-everythings-coming-up-roses) While flowers and leaves would decorate the front of the piece, I dreamed of creating a more elaborate surprise on the back of the garment. When I closed my eyes I could see the garden images. The question was how to translate the mental picture into a crocheted floral arrangement arrangement. I also needed a solid simple vehicle to showcase the flowers, stems and leaves. When I found the Wee Vest Pattern (Crochet) by Lion Brand, I knew I had found the perfect vehicle for my floral art. (http://www.lionbrand.com/crochet-pattern-wee-vest-3.html) The vest pattern comes in sizes that range from 6 to 24 months. Since this project would involve a great deal of detail work, I wanted to produce a product that would be worn for some time and chose the 24 month size so that I could gift it to my granddaughter next year. If I am lucky, I may find another toddler to model the piece in the mean time. The designers used Lion Brand's Vanna's Choice for the vest. However, I had 2 large skeins of Studio Classic by Nicole (AC Moore's house brand) in a mint green and decided to try the hooded vest with this worsted (#4) yarn. The directions call for a J hook and are executed in a Half Double Crocheted Stitch. The pattern is a free download from Lion Brand #70778AD. I initially found the pattern by scrolling through Pinterest. The vest itself worked up quickly. The flowers and the garden took just about as long to complete. The next time Vanna's Choice goes on sale, I will try the designated yarn to see if it makes a difference. with leavesI chose pastel colors for the flowers and a sage green for the stems and leaves. Since I did not want the vest to be too heavy for a child, all of my flowers were only one layer. I would add a color accent with decorative buttons for the center once the flowers were fixed onto the garment. Simple 6 petal flower patterns can be found at
The link for a simple green leaf is :
Five floral motifs with leaves decorate the front of the vest. The back of the vest was a true labor of love. I played with the pastel colors, adjusted the heights and used a chain stitch to make the stems. The leaves were arranged so that they fit best into the open spaces. With all of the flowers, stems, and leaves, there was quite a bit of weaving in. The floral parts of the project took me two days, but it was well worth the effort. The floral arrangement on the vest is relatively simple. In the future, I hope to take on more challenging designs. I am eagerly awaiting the time when my granddaughter will be able to wear her own flower garden vest. The vest pattern is very versatile. I am sketching out another project that will involve bunny or kitten motifs. I plan to crochet the back of the animal on the back of the animal and face on the front. However, I have some time to think about it.
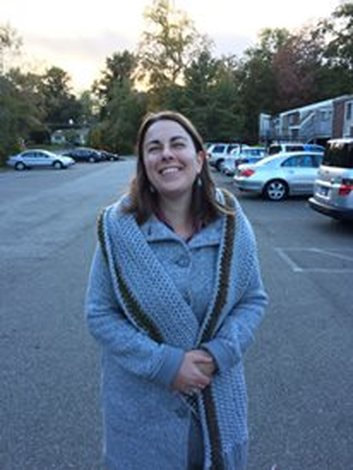
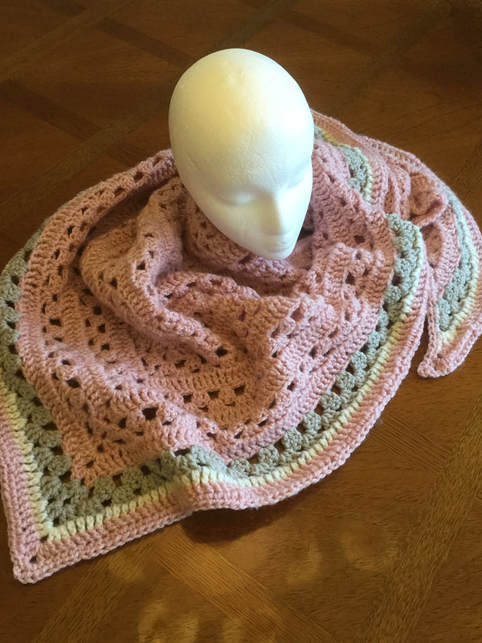
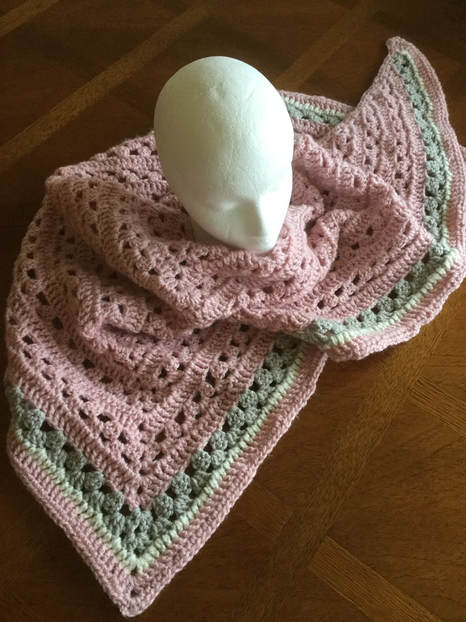
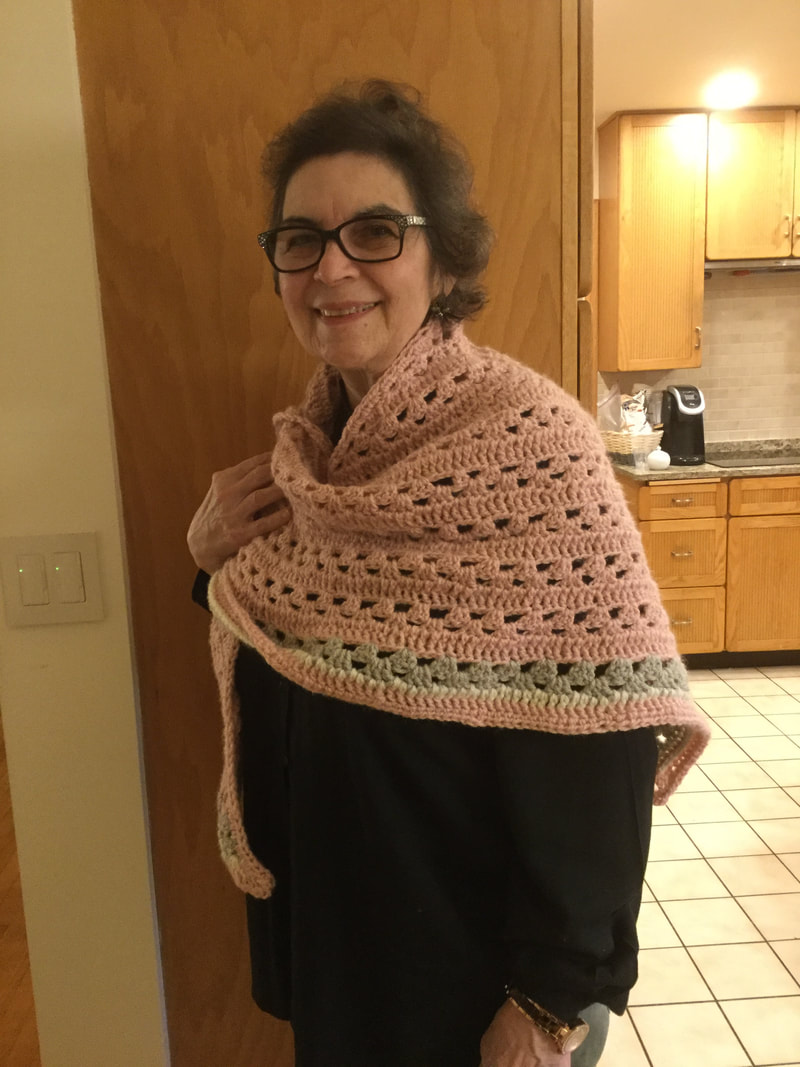
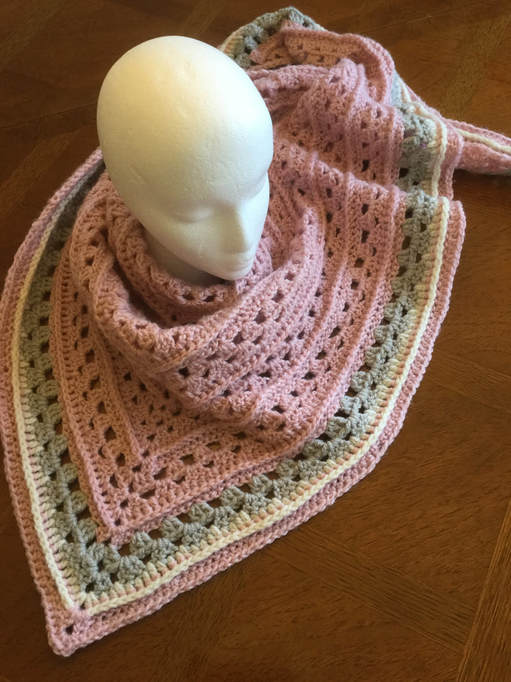
How do you use flowers to enhance your crocheted work? Please share your experiences and photos on Facebook. 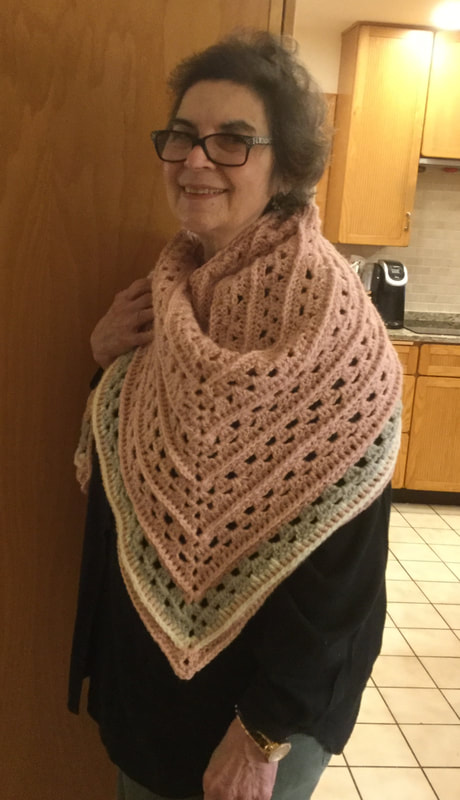 Life happens when you least expect it. You all probably remember my handsome hunk husband from my Man Shawl post. He is a wonderful guy who loves the outdoors and taking care of his family. However, on January 15, he was dealt a cruel blow when working in the garden with a friend. His boot lodged between two logs, his body twisted, and he has been laid up with a broken leg. Surgery went great, and he is on the mend, but there were lots of caring tasks for me to do in the early weeks. He is on the mend, and a full recovery is expected. We are both glad that he is regaining independence. At the same time my adorable granddaughter was spending a great deal of time at our house as her mother was returning to school. Unfortunately, blogging could not be my first priority. I was able to get in a could of short knitting posts, but a larger crochet project had to wait. Since many of the groups on Facebook and Pinterest where I share my work, are restricted to crocheting, many of my readers have not seen my posts for several weeks. Last night, I kept Bert company during the Superbowl, and managed to finish the shawl that was destined for Threads of Love. Before bed, I blocked the piece, and today, I am ready to share with my readers. I am so glad to be back. When I saw the large skein of acrylic chunky dusty rose yarn that had been donated to our group, I knew that it could be transformed into a stylish and comforting shawl. I had already completed several triangular Granny Stitch shawls, and I was looking for a pattern that offered some variety. AS soon as I found the Amorous scarf, designed by Katja Loffler, I knew that this was the pattern for me. The pattern is available through Pinterest and as a FREE download from Ravelry. (https://www.ravelry.com/patterns/library/amorous-2 The pattern (available in English, German, and Swedish)includes a photograph of the shawl, written instructions, and a crochet chart. My interpretation of the pattern was somewhat thicker and less draping than the original design that called for fingerling yarn and a 5.5mm I hook. To use the donated yarn, I went up to a 6.0mm J hook. The completed project is 70 inches wide from tip to tip and 25 inches deep from neck to bottom. I included a row grey yarn and a row of off-white yarn to provide interest and contrast. Since I was running out of rose yarn, I did my final row of the v-sides in a Half-Double-Crochet to provide a pleasing edging. I also used 2 HDC stitches in each opening along the top. I was pleased with the finished edge. The last row of the repeating pattern calls for a Front Post Double Crochet in all stitches except for the center. Throughout the scarf, the crocheter makes 2 Double Crochets, Chain 2, 2 Double Crochets in the center space. From one side, the shawl is generally flatter. From the other side there is a ridge every four rows, produced by the FPDC. Either presentation is attractive. I look forward to our next collection meeting where members share their finished works and prepare them for gifting at Yale New Haven Hospital.
|
Archives
November 2022
Categories
|


 RSS Feed