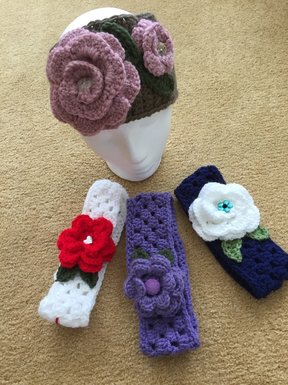
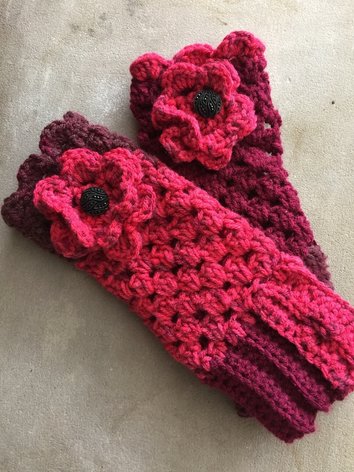
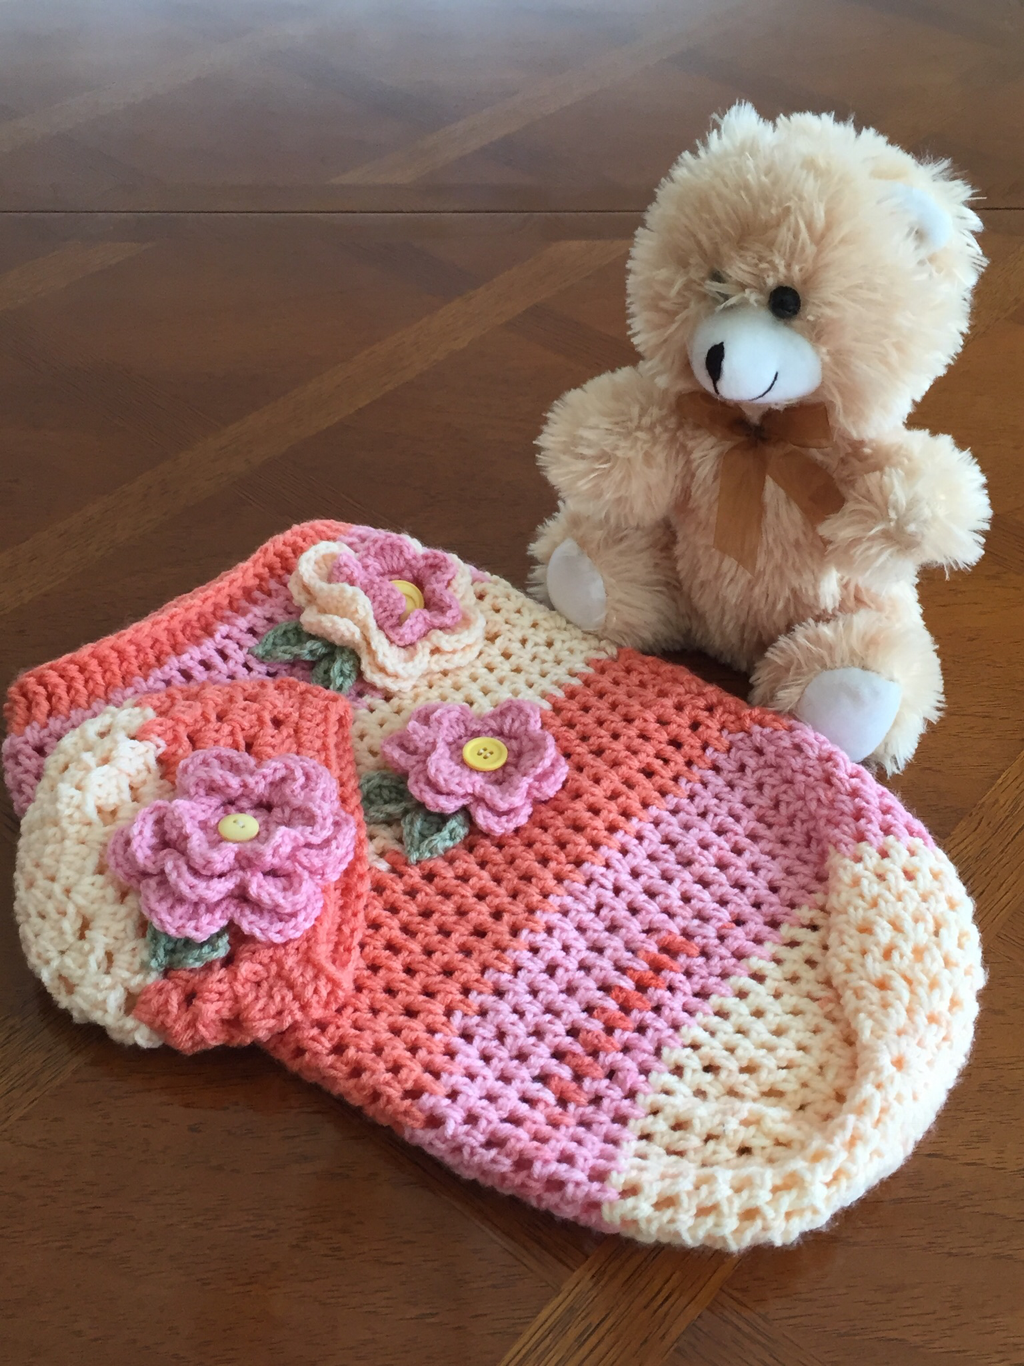
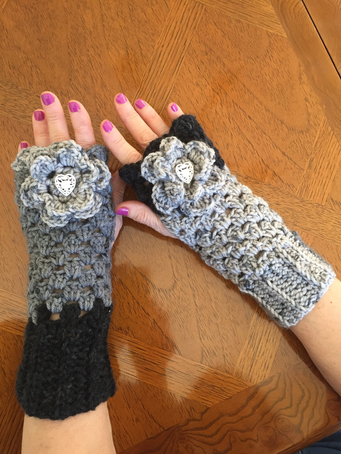
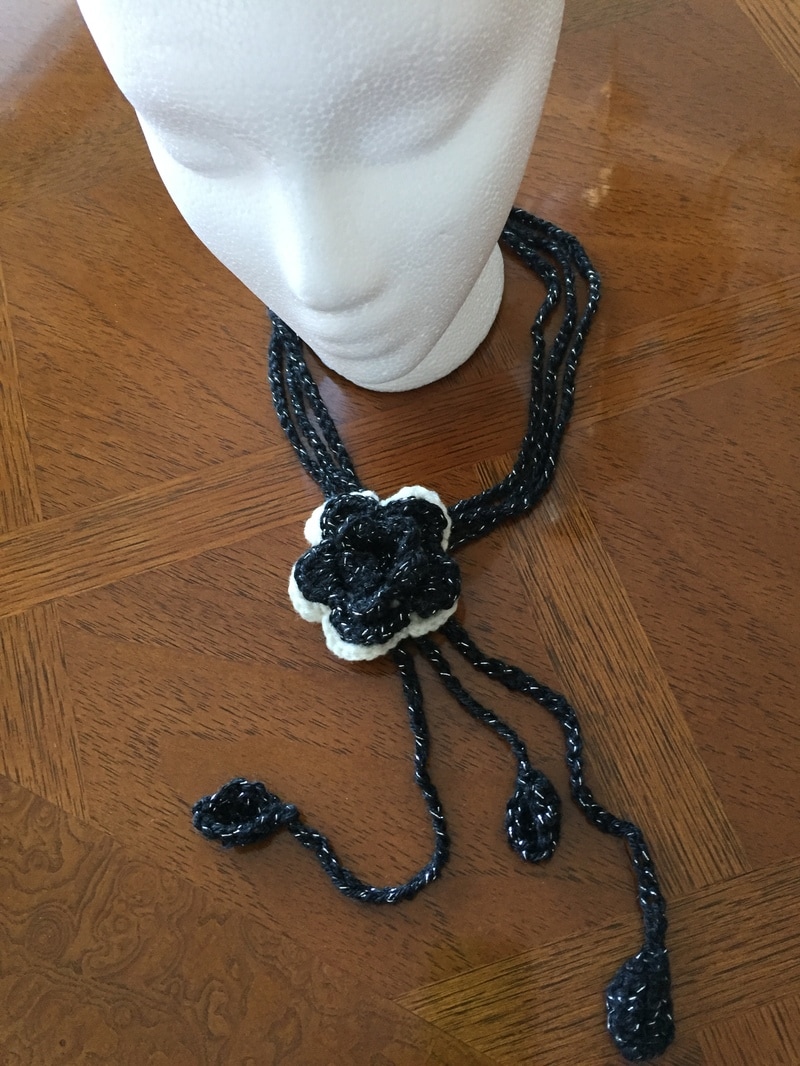
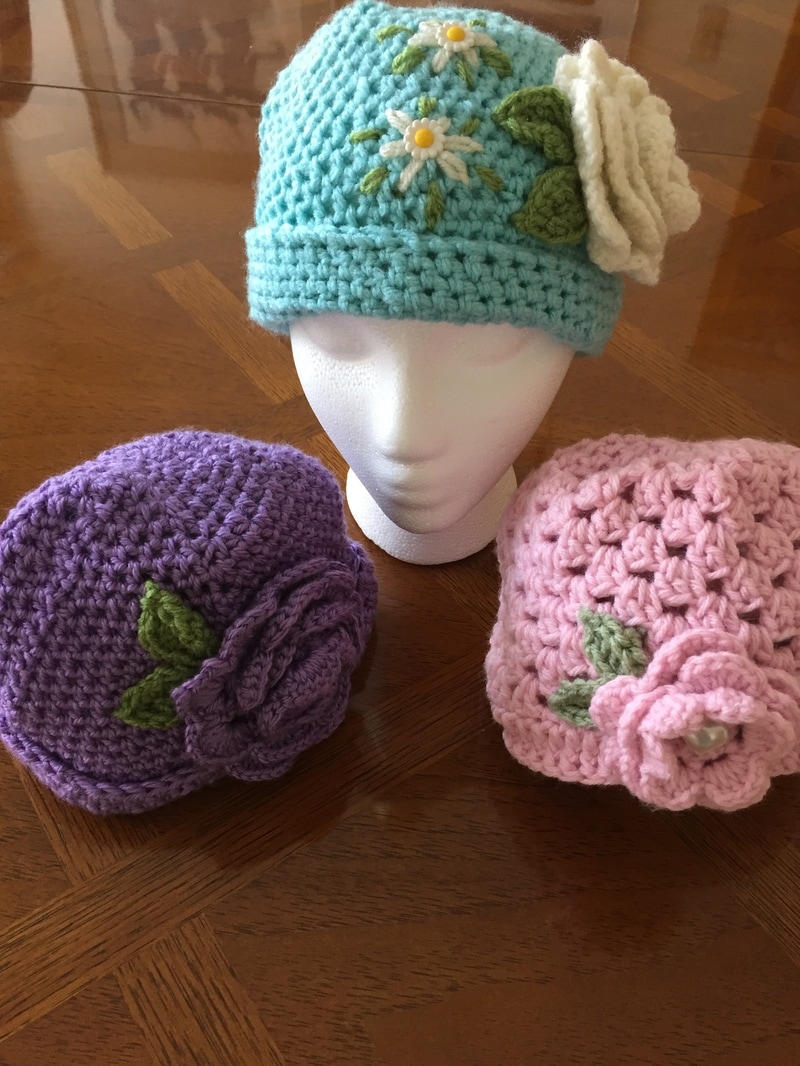
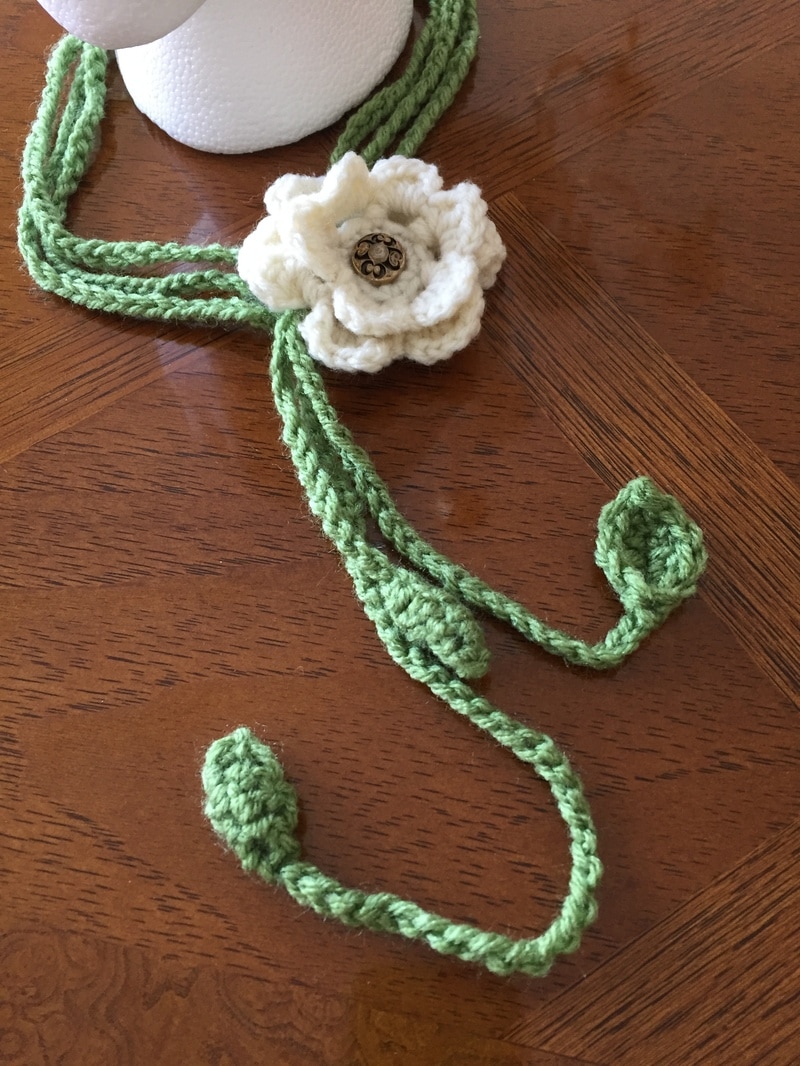
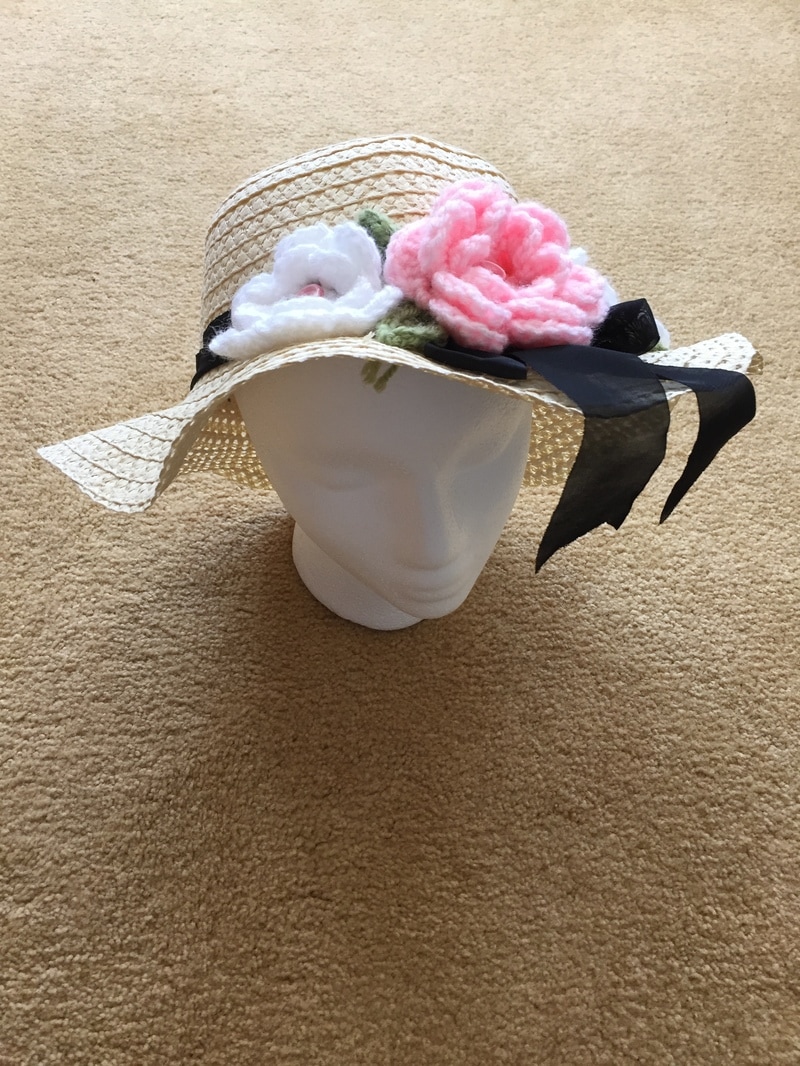
 Crocheted flowers are one of the signatures of my wearable art. They are a versatile decoration that can be used to adorn many projects. My flowers embellish gloves, scarves, swearers, blankets, and baby cocoons. Crocheted flowers stand alone as a single large rose on a hat or headband. The can also be grouped in an array to enhance a baby cocoon as a photo prop. I often cluster a larger flower, a smaller bud, and leaves. The styles I employ most frequently are: a single one layer posy with 5 or 6petals a multilevel, 3-dimensional rose a lacy rose made from a long crocheted strip that is coiled and sewn The single posey is just right for the newborn hat, small accents, and other delicate items. The 2-layered flowers are best for my fingerless gloves. 3-layered roses or coiled Lacey roses are best for more substantial pieces. I use this type of flower when I need a wider, flatter rose. You can also transform a straw hat from the dollar store with one large flower or several flowers, buds, and leaves sewn to the ribbon band an brim. You might even try a crocheted necklace from chains, flowers, and leaves. The photos that follow display some of the ways I experiment with this feature. Allfreecrochet.com. has been one of my main sources for all types of crocheted flowers. You can also follow me on Pinterest (Lillian Malkus, Love to Crochet) where I have made a large collection of bloom and patterns from other artists. I tend to crochet a 6 petal flower starting from a magic circle. Hopefully honey.com offers straightforward directions on how to form a rose from a lacey strip. Crochet Flowers For Every Wear includes directions for constructing flowers as well as many was for transforming everyday garments and accessories into "wearable art." For all of the flowers, the weight of your yarn and the size of the hook will determine the size of the flower. In future postings, I will describe individual projects in more detail. Just writing this post has encouraged me to experiment with more complicated blooms.
0 Comments
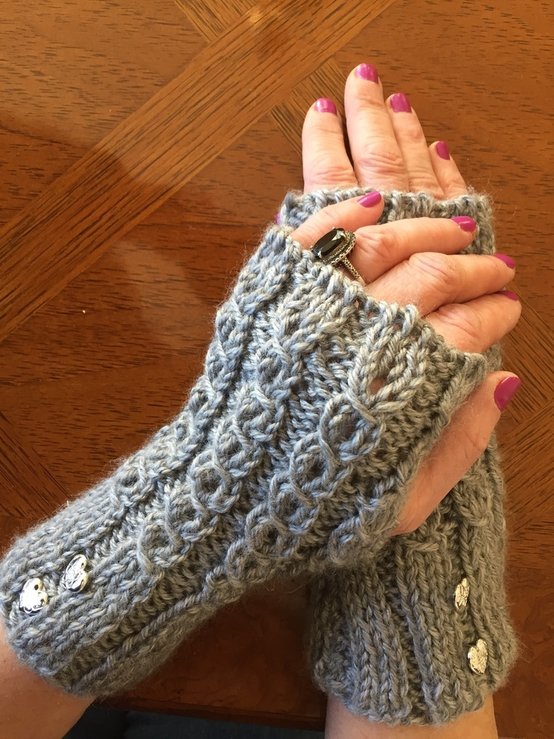
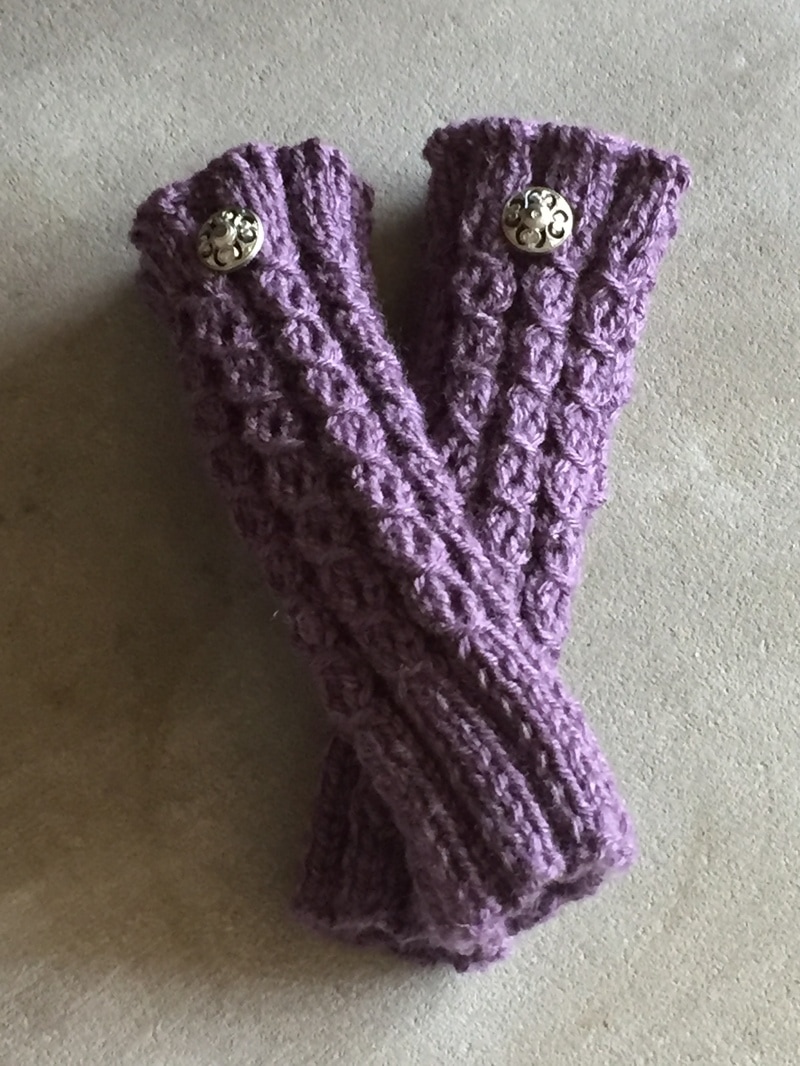
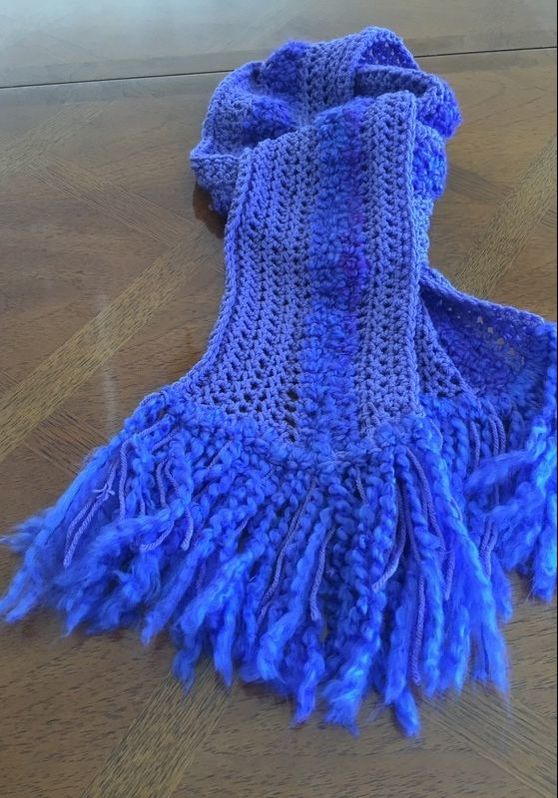
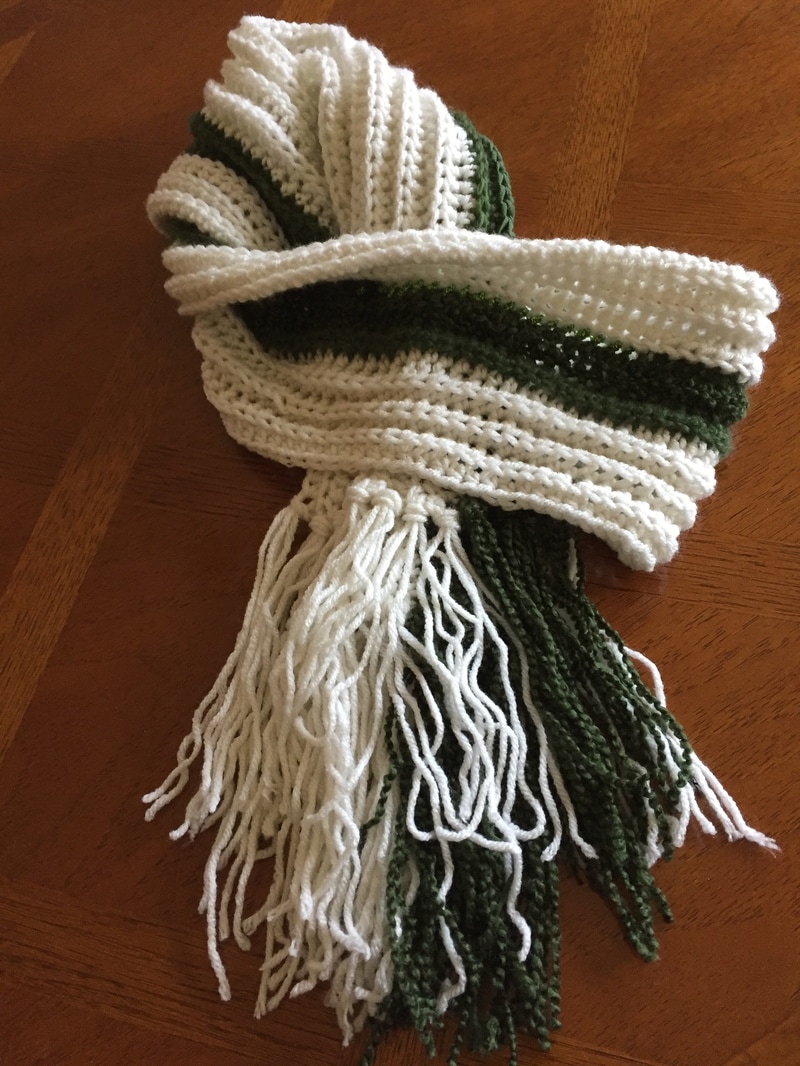
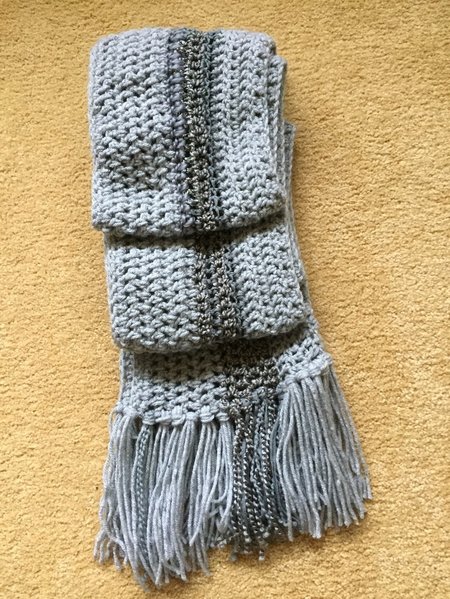
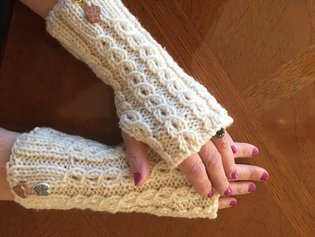 My aqua manicured nails peeked out from my crocheted fingerless gloves as I adjusted a coordinated multi-hued scarf. My husband and I were about to venture into New York City for a day of theater and city walking when I realized that I needed a pair of gloves and a scarf to keep warm. With a stash full of gloves and scarves for gifts or for selling at the seasonal holiday fairs, I had not yet thought gift myself a pair. The knitted mini-cabled gloves were cheerful and “cool.” Not only would I be warm and toasty, but I had the perfect fashion accessory. In addition I could keep them on while using my phone or dealing with other detailed tasks. Over the fall and winter I have warn these gloves many times. While these gloves were made of a thicker worsted yarn, a thinner yarn would make them the perfect accessory for spring. Therefore, when I started this blog, I knew that I would have to share my pattern with my readers. During the past year I have experimented with many patterns for these fingerless gloves or hand warmers. This pattern will be the first of many I plan to publish. Knitting or crocheting are both ideal mediums for fingerless gloves. The gloves are one skein projects that can be completed in a weekend. They have been popular items for sale at craft fairs and make for inexpensive yet creative gifts. The following free knitted pattern is relatively easy to complete. On a 1-5 scale, I would rate it as a 2-3 in difficulty. You will be creating 2 flat rectangles that you will sew together to make the gloves. Materials: #6 and #8 knitting needles. Yarn: #4 Worsted yarn of your choice Directions: Cuff: Cast on 37 stitches. Rib in the following pattern for 14 rows. Row 1: Purl 2, Knit 3. Ending in Purl 2. Row 2: Knit 2, Purl 3 . Ending in Purl 2. Body: Knit 8 repetitions of this 4 row pattern. Row 1: Purl 2. (Slip stitch as if to knit. Knit next 2 stitches. Cross slipped stitch over 2 knitted stitches, Purl 2). Continue to last 2 stitches. End in Purl 2. Row 2: Knit 2. (Purl 1, YO, Purl 1, knit 2). Continue to last to stitches. End in Knit 2. Row 3: Purl 2, Knit 3, Purl 2 across. End in Knit 2. Row 4: Knit 2, Purl 3, Knit 2 across. End in Knit 2. Finger Cuff: Stitch to #6 needles so that you will get a tighter stitch that will close more naturally on your fingers. Follow the same pattern as you did for the wrist cuff for 6 rows. Bind off in pattern. Leave a long enough tail to sew the glove together. Construction: Fold the knitted rectangle in half with the wrong side of cable showing as you sew. Starting at the upper cuff, whip stich both sides together for the 6 rows of the upper cuff plus one row of the body. For the next 1..5 inches, loosely stich only one side. Then begin joining both sides together again until you reach the bottom. Weave in all ends. Turn the glove so that the cable faces out. Add decorative buttons to the cuff or to the middle of the top cuff. For spring weather, use a lighter worsted. Happy knitting. I would appreciate any feedback. Enjoy your knew fashion accessory. 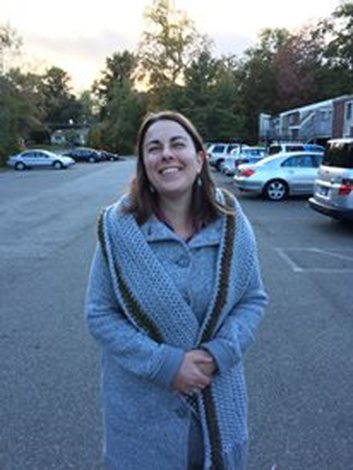 “I won your scarf,” my daughter called out as the winning raffle numbers were announced. I had donated a crocheted scarf to the membership dinner raffle for my women’s group. Since my daughter, Robin, was my guest, I bought raffle tickets for both of us. After scanning the available prizes, she promptly deposited all of her tickets in the bag in front of the scarf. “I would have given you a scarf, if I knew you wanted one, “ I told her. “Oh, it is so much more fun this way,” she answered. The scarf in question was about 7” wide and long enough to wrap or fold in half and slip through the loop. Since the event, Robin told me that she has received many compliments on her fashion accessory. What made it special was the band of textured yarn that carried through to the fringe. I enjoy making this kind of scarf because of the variety and experimentation that is possible. For the body of the scarf I crochet with a thicker worsted yard. Worsted is rated #4 in thickness, but there is some variation, and I prefer the yarns at the thicker end of this weight level. Although wool is luxurious and warm, I tend to knit or crochet with acrylic as many potential customers claim to be sensitive to wool. For the textured band, I have been successful with Lion Brand’s Homespun which is 100% acrylic. For those who can stand a bit of wool, I enjoy Red Heart Boutique. This yarn has several textures and weights and adds a tactile as well as a visual contrast. I have experimented with bands that contrast with the main color or coordinate with a similar hue, and I find the coordinated look best. I am sure that there are other brands and yarns that would work as well, and I welcome your feedback. To make the scarf long enough to wrap in a variety of ways, I chain 200 stitches with a “J” hook. For my last project, I double crocheted throughout to produce a more flexible airier scarf. If you prefer, half-double crochet works well, but you will have to work a few more rows to achieve the desired width. The following proportions work best for me:
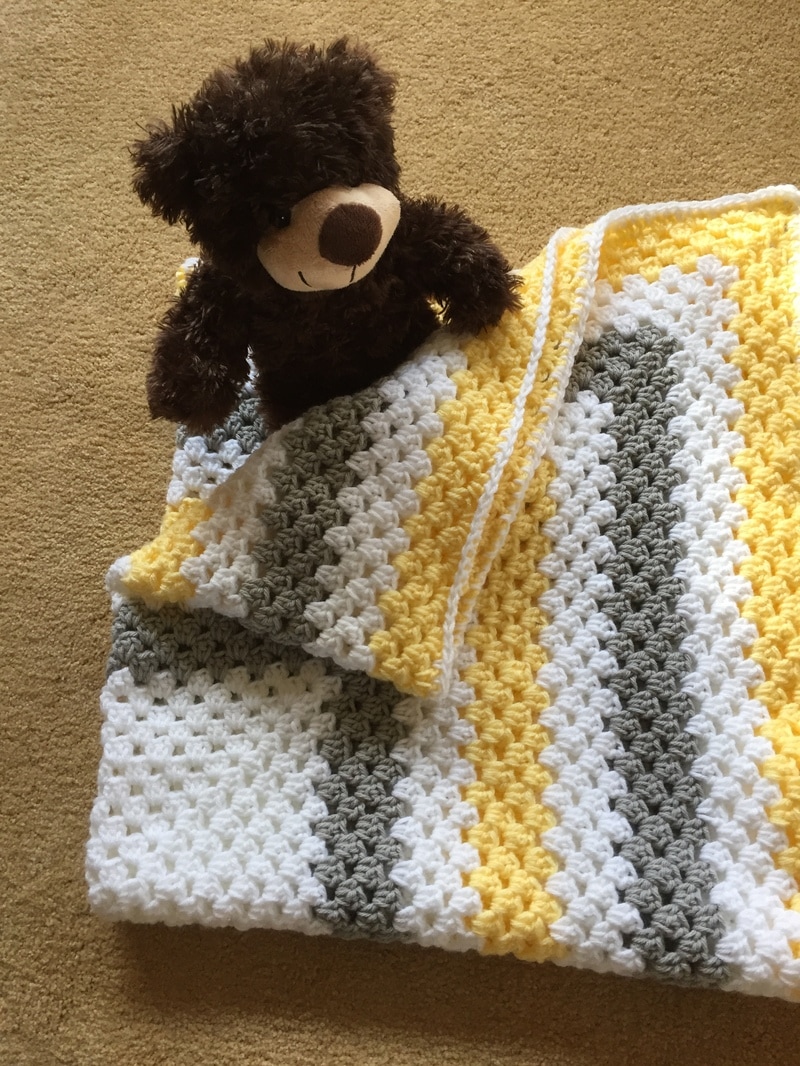
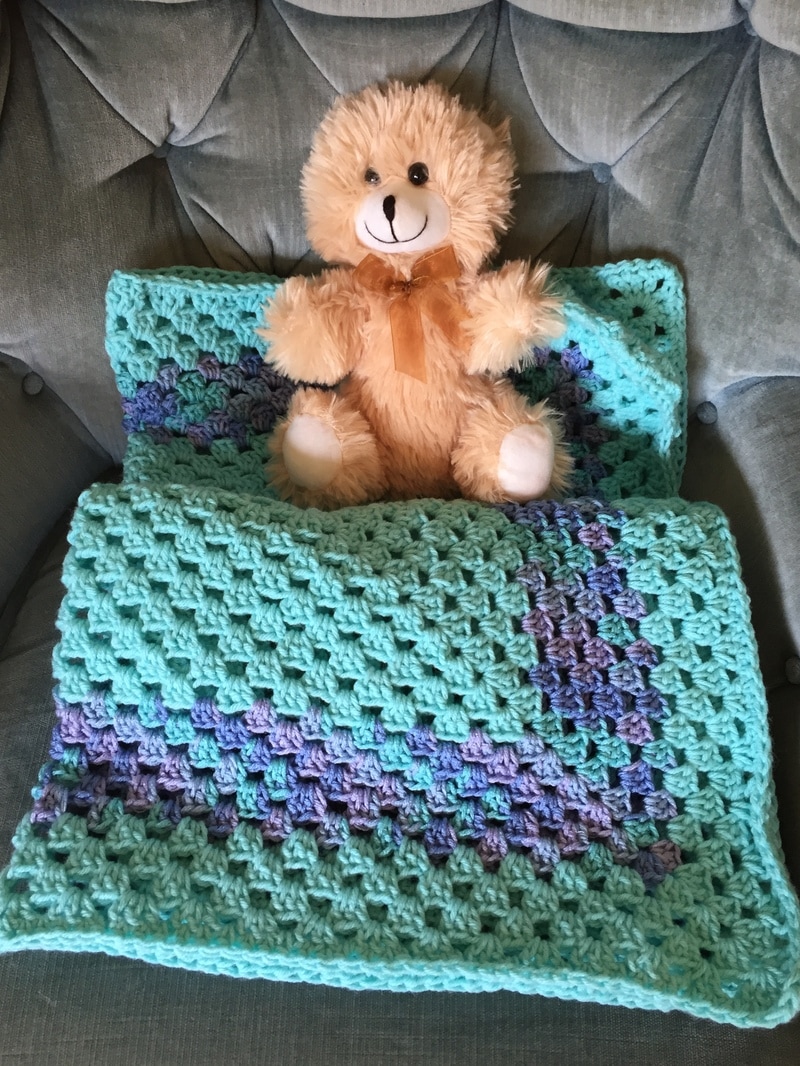
Sometimes. I just prefer to use the textured yarn for the entire fringe. The yarns dictate my choices. This is an easy project for a beginner. Good luck in your crocheting. I hope that you enjoy your new fashion accessory. Please note, my recommendations and endorsements of various instructions and products are based on my own experiences and preferences. 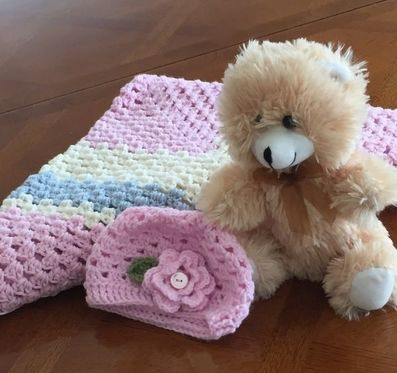 The gift of giving is a wonderful plus for the crocheter and knitter. Special friends and family get to enjoy the art and appreciate the work and skill that went into such a thoughtful gift. I recently had the opportunity to present a family friend with a crocheted baby blanket for her third son. She had many clothes and blankets from her older boys, but she was delighted to receive my “blanket with holes.” Most physicians recommend that babies should not be left to sleep in heavier blankets until the little one is at least one year old. The presence of soft blankets, and pillows in the crib can be a danger to the baby who may suffocate in the coverings (like fleece) which are too warm and not very breathable. Wanting to find a happy medium between safety and comfort, many new mothers are finding the best compromise in the crocheted blanket. The crocheted blanket provides comfort and security without overheating. Consult your physician when making these decisions. This blanket was crocheted with an extended granny square design in the colors, white, blue, and gray. Although I like to plan out most of my designs, bands of color in this blanket grew from the colors I had on hand. I enjoy using the extended granny square as it works up quickly and evenly. Also, I do not have the painstaking task of assembling many smaller units. My favorite pattern is from allfreecrochet.com. Na na’s Favorite Baby Blanket). Most patterns call for worsted weight yarn, #4. However, these yarns can vary in thickness and weight. I prefer to use a slightly thicker worsted yarn. Some of the yarns on the mass market are too rough and scratchy for a baby’s skin. I recently discovered Babyhugs by Red Heart. The yarn is certified free of harmful levels of over 300 substances and is available in pastel and vibrant colors in medium and light weights. For baby blankets, I use the medium weight . Instead of the I hook, I crocheted with a J hook to achieve the look and texture that I wanted. The manufacturer claims that the fiber is colorfast and easy to machine wash and dry. As with any handmade item I would use the gentle cycle. Also I prefer to block dry and flat on a large towel. The white, grey, and yellow blanket is an ideal neutral gift for the baby whose gender has not been identified. I just donated the jewel toned blanket to an organization called Threads of Love. This Connecticut based group's mission is to provide a comforting blanket or shawl for children or adults with cancer or other significant health challenges. Currently I am in the middle of crocheting a pink and white blanket for my new granddaughter. It will be several months before she is ready for the blanket. However, I smile with joy, every time I pick up my hook and yarn. Please note, my recommendations and endorsements of various instructions and products are based on my own experiences and preferences. |
Archives
November 2022
Categories
|


 RSS Feed