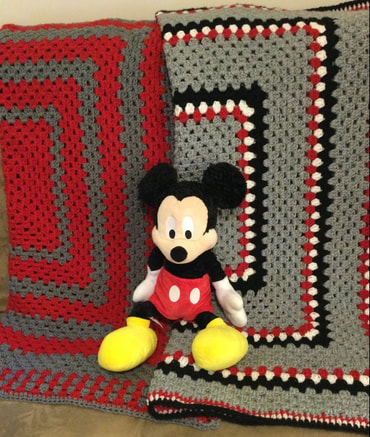
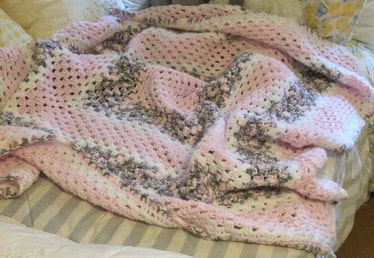
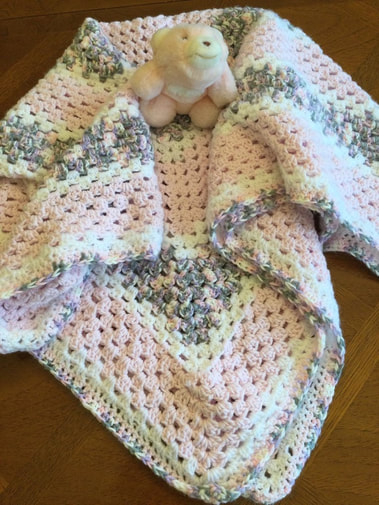
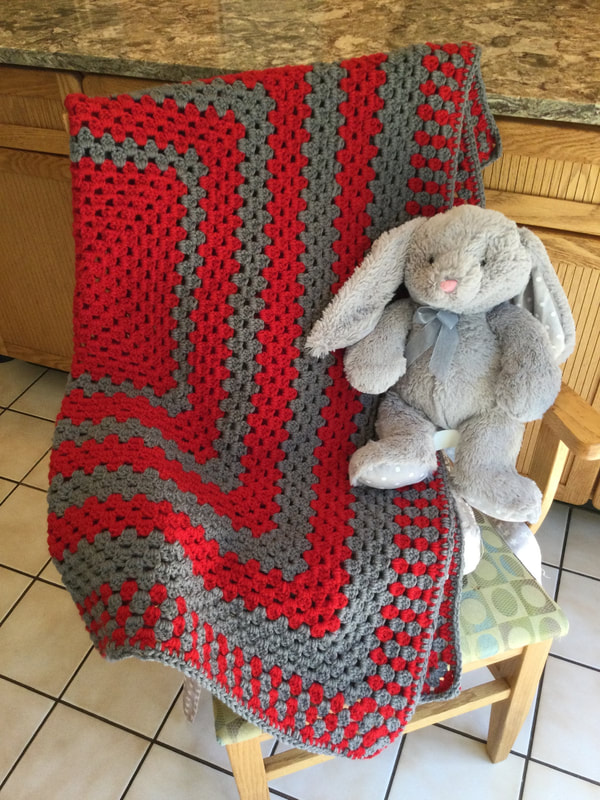
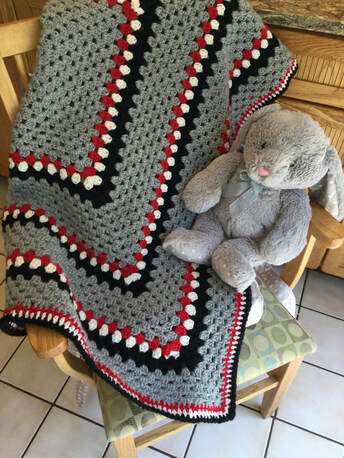
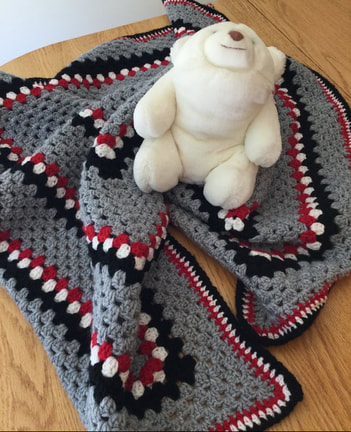
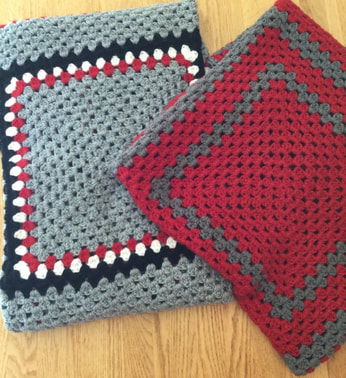
 I am quite proud of the three blankets that have evolved from my stash busting efforts. As I noted from my previous post, my goal was to create pieces while including large quantities of yarn from my extensive stash.The main criteria for each blanket was that I had to work with the yarn that I already had on hand. The designs evolved as I sought attractive combinations. The available yardage for each color helped to determine the eventual design. I like to work with the extended Granny Square, and there are infinite design options that are available to me. Project 1 A variegated Red Heart Super Saver in pink, white, green, and lavender was the driving force for this piece. I also happened to have a Caron pound yarn in a pale pink and several partial skeins of white that matched the colors in the variegated yarn. The Extended Granny Square started with 8 rounds of of pink, followed by 2 rounds of white and 6 rows of variegated yarn. The sequence was repeated, ending in 2 rows of white. The final edging consisted of 1 row of pink in Half Double Crochet (HDC) followed by 1 row of variegated in the same stitch. The completed blanket was a 40 inch square which would work as a blanket for a girl or a lapgahn for a women. I donated this piece along with the shawls from my previous post. Project 2 This 42 inch blanket or lapgahn is suitable for a boy or a man. It started with 8 (135 yard) skeins in red worsted Just Yarn that I bought from the Dollar Store. I was drawn to the color and the delightful hand feel. I bought all the red skeins that were on the shelf, and I had 1080 yards of for the project. Now I needed a pleasing contrast for my blanket. I did not want go the patriotic route in red, white, and blue. Luckily, I was able to pick up two large skeins of dark grey RedHeart yarn when I bought my shawls to the collection site for Threads of Love, Frequently people support our cause by donating unused yarn to our synagogue. Since I did not have to buy the yarn, I felt it qualified for inclusion in my stash busting mission. I started with an 8 round square of red, followed by 2 rounds of grey and 4 rounds of red. Then I had to determine if I would continue with the same sequence or whether I wanted to increase the number of grey or red rounds as I continued with the blanket. I brought the piece to my Craft Group at the Woodbridge Center and posed the question to my fellow knitters and crocheters. I was especially interested in the views offer expert gentleman knitter as the proposed blanket or lapgahn was designated for a boy or man. We finally decided to stay with 4 red rounds, but I would inrease the number of grey rounds by one after each red bunch. After my last set of 5 grey rounds, I realized that I was running out of yarn. Therefore, I would stop making solid sets of rows and begin work on the edging. When you crochet the Extended Granny Square, you can achieve vertical stripes if you alternate two colors for several rows. Since, my last group was done in grey, I began the edging with a round of red clusters. I followed with a row of grey and then one of red. I had enough yarn for 5 total rounds. The piece was finished with a single round of grey in Half Double Crochet. Project 3 The 8 skeins of grey worsted yarn from the Dollar store had 115 yards per skein. The 920 yards were also designated for a boy's blanket or for a man's lapgahn. When I placed the pale grey yarn next to contrasting colors in my bins, the white and black spoke out to me. I still wanted a pop of color, and so I bought out the cherry red. The initial square was made up of 10 rows of grey. The contrast sequence was 1 round of red, 1 round of white, 2 rounds of black, and 6 rows of grey. I had planned to follow the sequence two more times, but I ran out of grey yarn after round 5 oof the last grey section. Therefore, I transitioned immediately into 3 rows of HDC in red, white, and black as I had done for the larger granny stitch cluster rows.The completed piece ws 42 inches of cozy comfort. My stash busting mission used a significant amount of yarn: 1 large skein of varigated yarn, 1 pound of pink yarn, 2 incomplete white skeins., 8 skeins of red, 2 large skeins of dark grey, 8 skeins of light grey, and partial skeins of red, white,and black. When I look back to the skeins used from the previous article, I had made a significant dent in the yarn that was overflowing from bins and assorted shopping bags. White I donated the girl's blanket, I decided that I would donate the red and grey blanket, but keep the grey blanket with the red, white, and black accents. I like to have pieces on hand when I need to come up with a gift. After all of this stash busting, I was further motivated to reorganize all of my yarn. Most of it was useful, but buried. Some belonged to a bygone era. Others just did not fit color palettes that I enjoyed. After dumping all remaining seven bins on the floor, I sorted by color and weight. Two other piles remained: the give-away pile and the throw-out pile. I brought the giveaway pile to my craft group and most of it was taken. I tossed the throw-out pile and and remainder of the give-away pile. Now I have just 5 bins and no stray shopping bags of yarn. Best yet, I have planned my next 3 large project since I have grouped all of the colors and I know how much I have have of each skein as well as the coordinating colors. Thank you for your reflections and feedback. As always, I welcome you to join me on my stitching journey.
2 Comments
 While many articles offer suggestions for projects for small amounts of leftover yarn, the focus of this post is to work on larger projects that combine individual whole skeins with collections of smaller skeins to create attractive shawls, blankets and lapgahns. My closet bins were stuffed to overflowing, and there were several shopping bags filled with skeins that no longer fit into the closet. I was determined not to buy any additional yarn and to make a significant dent into my stash. How did I accumulate so much yarn that had not been designated for a specific project?
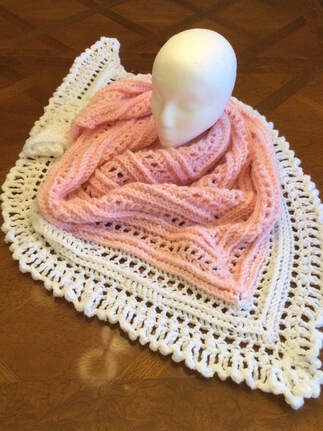
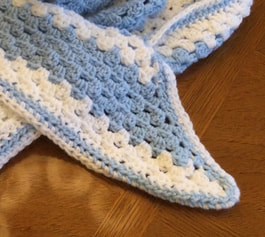
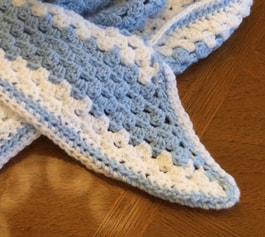
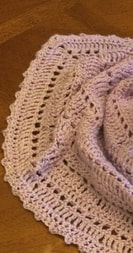
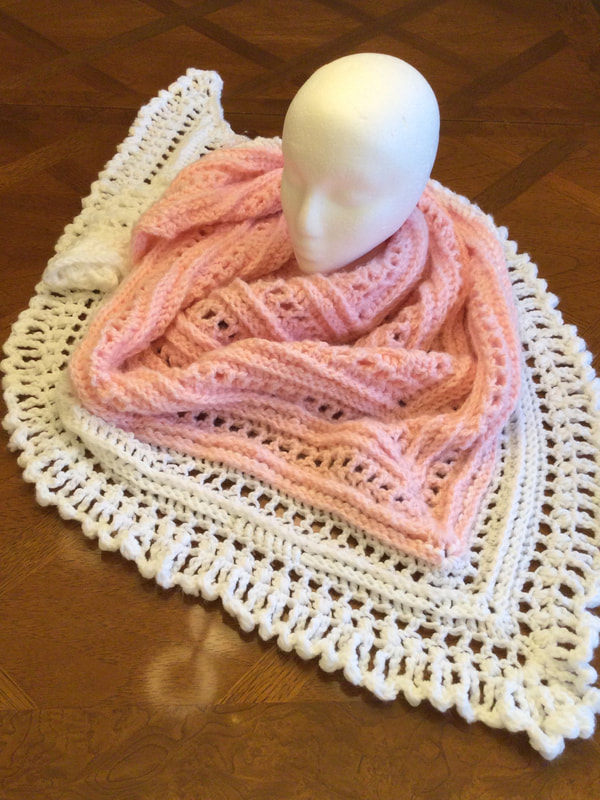
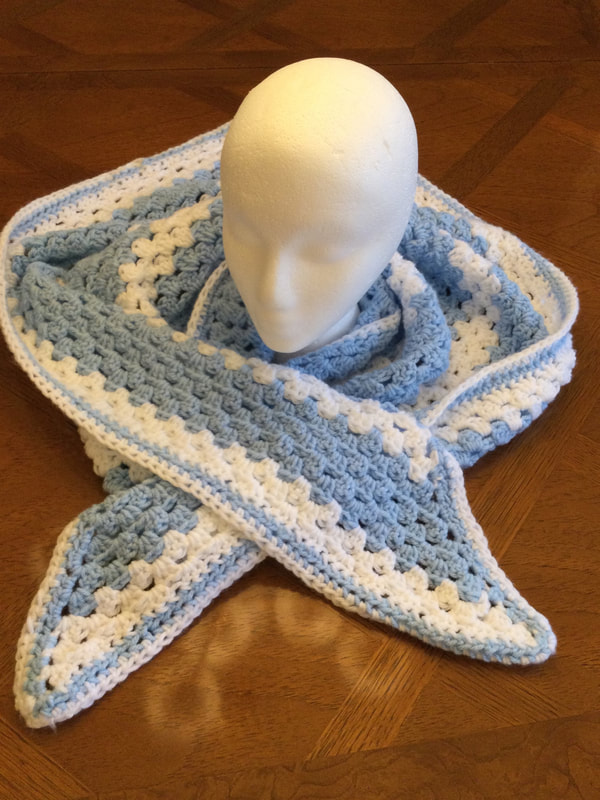
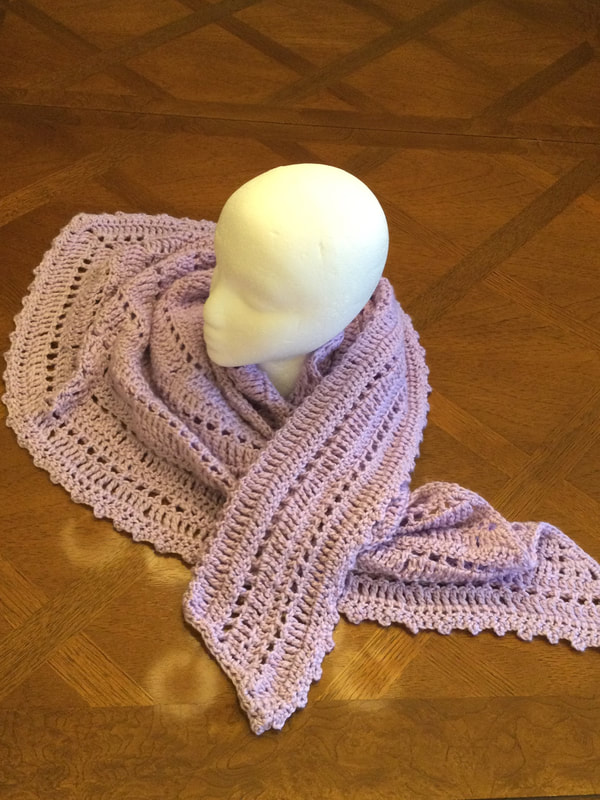
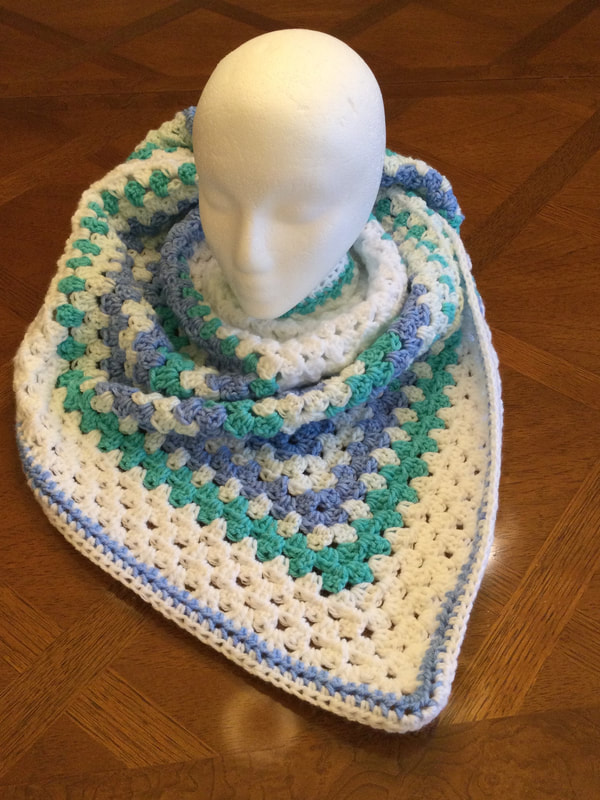
What is important to note is that there was usually not enough yarn in any skein or collection to make a complete project. A key element of the plan was to use what I had on hand without buying any more yarn. While I worked with basic shawl patterns, I had to adapt and improvise as I was not sure how the yardages would play out. I am still contributing to Threads of Love to help our chapter reach our 1000 piece goal. Therefore, creating shawls was a good place to start. The second part of my mission would be to crochet blankets or lapgans. However, as I started writing this post, I realized that series of projects would have to wait for my next article. Project 1: This shawl was based on a basic triangular scarf pattern that incorporated 5 skeins of light blue worsted weight Premier Just Yarn that I purchased from my local Dollar Store. This yarn had a lovely hand feel, but with a total yardage of about 600 yarns there was not enough yardage to complete crocheted triangle shawl that required 900 to 1000 yards. Luckily, I had a several orphan partial white worsted skeins that were compatible with the blue yarn. I combined the two fibers by starting with a large white triangle. Then I proceeded to alternate several white and blue rounds of granny cluster stitches. I ended the body of the shawl with several rows of white. Although I was about to run out of blue yarn, I had enough to edge the shawl with one row of HDC in blue and a second row of HDC of white. The finished blocked measurement was 62 inches wide by 30 inches deep. 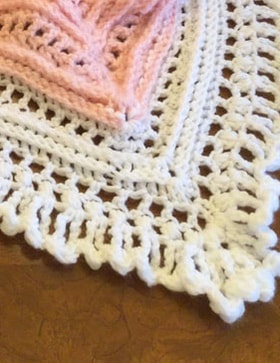 Project 2: This pink shawl with lacy white edging was based on 5 skeins of Red Heart Jiffy Yarn that yielded 650 yards of fiber. I started with the Secret Paths Pattern by Mijocrochet . Since this was a #5 yarn, I used a K hook. I really liked the ridged effect that was achieved with FPDC, but I could not incorporate the rows of bobble stitch as the yarn was just too thick. I just skipped that part of the sequence. When I ran out of pink yarn, I transitioned to orphan white worsted that I had in my stash. There was no label, but the yarn worked with the pink Jiiffy yarn. Since this yarn was a worsted. I was able to work in a single row of puff stitch before I switched over to the lacy edging with a J hook. This was my first experience with a lacy edging, and I was happy with the feminine touch it gave to the shawl. The finished piece measured 62 inches wide by 31 inches deep. 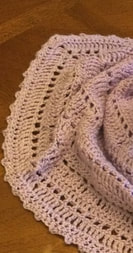 Project 3 made use of 2 complete and 2 partial skeins of Caron Simply Soft in lavender. This yarn was donated, but I did not think that I would use it for personal projects. I wanted to crochet a soft draping shawl, and designed a stitch sequence to achieve this goal. The pattern was based on the typical triangle shawl crocheted from the top down. After an initial starting set up triangle, increases were made in the corners and in the chain 2 space in he middle. Row 1: Double crochet Row 2: Triple crochet Row 3: Triple Crochet mesh stitch. I finished the body with a DC row. A round of HDC provided the base for a final round of picot stitching 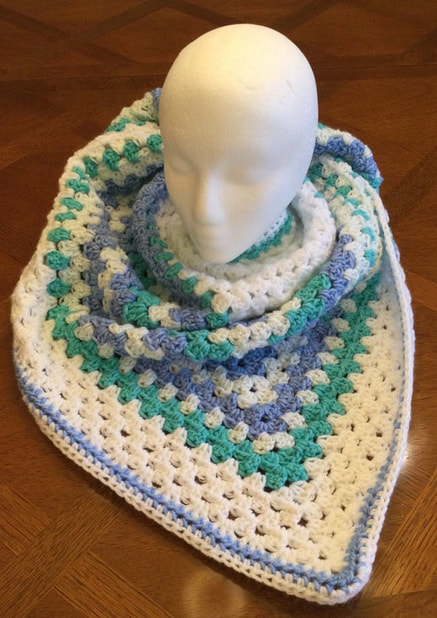 Project 4: Somehow I had 2 rolls of Sweet Roll Self-striping yarn languishing in the bottom of one of my bins. I had bought the yarn to use with my fingerless gloves, but had decided to work with more neutral hues. The turquoise, iris blue, and white stretches of yarn would make adelightful shawl. With 285 yards per skein, I had 570 yards to work with. I had bought a lot of white yarn at one time because I could easily add it to other skeins when trying out different combinations. I stayed with my tried and true triangle pattern and started with a white triangle. ThenI transitioned to the Sweet Heart Rolls that made their own self striping display of colors. Since I wanted to finish with a row of HDC in colored yarn, I had to cut off enough yardage to anticipate this round. I crocheted several rows of white Granny clusters before working the single row to top off the piece. The final measurements for the shawl were 60 inches wide by 30 inches deep. Our group was quite happy to receive these attractive shawls in spring colors. We bagged them and included the Threads of Love card of wishing and caring. The decorated bags would be delivered to Yale New Haven Hospital and to the St. Rapahel Campus in the following week.
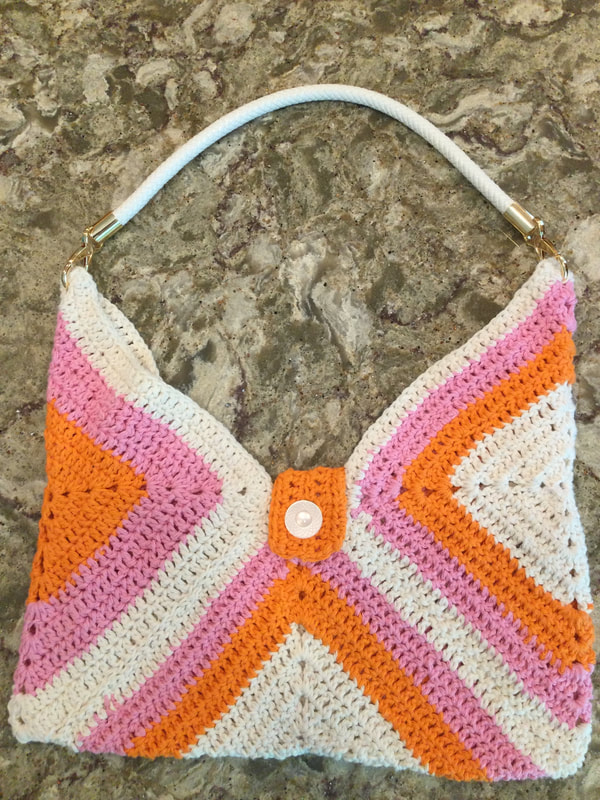
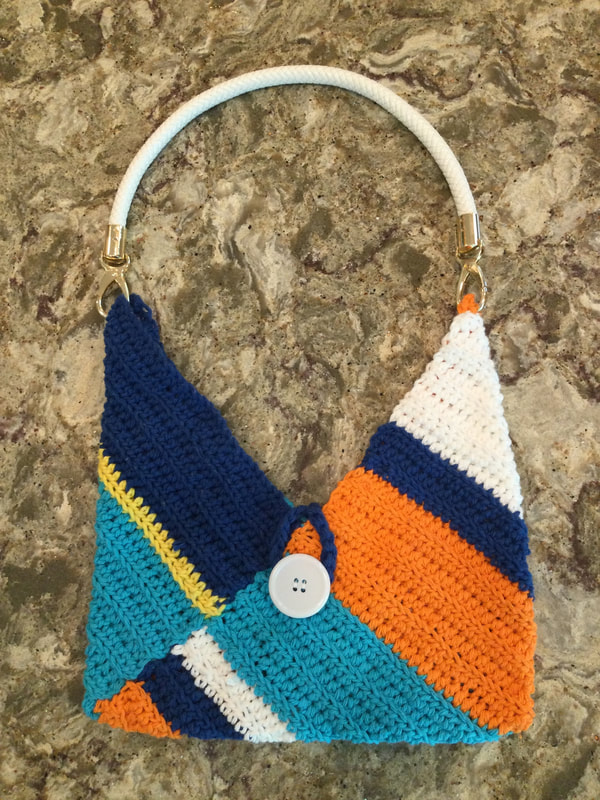
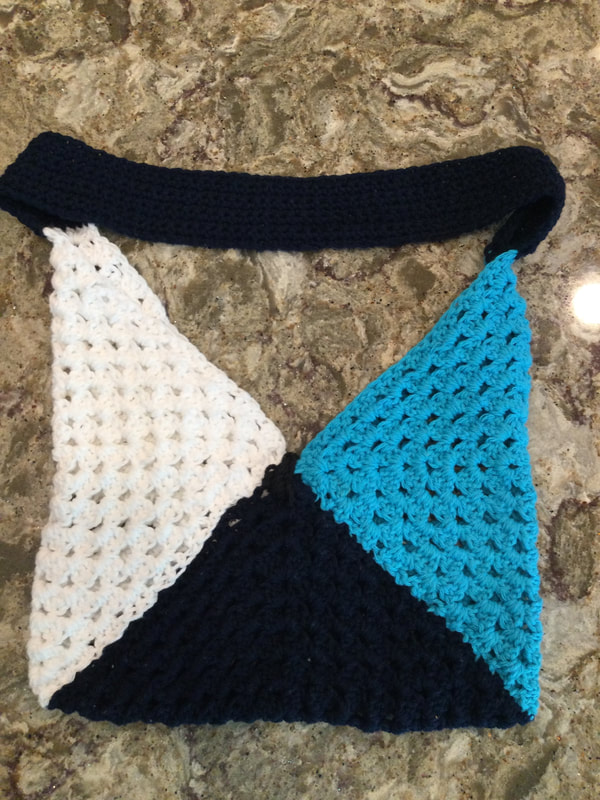
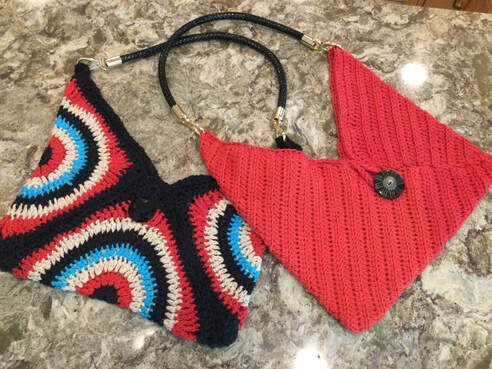
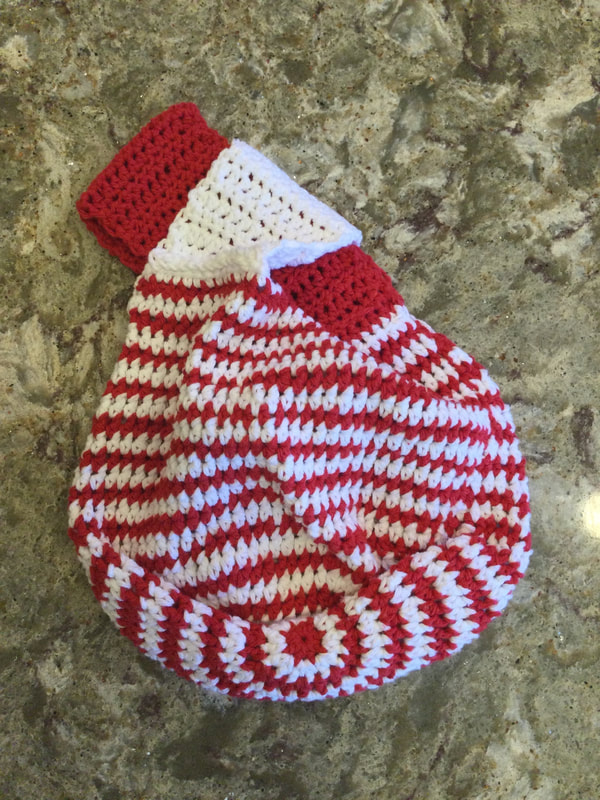
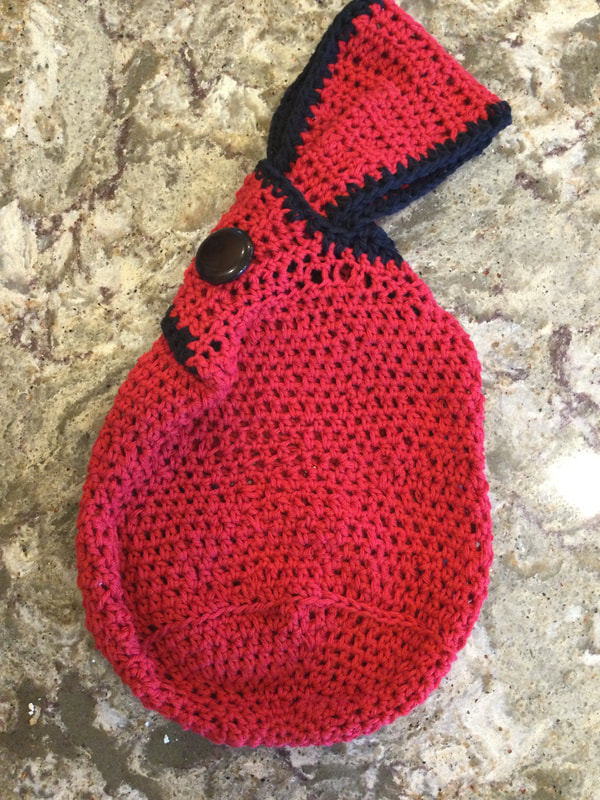
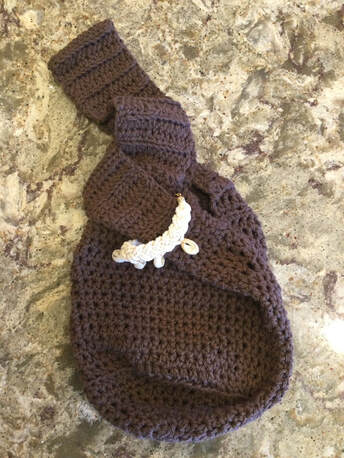
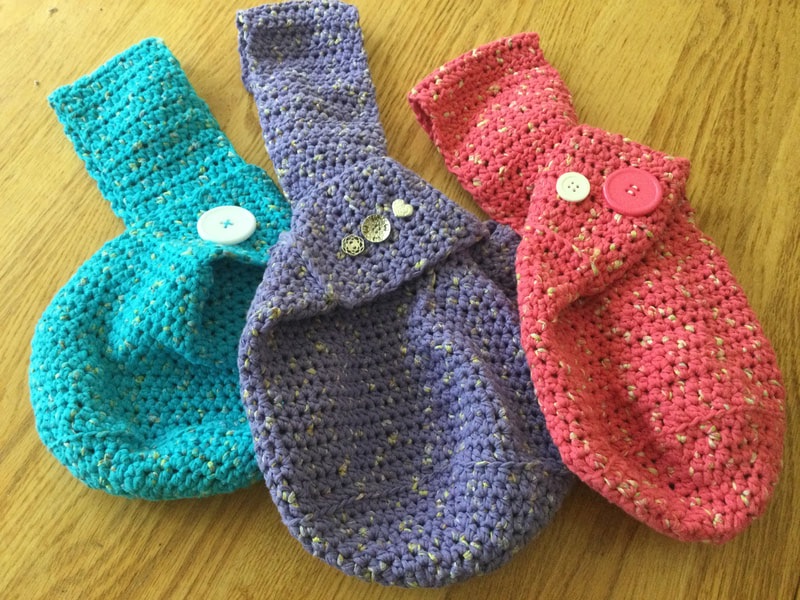
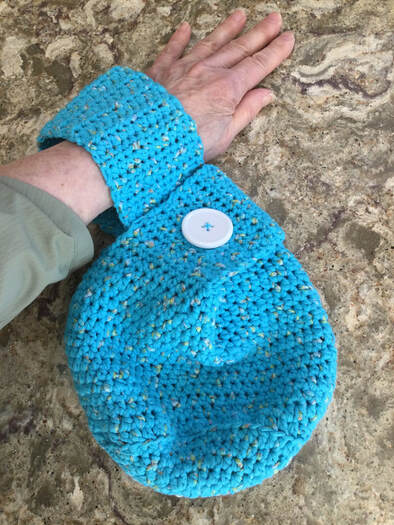
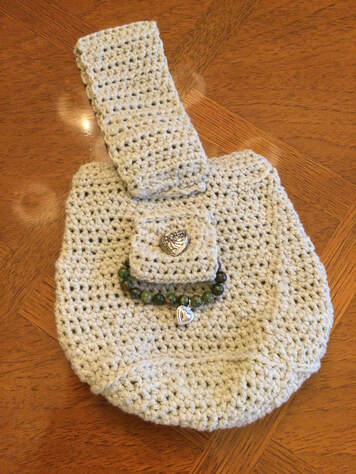
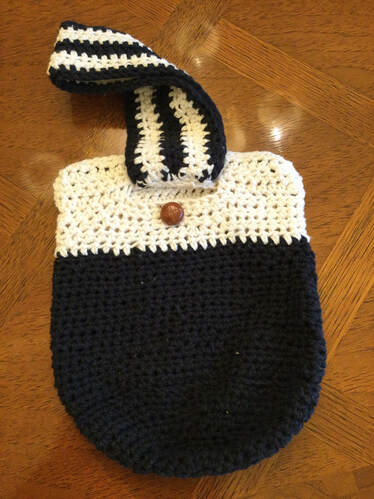
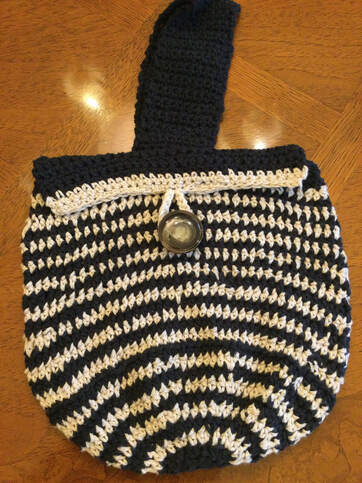
Did I succeed in denting my stash? I used 15 smaller colored skeins and 2 larger white skeins of white yarn in this part of my mission. I folded up 2 extra shopping bags that had contributed to the clutter in my craft room. Now I am moving onto the blanket phase of my enterprise. I look forward to showing you the results in my next post. Thank you for your feedback and reflections. I welcome you to join me on my stitching journey. 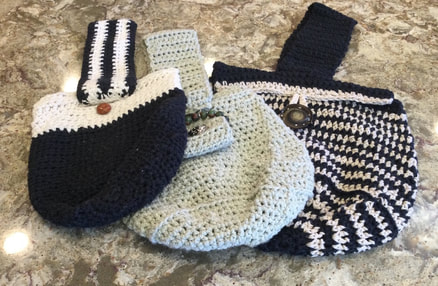 With Mothers' Day and warm weather approaching it is time to refresh your wardrobe or develop a gift for someone dear to you. I wrote about the Japanese Knotted Purse and the Bento Purse last year, but I wanted to showcase the designs with some new colors and new creations. The Crocheted Bento Purse is simple to engineer. You can simply crochet a rectangle in which the height is 1/3 of the length.Then fold the piece so that you end up with a V shape opening. For the red purse I used a half double crochet, stitched on the black loop only to create a ridged texture. The navy white, orange, and turquoise purse was created with a striped rectangele. For complete instructions see http://www.lilcreates.com/lillians-blog/crocheted-bento-purse. You can use a manufactured or a crocheted handle. Another strategy would be to crochet 3 decorative granny squares. Sew the squares together to make one long rectangle. Then fold the piece and sew up the open edges. The white orange and pink purse was constructed from solid granny squares. The white, black, and turquoise purses were made from a simple extended clustered granny squares. It was fun to crochet circles in several colors before adding rows that would transform the shape into a square. The Japanese Crocheted Knotted Purse is one of my favorites. Once you insert the larger handle through the smaller loop the purse closes on itself. Also when you slide your hand through the larger handle you hand is free to do other tasks. Last year I crocheted the purses in bright spring colors. This year I added a red and white striped version a brown piece to wear with neutrals and a red purse that is edged with black. Since I wear a lot of black and white, it will be nice to have a lively accessory with a pop of color. For complete directions, see http://www.lilcreates.com/lillians-blog/crocheted-knotted-japanese-purses The new designs begin with the pouchlike bag I crocheted for the Japanese knotted purse. For the first project in a light sage green cotton yarn, I crocheted a horizontal slit a few rows before the top on one side of the bag. To produce the slit, I crocheted 9 stitches in half double crochet, chained 10, skipped 10, and continued crocheting in half double crochet (HDC) to complete the round. In the following round, I did the HDC as before until I reached the chain. Then I crocheted 10 HDC onto the chained strip before continuing on in the main body of the purse. I crocheted an additional two rows before fastening off. On the back side of the purse opposite the opening, I began crocheting the strap by picking up and crocheting 10 HDC along the top row of the pouch. The strap would be about 16 long before it was doubled and attached to the inside of the top row. To close the purse, simply insert the handle into the slit and pull up. A design feature was added to the front of the purse by crocheting a 4 inch strap that was doubled and sewn a few rows below the slit. Before folding the little strap, I slipped a craft bracelet onto the strip. I also added a coordinating heart silver button to the surface. For the second bag, I crocheted a pouch with a black lower portion and an off white upper portion. For this piece the decorative element was the two tone handle. This handle was crocheted horizontally along the length and then added to the purse. A simple brown leatherlike button ws added to break up the space and create interest. The final purse alternated black and taupe yarns. At the top I added three rows of black . At this time, I stopped crocheting on the front of the purse and continued on the back for 5 rows before making a slit on the back of the purse. I continued for for 4 more rows in black and topped off with two rows of taupe to complete the flap. This time I crocheted and attached a doubled 16 inch strap to the front of the purse. To close, I slipped the handle through the slit and placed the flap onto the front of the purse. To secure the flap, chain a loop in taupe to the top of the taupe layer and add a large coordinating button to the front. These crocheted cotton purses are fun to make with endless creative possibilities. They provide a delightful inexpensive gift or a stylish, unique addition to your wardrobe.
Thank you for your reflections and feedback. I welcome you to join me on my stitching adventure. |
Archives
November 2022
Categories
|

 RSS Feed