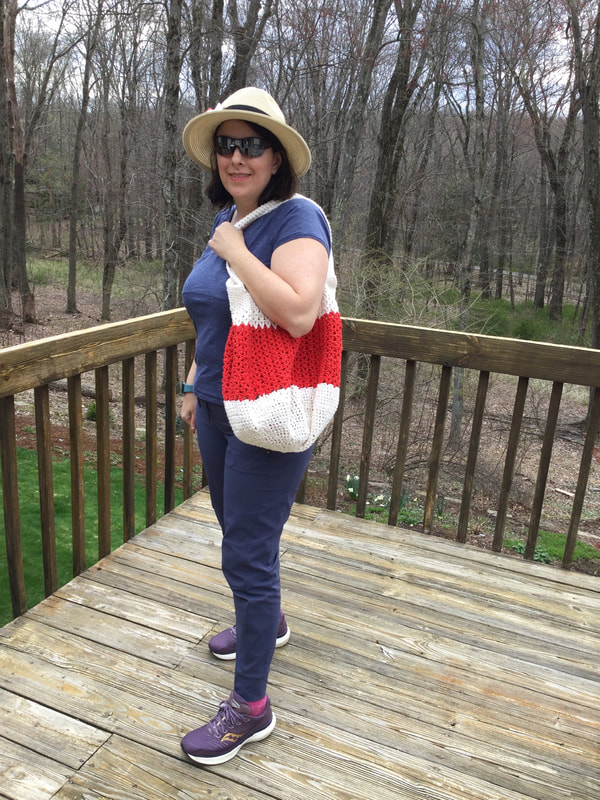
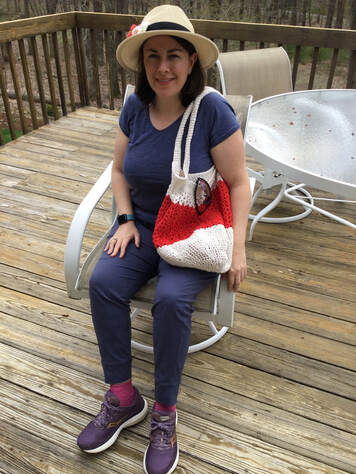
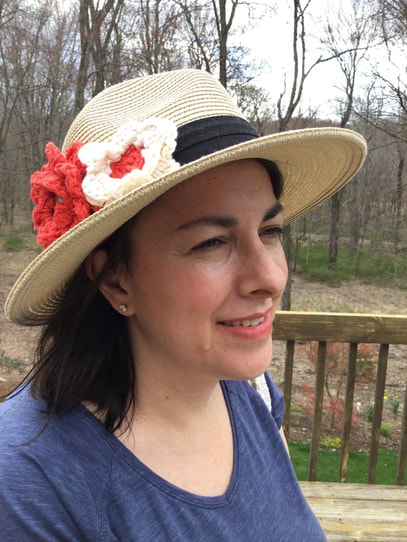
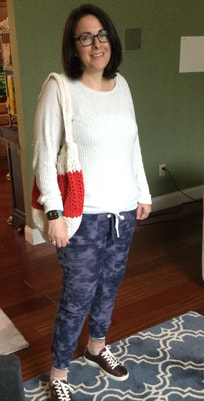
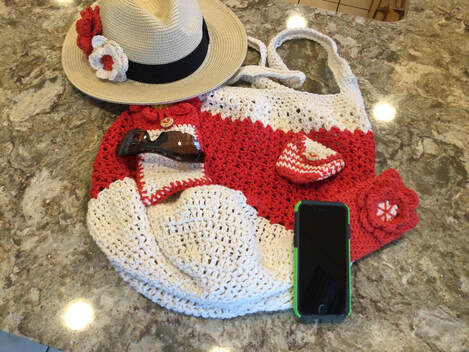
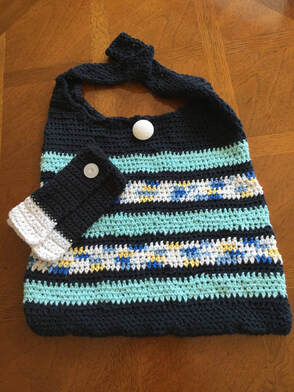
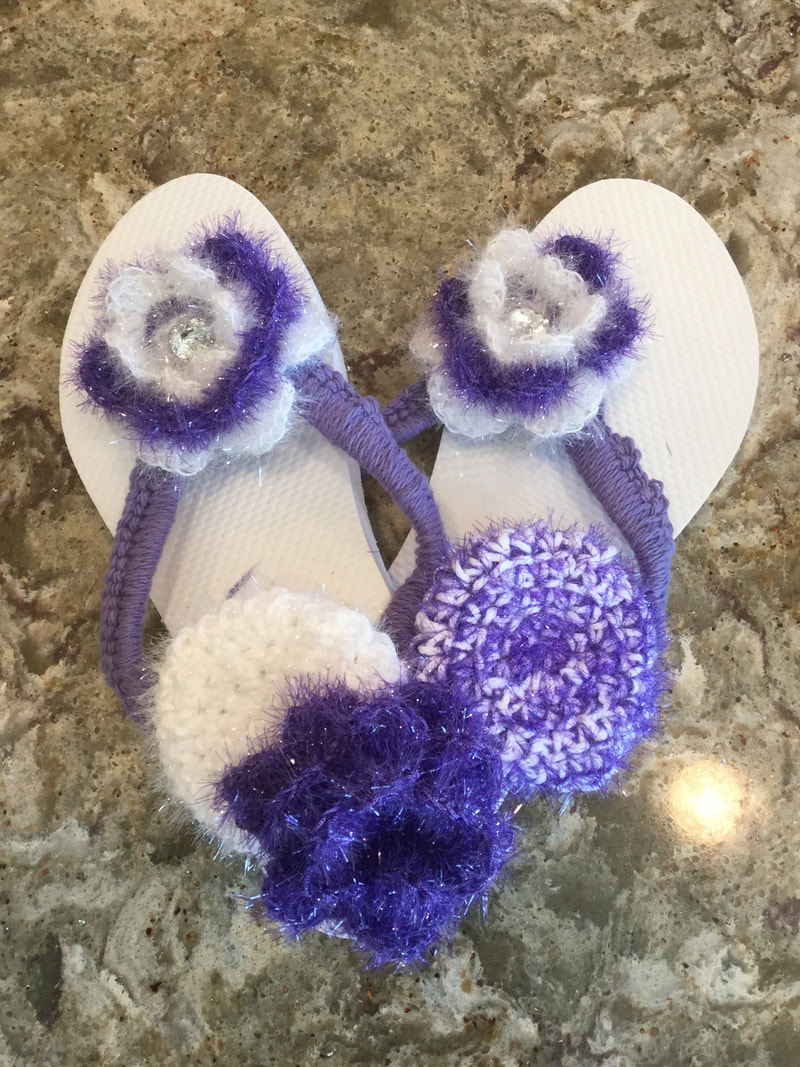
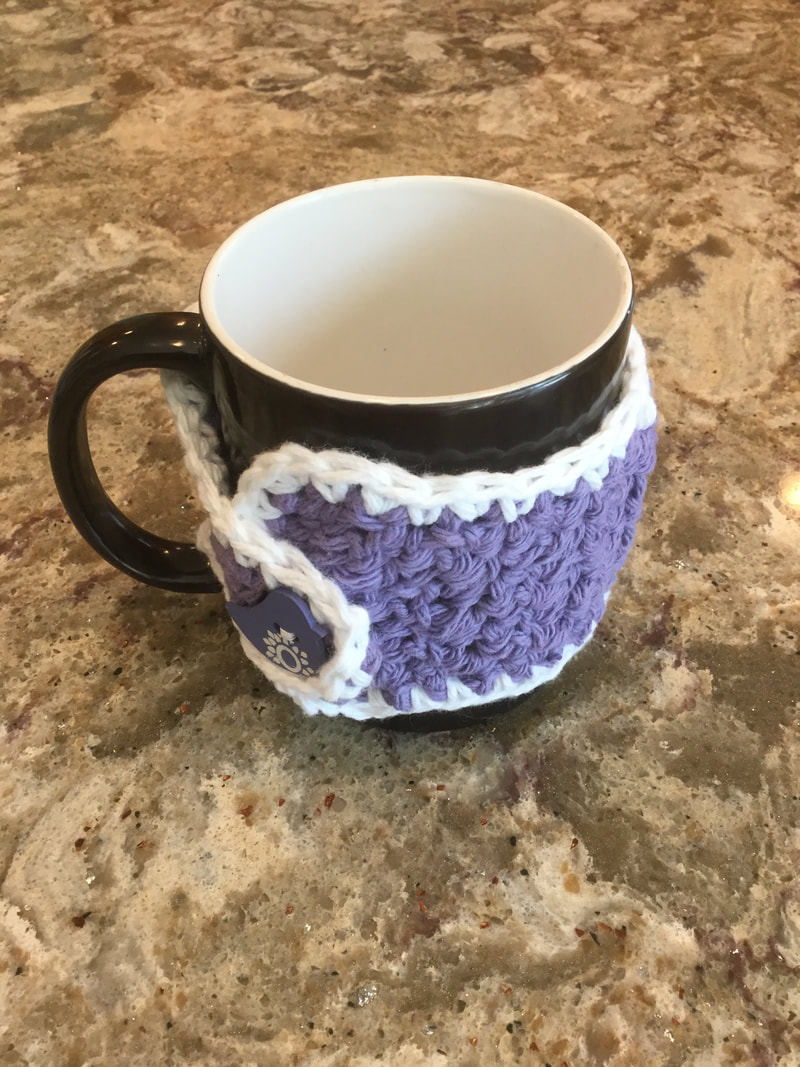
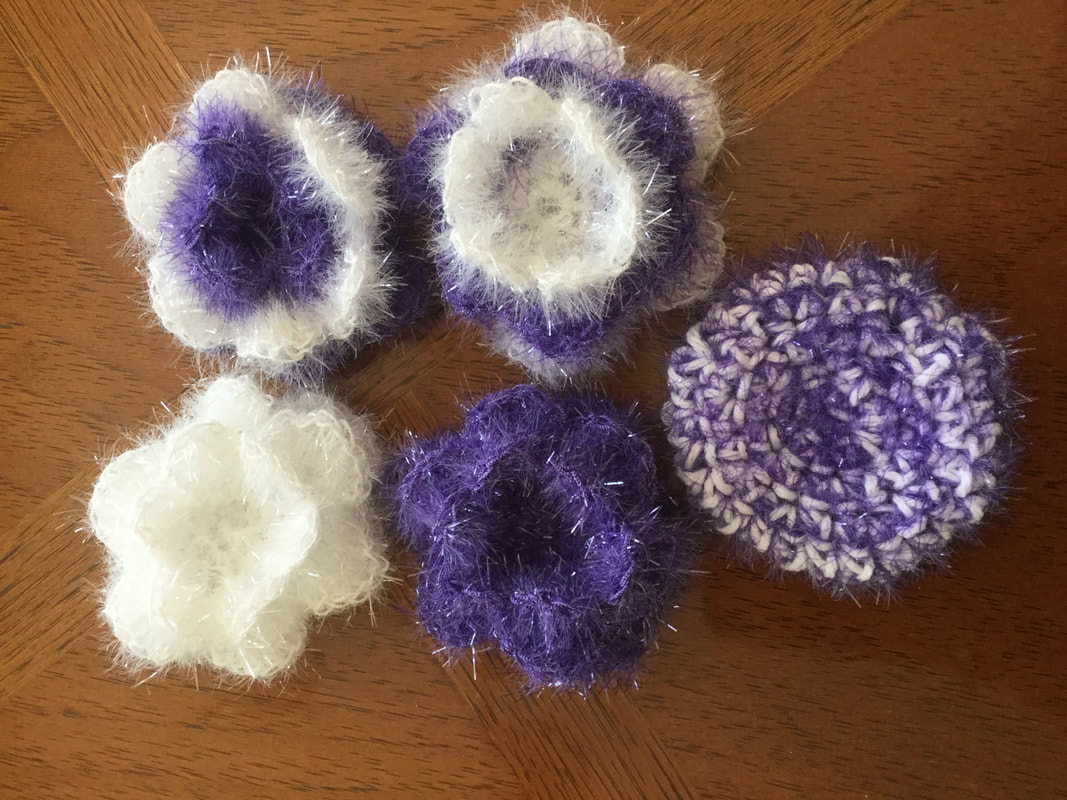
My daughter, Robin, agreed to model the red and ecru V-Stitched Market Bag and Straw Hat. I was delighted when she suggested that she would enjoy bringing the bag on family excursions to the neighborhood beach. The beach market bag was crocheted from Sugar and Cream Cotton Worsted in red and ecru. I used an I (5.5mm) hook throughout. In general, I followed the Speedy V-Stitch Market Bag from www. LOOPS AND CROCHET.com with few modifications. The bag starts out with an expanding circle with the ecru yarn in a double crochet stitch (DC) After the bottom and sides are established. I switched to a V stitch (DC-CH-DC). I changed to the color red and continued for about 7 inches. Thern I switched back to ecru for three more rows in V-stitch. Still in ecru, I began the base for the straps with several rows of Single Crochet (SC). I added a few more rows than were called for in the pattern. The straps for this bag are crocheted right into the top of the bag for a stable design. For more detail, refer to the pattern noted above. I included several accessories with the beach bag: a basic cell-phone case, a coin purse, and a sun glass pouch. I am still looking for a way to hook the cell phone case to the strap so that it can easily be retrieved without diving into the deep bag. The bright flower flap on the sunglass case made me smile. See: Happy Daisy Crochet Glasses Pouch -- Pattern by Persialou.com. The coin purse can be crocheted in stripes, solids, or in various combinations to match the bag. See: Crochet Coin Pouch/Crochet Air Pods Pouch - Free Crochet Pattern by Whistle and Ivy.com. I was also tempted by The Easy Tote Bag (Crochet) by Naztazia.com. There is a help video at Https://you tube.com/naztazia. Look for Easy Tote Bag. For this bag I chose Sugar and Cream Navy, Aqua, and a white based variegated cotton worsted yarn with an H(5.0) hook. The pattern called for crocheting with double strands of yarn, but I stayed with a single strand. The bag still had enough structure and was much easier on my hands. The bottom was worked along a 41 stitch chain. The instructions called for Single Crocheting along the chain, adding a few stitches at the end, and coming back along the other side of the chain. This procedure continued with a few rows to establish the straight bottom. Then I switched to Half Double Crochet )HDC) for the remainder of the bag. I combined my yarns for a striped effect. The straps for the bag are crocheted right into the design, but you have to sew the straps together thet top. A white button closure adds both style and safety. A navy and white wallet accompanies the bag. I am happy to gift the first bag to my daughter, but I think I will keep the navy, white, and multi-colored bag for myself. With COVID restrictions lightening and the weather warming, I definitely see some beach days in my future. Please take time to remember a mother in your life: a daughter, a granddaughter, a mother, grandmother, aunt, or special friend. For those who want some quicker projects, please refer back to my Mother's Day Spa article. Decorated flip-flops, a crocheted headband, floral scrubby puffs, and a mug holder can be used singly or in combination. The Scrubby Sparkle Yarn by Heart was easy to crochet with and much lighter than the typical cotton or regular scrubby yarns. See: http://www.lilcreates.com/lillians-blog/mothers-day-gifts-with-scrubby-sparkle-yarn. As always, I welcome your feedback and reflections. Please join me on my stitching journey.
0 Comments
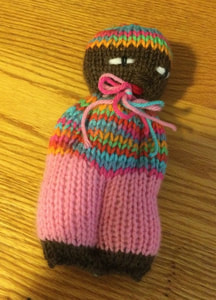
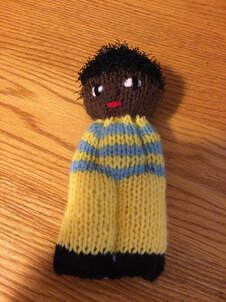
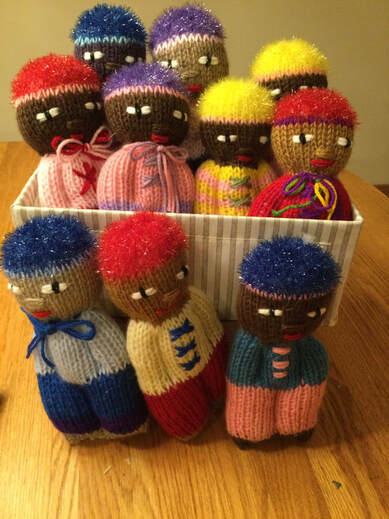
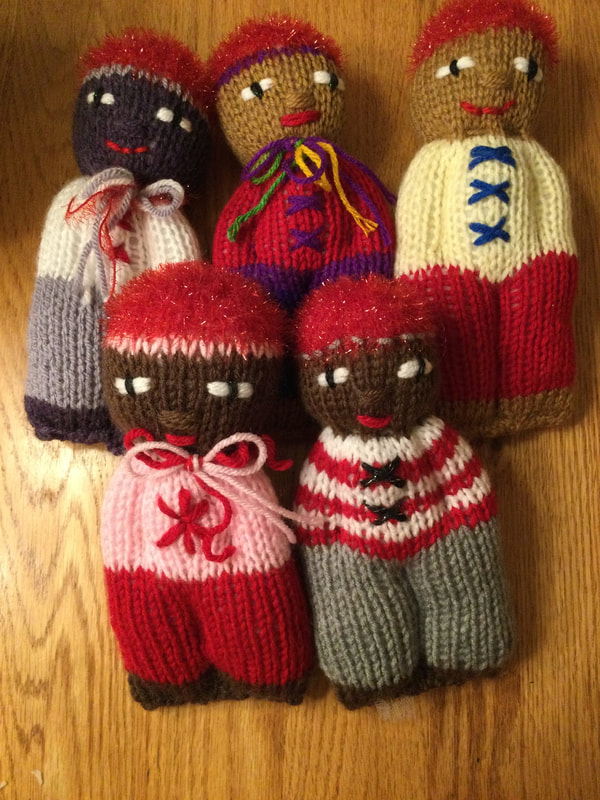
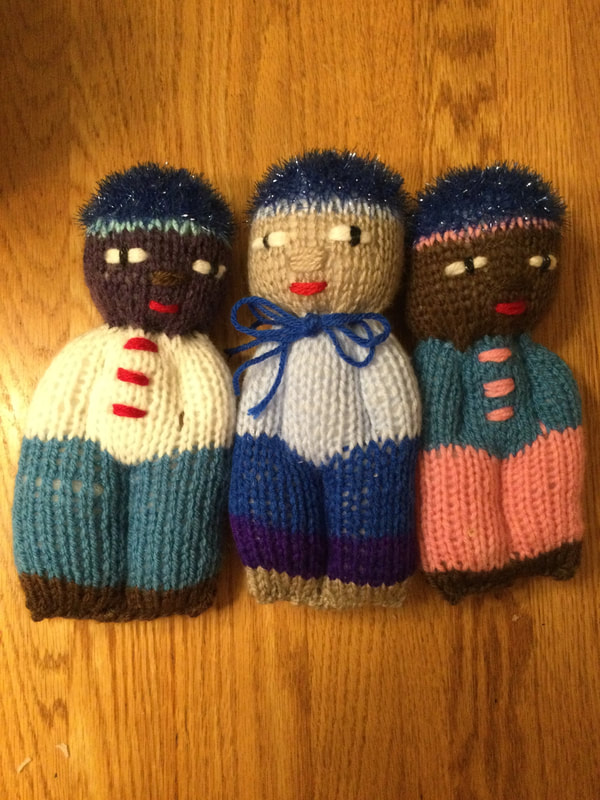
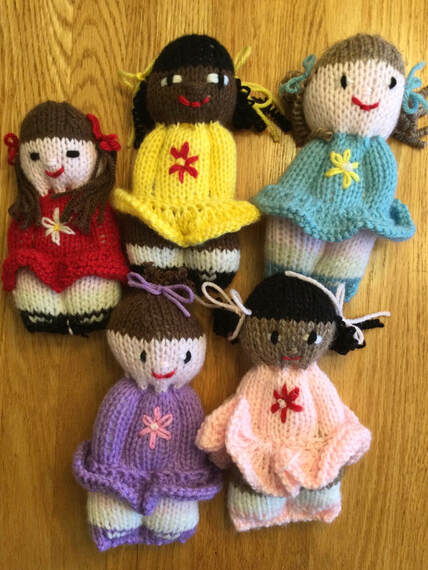
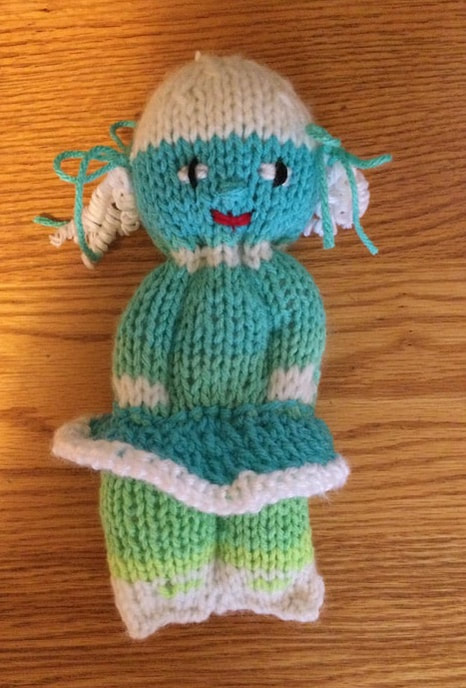
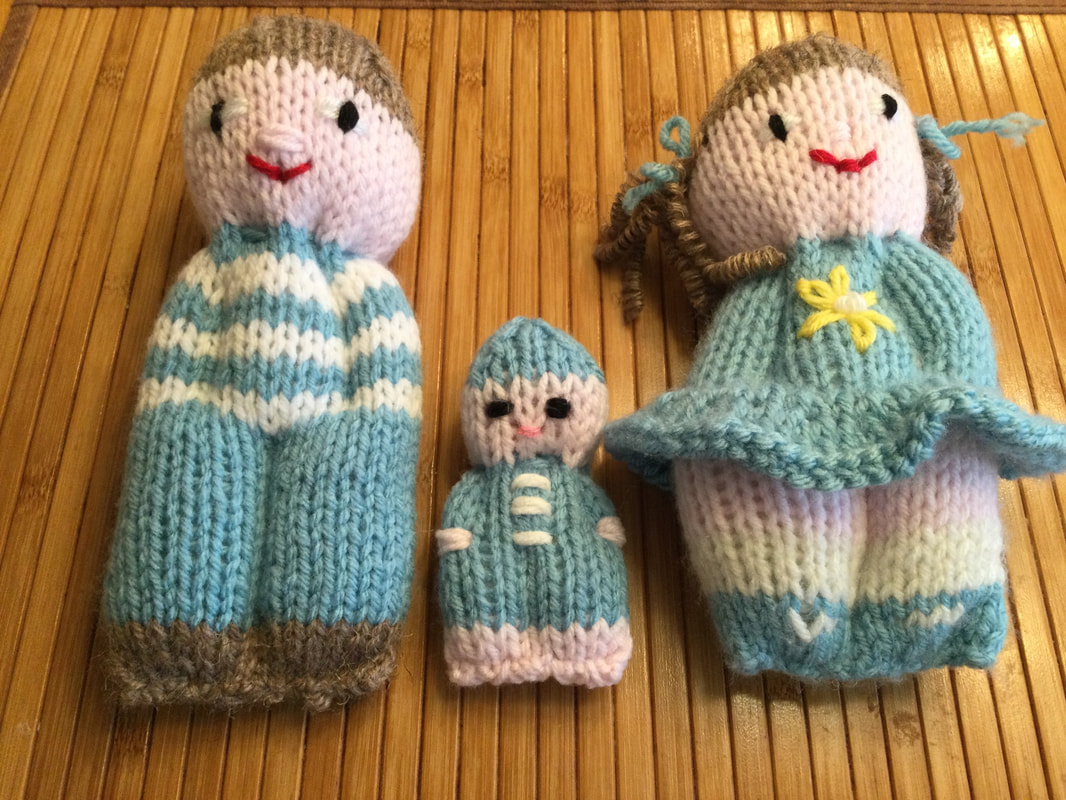
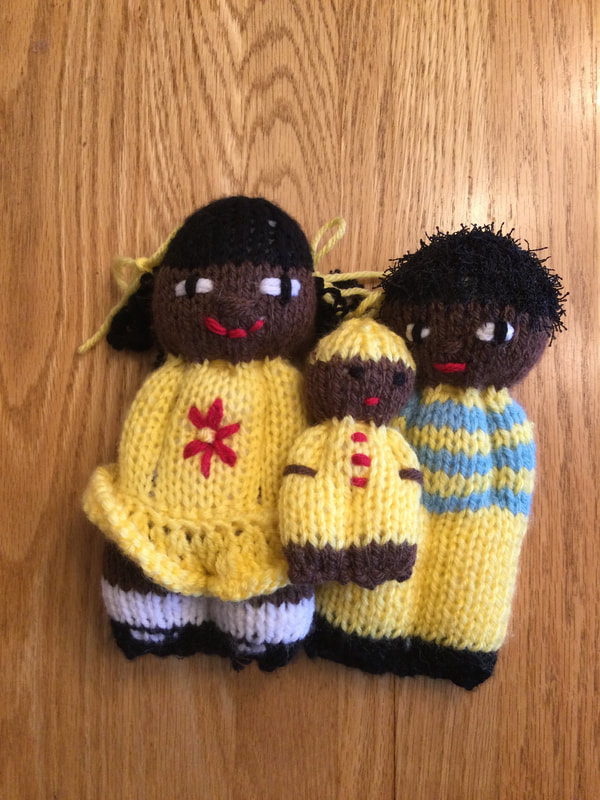
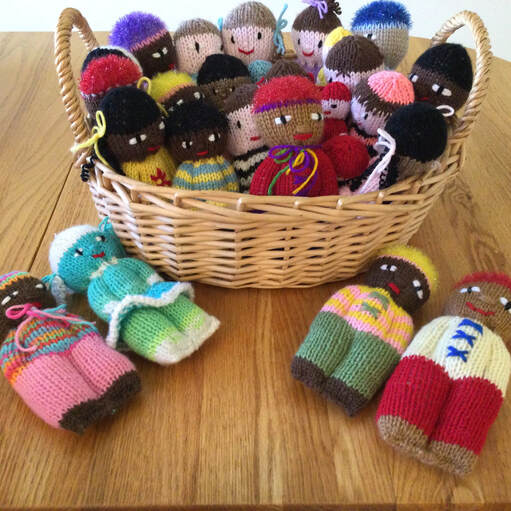
My original inspiration was an article with diagrams: Faire un bonhomme tout-en-un. Although the labels and directions were in French, the diagrams and photos enable me to create my own doll. With further research, I discovered Izzy Dolls, Peace Pals, and Duduza dolls. Since most of my dolls would be going to nationwide and worldwide populations of color, I knitted most of my dolls with caramel, mocha, and coffee skin tones. When I present the dolls to family and friends I customize the complexion and hair. At first, I dove into my scrap pile to play around with color. My dolls sported colorful shirts and pants. Each doll sported a coordinated perky cap. Along the way, I started to embroider more detail into the doll faces so that the dolls would have more personality .However, as I discovered new techniques and looks, I found myself time and time again at the craft store, so much for good intentions of working down my stash. Then I started to switch from caps to doll hair. The rough texture of Red Heart's Scrubby Yarn was ideal. I continued with stockinette knitting , and still had a lifelike head of hair. I also discovered that I did not have to bind off the last row before I gathered the stitches together at the top of the head. Instead, I gradually decreased the number of stitches before I simply drew a needle through the loops. The result was neater and less bulky. Colored Sparkle Scrubby Yarns provided a playful top for my comfort dolls. I like to knit a row of contrast color before I knit the bright hair. However, my real discovery came when I learned to make coils of yarn for doll curls. I wet the yarn for the desired hair color and wrapped it around the full length of a skewer. then I placed the skewers on a cookie sheet and baked it at about 200 degrees F for about 30 minutes. this hint came from Pretty Izzy Dolls by Esther Braithwaite. When you see the photos, you can see why I was so excited by the transformation.
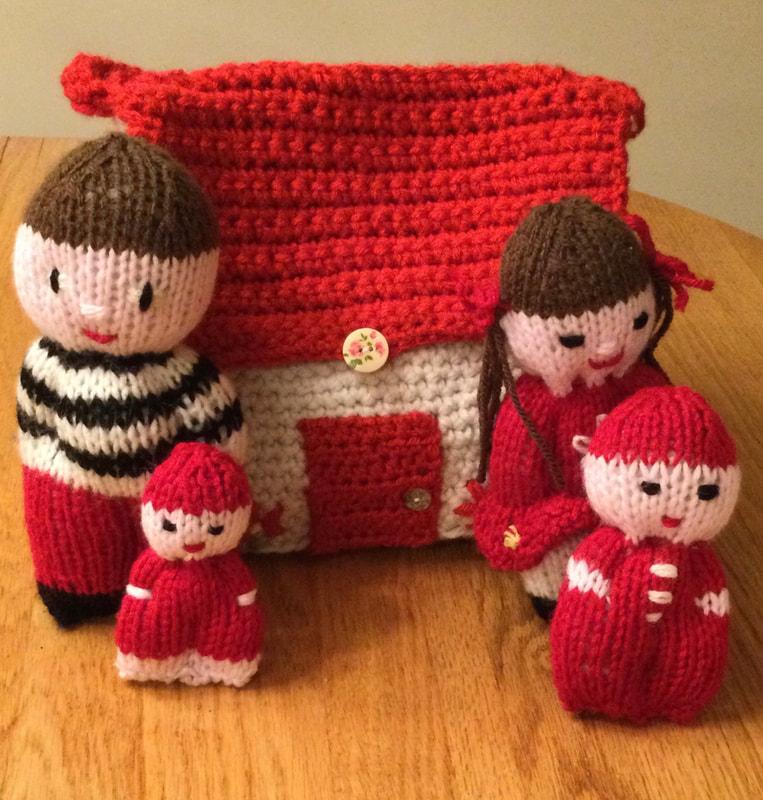
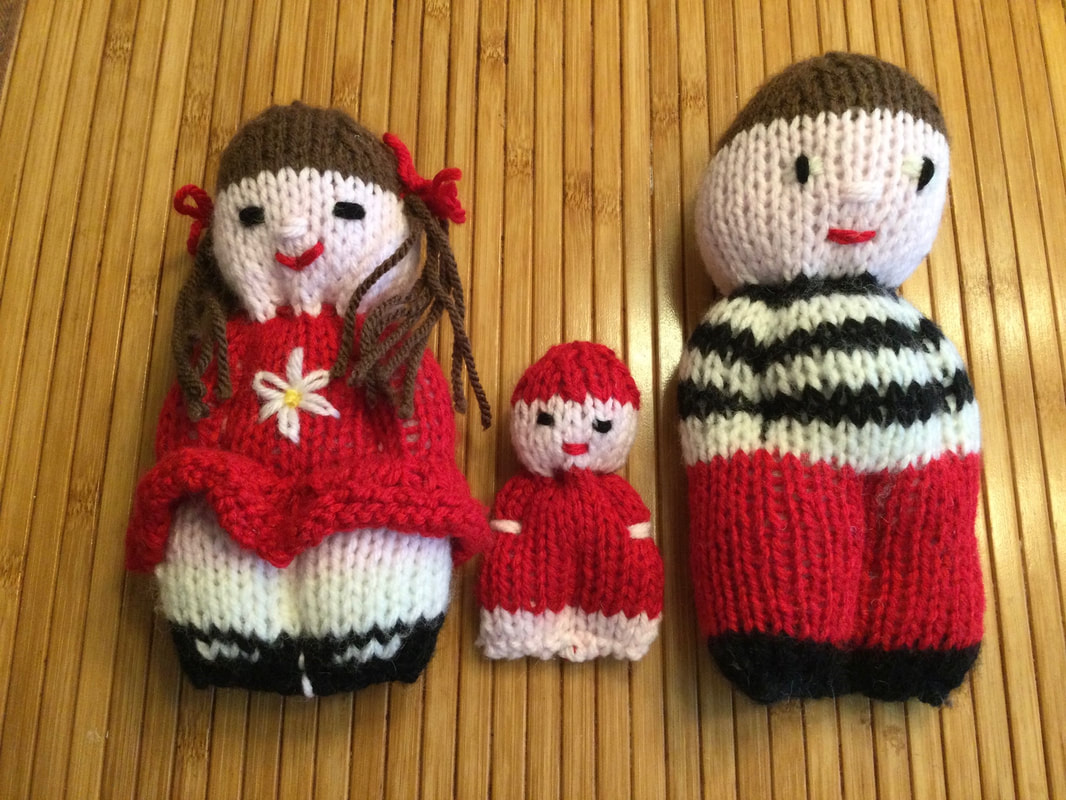
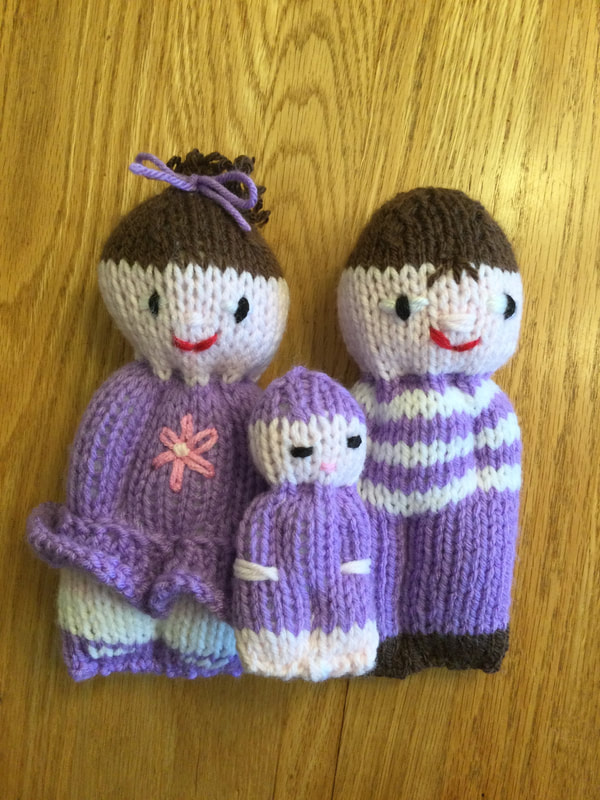
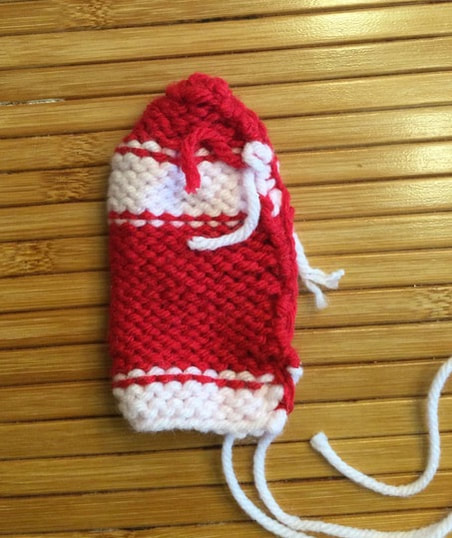
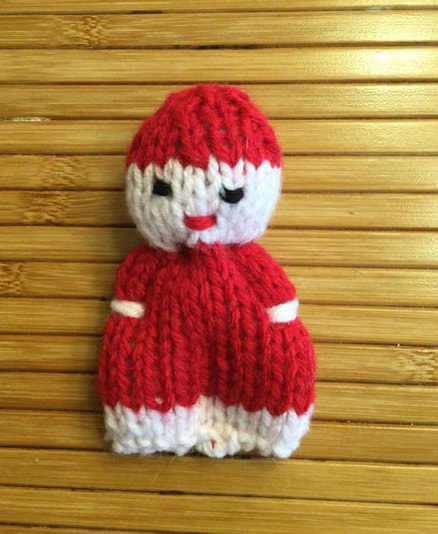
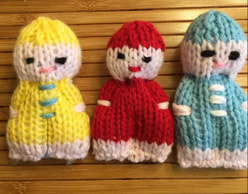
My four year old granddaughter stated that she wanted both a girl and boy doll to accompany the crocheted doll house purse that I had made. I wanted to surprise her with a complete family. My first family set was done in red to coordinate with the colors of the doll house purse. Since I planned to produce houses and families for my other 2 granddaughters, I began work on several doll families. In order to complete my comfort doll families, I needed a baby that followed the comfort doll design principles, but was scaled down to the correct proportion. Free Pattern for Tiny Comfort Doll Materials: Worsted Weight Yarn: for skin tone and contrast yarn for clothes and hat #5 or 6 straight needles (to knit a flat rectangle) or #5 or #6 set of double pointed needles( to knit in the round) Tapestry needle for stitching seams and features Directions: My directions are for flat rectangle. For double pointed needles, knit only. Cast on 19 stitches in doll skin tone. Row 1: Knit Row 2: Purl Body: Change yarn to color of clothing. Row 3: Knit Row 4: Purl Continue with stockinette through row 14. Face: Change to skin tone color, Row 15: Knit Row 16: Purl Continue with stockinette through row 19. Hat: Change back to color for clothes. Row 17: Purl Row 18: K1, K2tog, K2, K2tog, K2, K2tog, K2, K2tog, K2, K2tog (14 stitches) Row 19: Purl Row 20: K1, K2tog, K1, K2tog, K1, K2tog, K1, K2tog, K2 (10 stitches) Row 21: Purl 2tog across row) (5 stitches) Leave long tail and using tapestry needle, draw yarn through stitches on needle. Pull through and stitch together. As you stitch to form the body of the doll, follow the same principles for the standard comfort doll. You just will be scaling down. Turn the doll inside out to whip stitch or blanket stitch from hat to bottom. Do not stitch the bottom at this point. Turn back to the right side. Stuff with polyfiber. Use the eraser end fo a pencil to push the stuffing into the crevices of the head; When you stitch the bottom, make sure that you have the body aligned so that the seam is in the middle of the back. To define the legs, backstitch along the back seam through all layers from the base to row8.Make sure that the legs are even in size. Your arms will be 4 stitches wide. To define the arms, press the dolls flat so that you can see 2 stitches from the side edge on front and back. Stitch from waist to neck of doll. When you define the neck, use a double length of yarn to make running stitches 2 stitches wide. When you complete the circle, pull the yarn tight and repeat. Anchor yarn. Since the doll is small, you need to split the yarn into one or two strands as you embroider the face. Your eyes will take up 1 inch and will be placed 3 stitches apart. Use 1 strand to center the mouth. See photo as a guide for placement. There are still so many dolls to try. My Pinterest feed is full of creative comfort dolls: superhero dolls, gothic dolls, gingerbread dolls, snow babies, fairies, clowns, nurses and doctors, pirates, ninjas, barnyard or forest animals, valentine dolls, worry dolls, ballerinas, witches, princesses, fairytale characters, cartoon, characters genies, avatars, star wars characters to name just a few. I could go on forever. At this time, I believe that I can take a picture or a standard sized crocheted doll pattern and convert it into a knitted comfort doll with the hair, clothes and accessories that deliver the character's basic style. Since my comfort doll population is exploding as I prepared for this article, I need to pause to take on other projects. It is really hard to stop since pictures and ideas keep swirling inside my head, However, I promise to revisit as I find time to produce the many dolls I have suggested. As you may have guess the crocheted dollhouse purse featured in my initial photo was a tease and a hint for a future project. I am working on a pattern as I crochet additional purses for my New York granddaughters, For readers who are knitting only, I will direct you to a knitted purse link at that time.
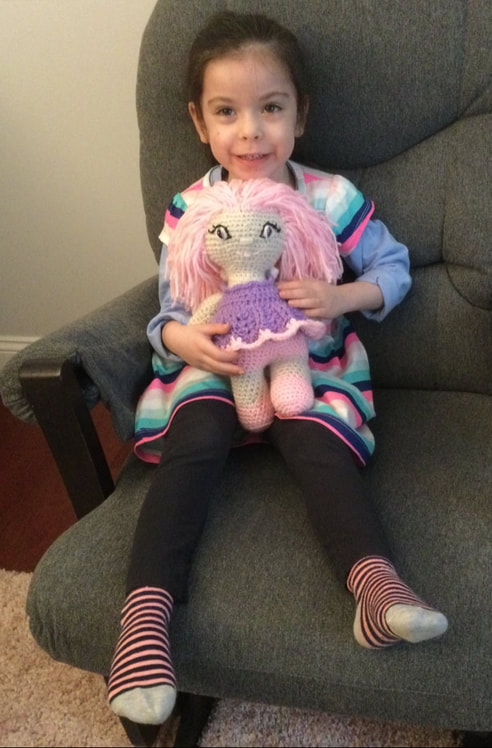
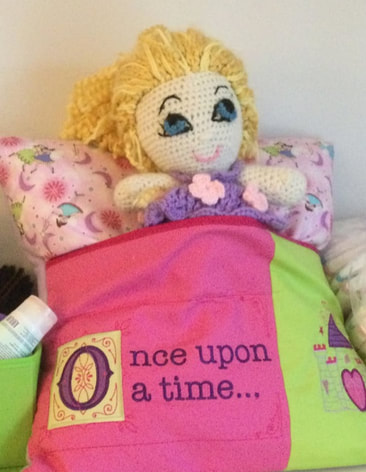
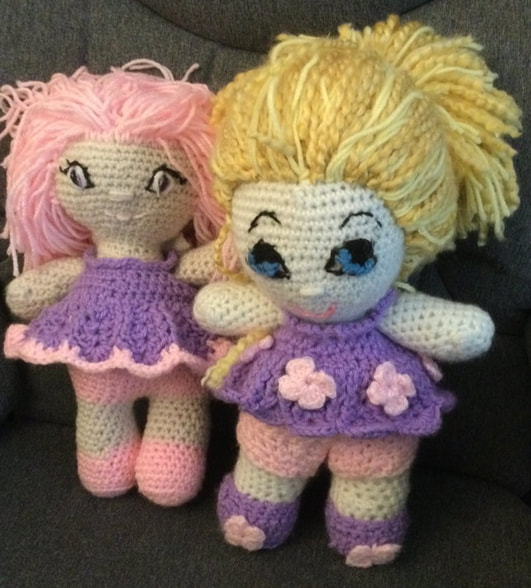
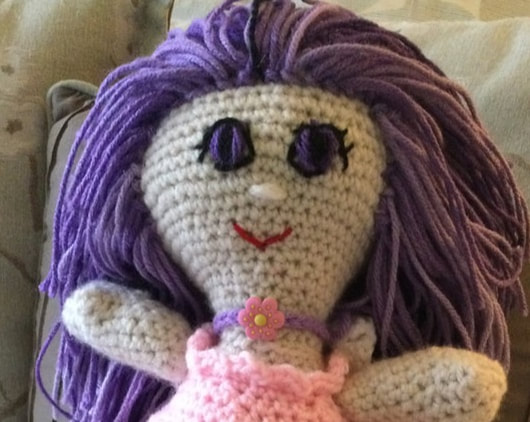
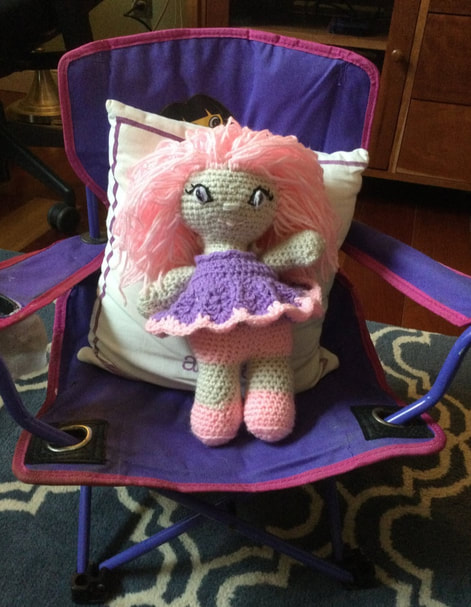
Always, I welcome your feedback and reflections. I welcome you to join you to join me on my stitching journey. The Nighttime Fairy has special powers to settle children before sleep and calm nighttime fears. According to my daughter, these fairies went to school for special training to help their young charges All that was missing was a personal fairy, and that was Nana's task. I gladly accepted the job of making the Nighttime Fairy for my granddaughter. She had been having trouble falling asleep and felt alone if she awakened during the night. My go-to pattern for children's dolls is the Weebee Standard Size Baby Doll by Laura Tegg. the pattern can be located through Pinterest and on Ravelry.com. The Fairy Mod Kit, also by Laura Tegg, can be found on Ravelry. I used this latter source for the fairy dress and fairy wings. The Power Nighttime Fairy has been "performing" for my 4 year old granddaughter. The fairy was placed in the pocket of a quilted pillow created by my son-in-law's aunt. The pillow faced my granddaughter from a tall chest as she lay in bed. She felt peace when she looked up at her doll and slept easily at night. A few weeks later, we learned that her cousin, my son's 5 1/2 year old daughter was also experiencing similar fears at bedtime. My daughter shared the story of the Power Nighttime Fairy's success with her sister-in-law. I offered to make a doll for this young girl, too. This granddaughter was very excited at the prospect of having her own personal fairy doll. Her favorite colors of pink and purple were to be reflected in the doll's dress and hair. When I made the first doll, I was "winging" it when it came to the hair, dress and wings. She had a purple dress with pink flowers and wild blond hair. However, when I made the second doll, I used a smaller G hook and worked more tightly. the result was much neater. Also, the dress pattern by Laura Tegg was just perfect for the new doll. It was pink with purple trim. In addition, I found it easier to crochet the shoes and panties right into the doll body instead of making them separately and sewing them on. The blond hair from the original doll was voluminous. I had used a combination of gold Homespun yarn combined with yellow worsted yarn. Perhaps, I did not leave enough space between the rows, This time, I used purple Ombre yarn from Red Heart. The head of hair was full, but more controlled. I especially liked the look of purple hair on the fairy. Now I had to crochet a sister fairy for my the four year old. She was happy enough with the original doll, but was happy to accept the more finished fairy to accompany the original. Besides, this doll had a mane of pink hair.Her dress was purple edged with pink, and delicate white wings peeked out from beneath her hair. The changes made thedolllook quite fairy=like. The Power Nighttime Fairy with the pink dress and purple hair will be in the mail tomorrow. I look forward seeing this granddaughter smile on FaceTime as she cuddles her new companion. Every project brings learning opportunities. This time, I included the shoes and panties on the doll body. I worked on limiting the volume of the doll's hair. Finally, I have been trying to improve my dolls' embroidered eyes. After examining many photos of embroidered doll eyes on crocheted dolls, I was able to pick up some hints that make the eyes more lifelike. The eyes seem to hold the key to the doll's' personality, and so it was important to me to improve size, color, shape, and texture. I know that I can give in and buy set-in eyes, but I am determined to accomplish my goal. As always, I welcome your feedback and reflection. I invite you to join me on my stitching journey.
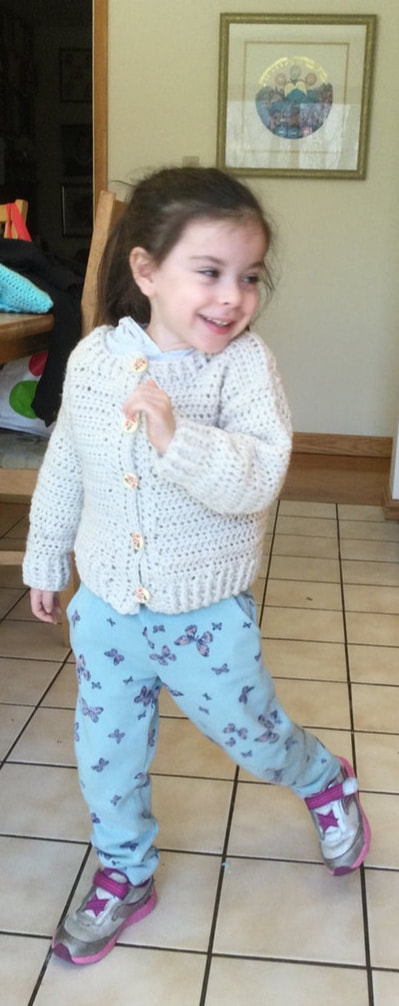
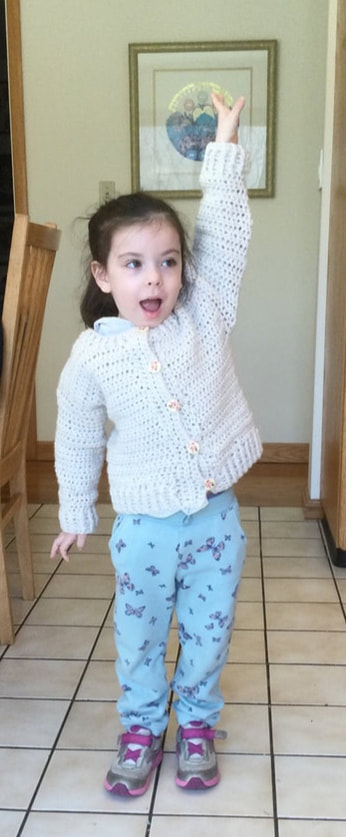
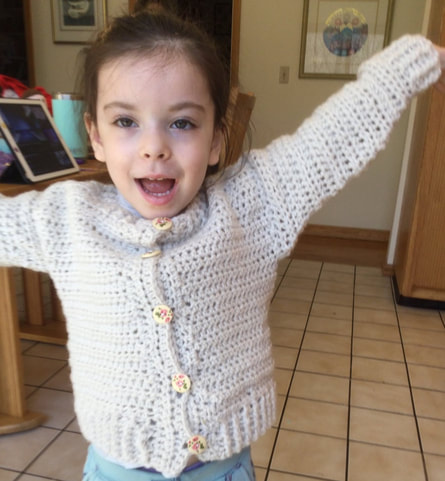
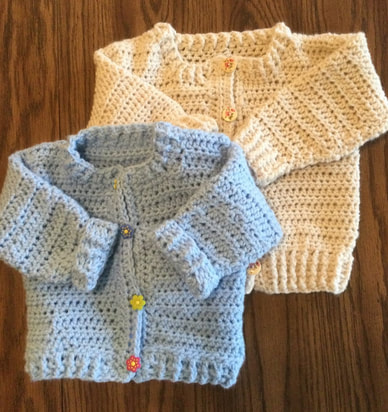
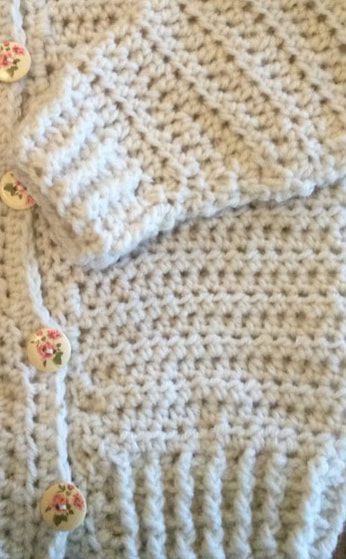
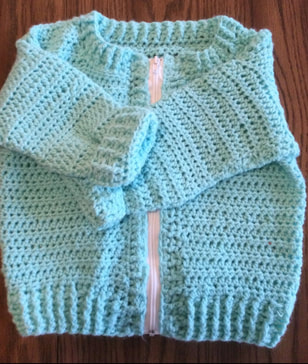
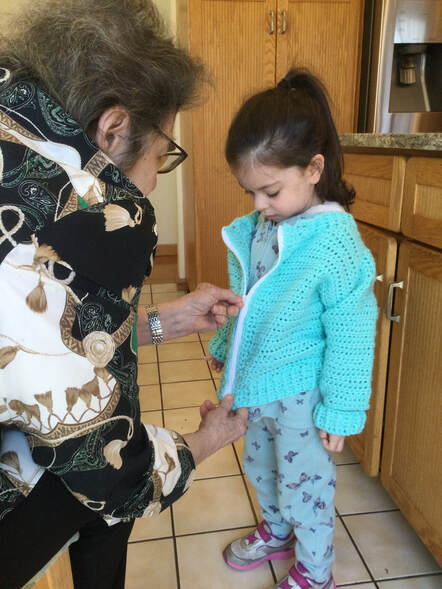
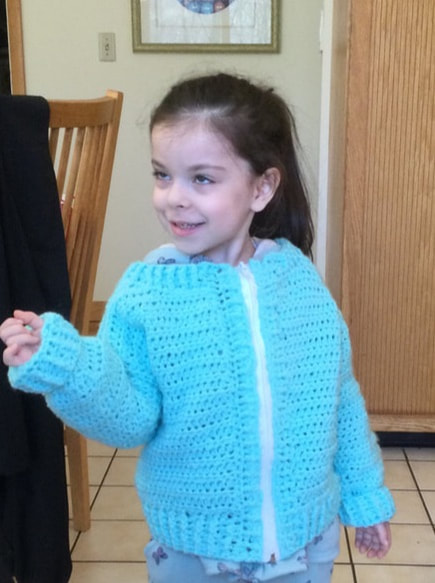
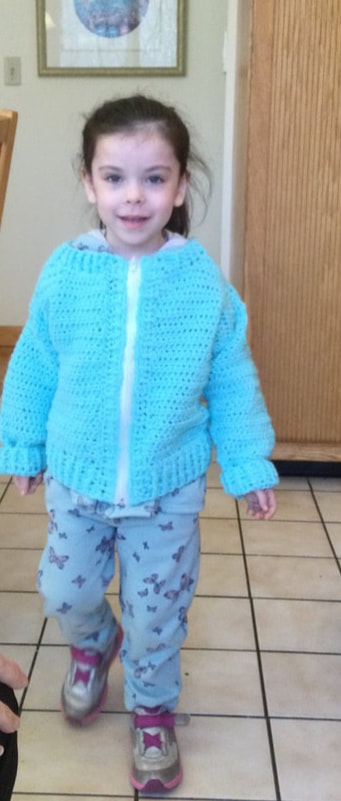
The bomber jacket style which emerged during World War 1, is traditionally a waist length outerware with ribbed waistband and matching cuffs. Typically, bombers are made with leather, but other materials can be used as well. The childsized bomber jacket is a crocheted version using worsted weight (#4) yarn with a J hook (6.0 mm). The bomber jacket pattern featured in this article was developed by Heart Hook Home and comes in sizes 3/6 months to 12/14. Since this sweater is shorter and narrower than most patterns. use the chest measurement chart to determine the size you will make. The pattern link is connected to a specific size, but once you get to the sweater page, you can scroll down until you find the size that you need. See: https://hearthookhome.com/bomber-cardi-for-kids-size-6-8. I used the size 4-5 pattern for the beige sweater and the 6-8 size pattern for the aquamarine zippered version. A wonderful feature of this bomber cardigan is that it is almost seamless. Start with the Foundation Half Double Crochet stitch for the entire width of the sweater, including both sides and the back. For directions on making the foundation HDC, see a You Tube video by Moogly: How to Crochet Foundation HDC Right Hand. The advantage of using the Foundation Half Double Crochet Stitch is that you combine the initial chain with the first row in a single step. At this point you will chain 1, turn, and use a regular HDC until the end of the row. You will do this at the end of each row. Just follow the size pattern for the correct number of rows. If you want a longer jacket, just add a couple of rows before you separate for the front and back sections. Then continue for the right front. Instructions show how to form the armhole and neck shape. Fasten off and leave tail for attaching sweater at the shoulder. Reattach yarn to crochet matching number of rows for back. Finally, form left front as you reverse for armhole and neck. Sew sweater together at shoulders. I preferred to used a slip stitch or SC on these seams. Follow directions to form a flat round collar that is typical of most bomber jackets. To achieve the ribbing at the collar, waist, and sleeves, crochet alternating Front Post Half Double Crochet (FPHDC) with Back Post Half DoubleCrochet. The number of rows depends on the sweater size. See You Tube Video Crochet Stitch: Front andBack Post Half Double Crochet. The sleeves of the bomber jacket are also seamless. Pick up the required number of stitches at the armhole and HDÇ in the round. Directions for number of rows and decreases are given in the directions for each size. At the end of the sleeve, you will use the FPHDC/BPHDC technique for the ribbing.. While my cardigans were made for girls, the style can be changed for boys by reversing the sides for the buttons and buttonholes. Adding a separating zipper is a wonderful sporty look for both boys and girls. Doing a professional job when adding a zipper to a sweater has its own set of challenges. Again, I went back to You Tube. See: How to Add a Zipper for a Crocheted Cardigan. The pattern directions called for a plain edge, but I added two rows of HDC to each front edge to make a band that enabled me to sew in the zipper. The video shows you how to add in two rows of HDC behind this band so that you can encase the zipper neatly. Although the video was easy to follow, I found myself replaying it a few times and pausing when I reached tricky steps. I really enjoyed crocheting the Bomber Cardi for Kids. Many thanks to Heart Hook Home.com for their wonderful pattern. The sweaters came out much narrower than I expected. My petite size 4-5 granddaughter was able to wear the size 6-8 over her sweatshirt. Perhaps, I may try using a K hook (6.5mm) to get a looser stitch in the future. Anyway, this little miss was pleased to give us a fashion show and strike her delightful poses. As always, I welcome your feedback and reflections. I hope that you enjoy making the bomber cardigan as much as I did. Thank you for joining me on my stitching journey.
|
Archives
November 2022
Categories
|

 RSS Feed