My original inspiration was an article with diagrams: Faire un bonhomme tout-en-un. Although the labels and directions were in French, the diagrams and photos enable me to create my own doll. With further research, I discovered Izzy Dolls, Peace Pals, and Duduza dolls. Since most of my dolls would be going to nationwide and worldwide populations of color, I knitted most of my dolls with caramel, mocha, and coffee skin tones. When I present the dolls to family and friends I customize the complexion and hair.
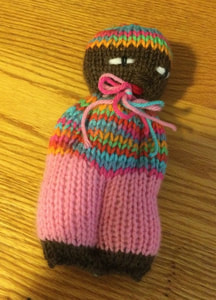
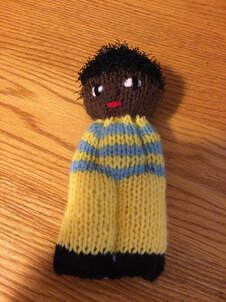
At first, I dove into my scrap pile to play around with color. My dolls sported colorful shirts and pants. Each doll sported a coordinated perky cap. Along the way, I started to embroider more detail into the doll faces so that the dolls would have more personality .However, as I discovered new techniques and looks, I found myself time and time again at the craft store, so much for good intentions of working down my stash. Then I started to switch from caps to doll hair. The rough texture of Red Heart's Scrubby Yarn was ideal. I continued with stockinette knitting , and still had a lifelike head of hair. I also discovered that I did not have to bind off the last row before I gathered the stitches together at the top of the head. Instead, I gradually decreased the number of stitches before I simply drew a needle through the loops. The result was neater and less bulky. Colored Sparkle Scrubby Yarns provided a playful top for my comfort dolls. I like to knit a row of contrast color before I knit the bright hair. 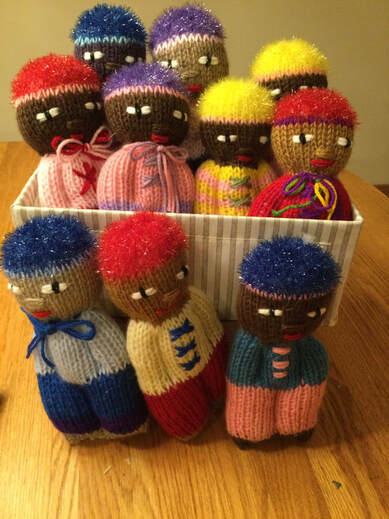
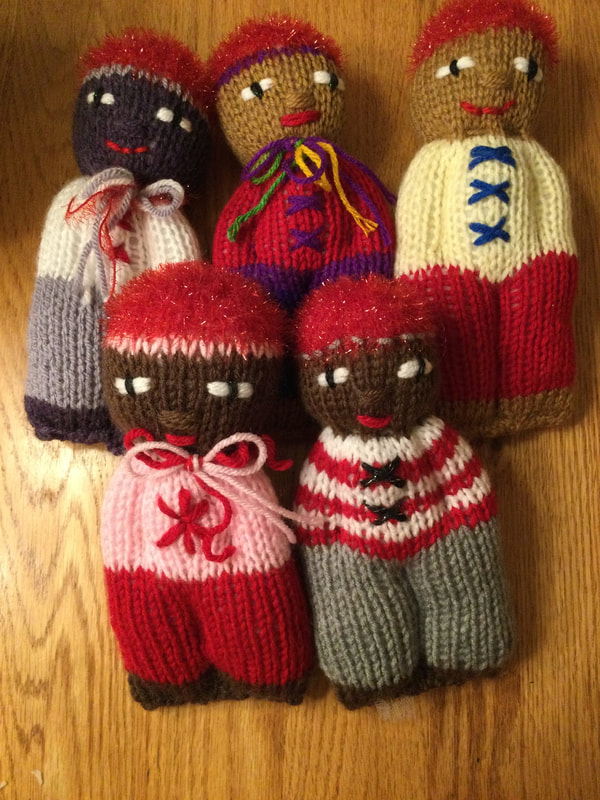
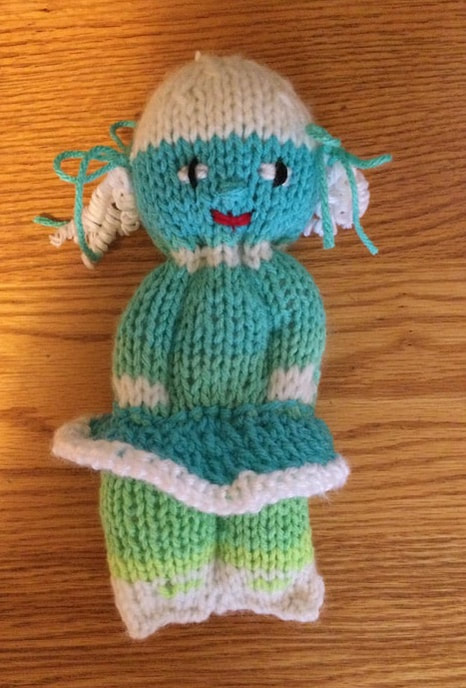
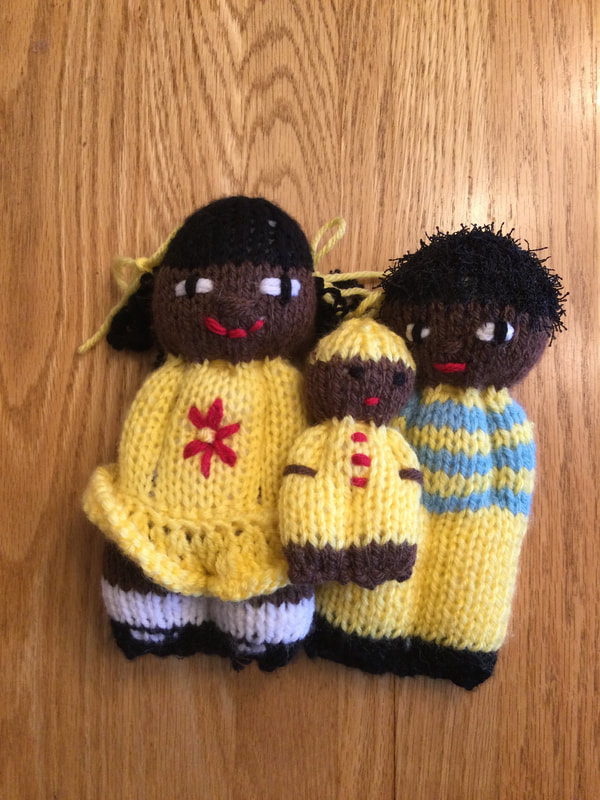
However, my real discovery came when I learned to make coils of yarn for doll curls. I wet the yarn for the desired hair color and wrapped it around the full length of a skewer. then I placed the skewers on a cookie sheet and baked it at about 200 degrees F for about 30 minutes. this hint came from Pretty Izzy Dolls by Esther Braithwaite. When you see the photos, you can see why I was so excited by the transformation. 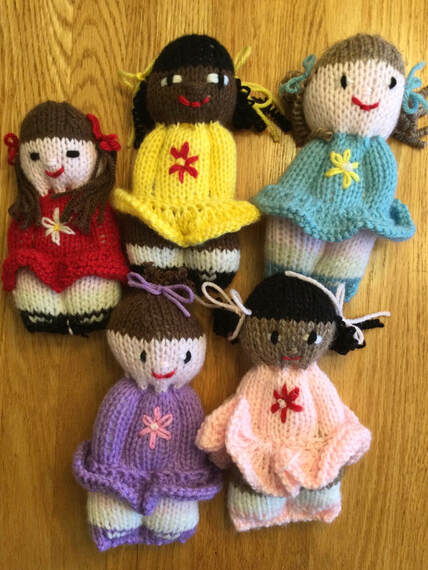
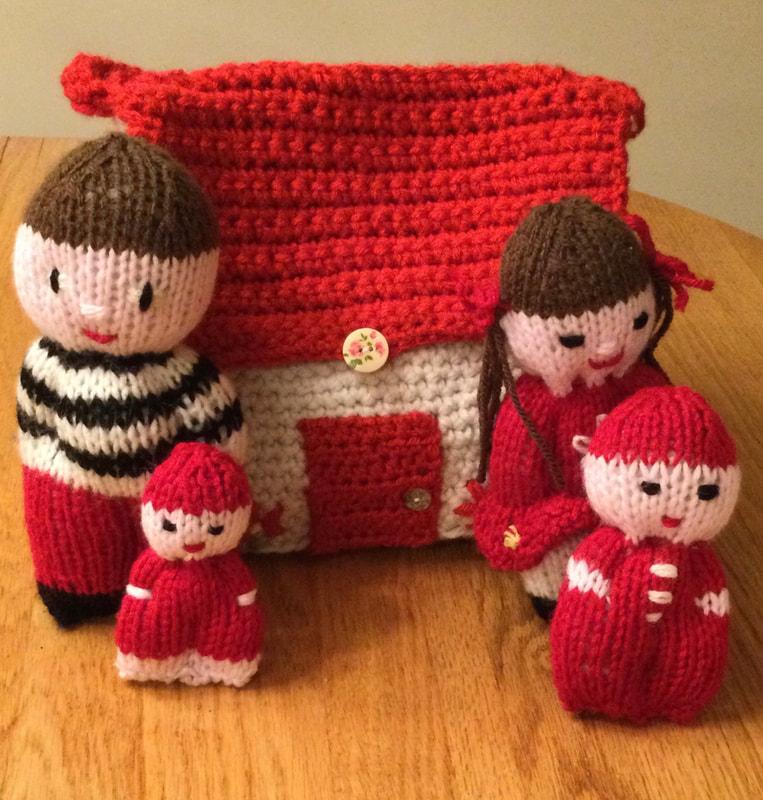
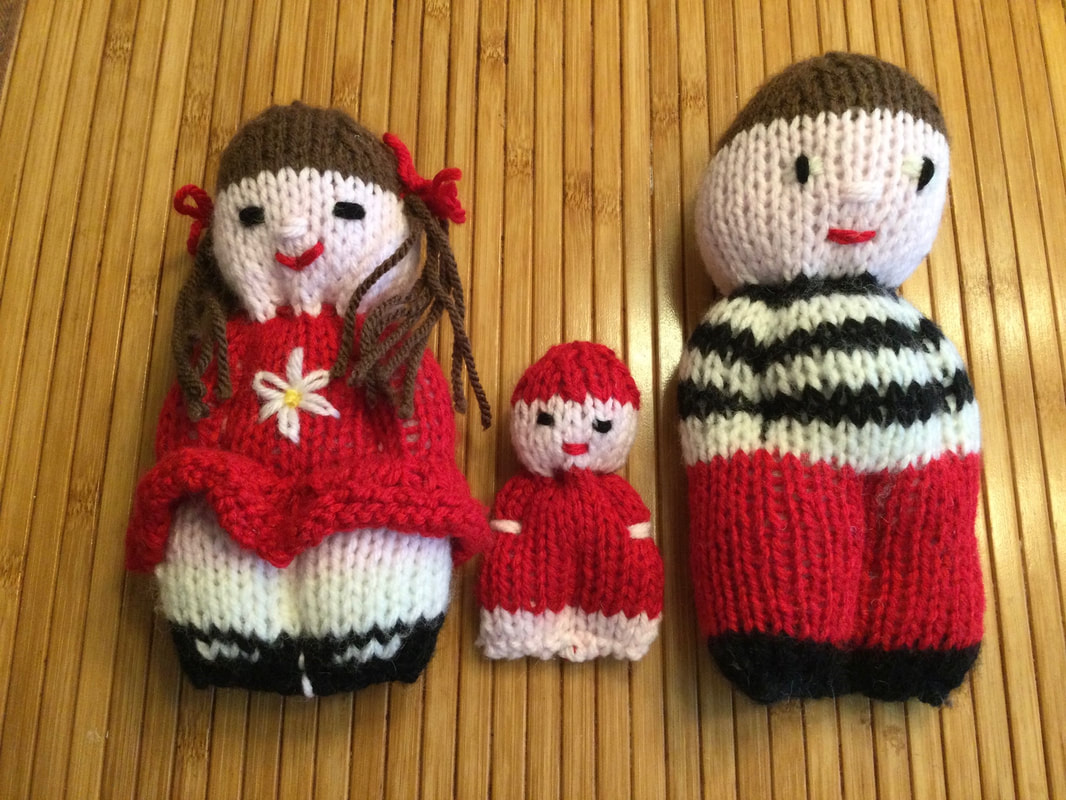
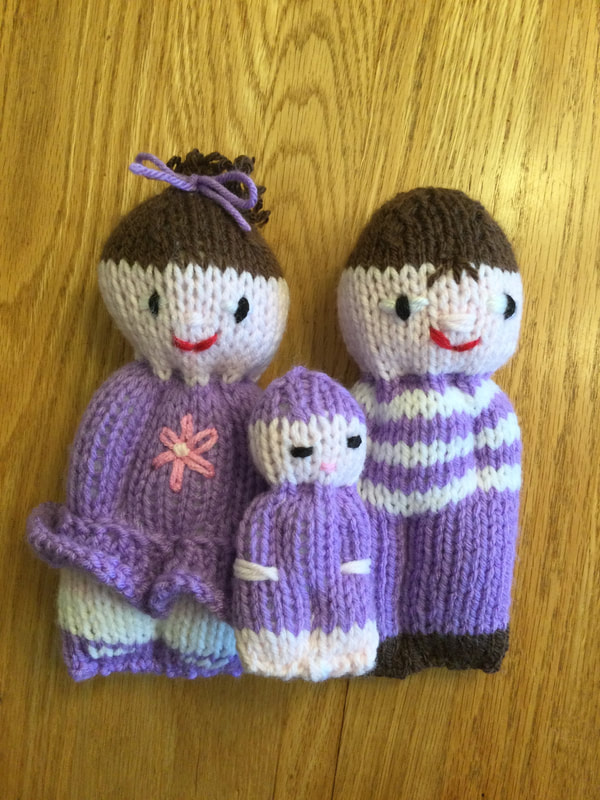
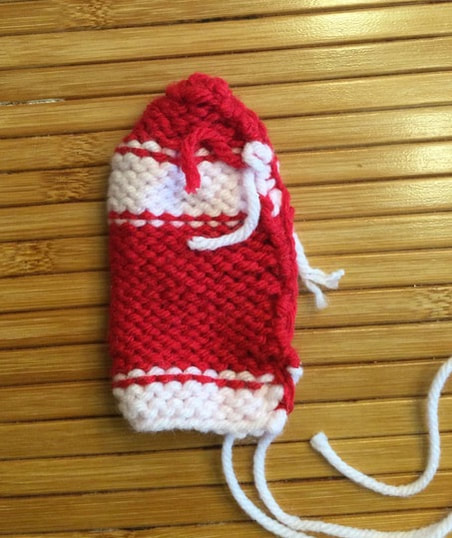
My four year old granddaughter stated that she wanted both a girl and boy doll to accompany the crocheted doll house purse that I had made. I wanted to surprise her with a complete family. My first family set was done in red to coordinate with the colors of the doll house purse. Since I planned to produce houses and families for my other 2 granddaughters, I began work on several doll families.
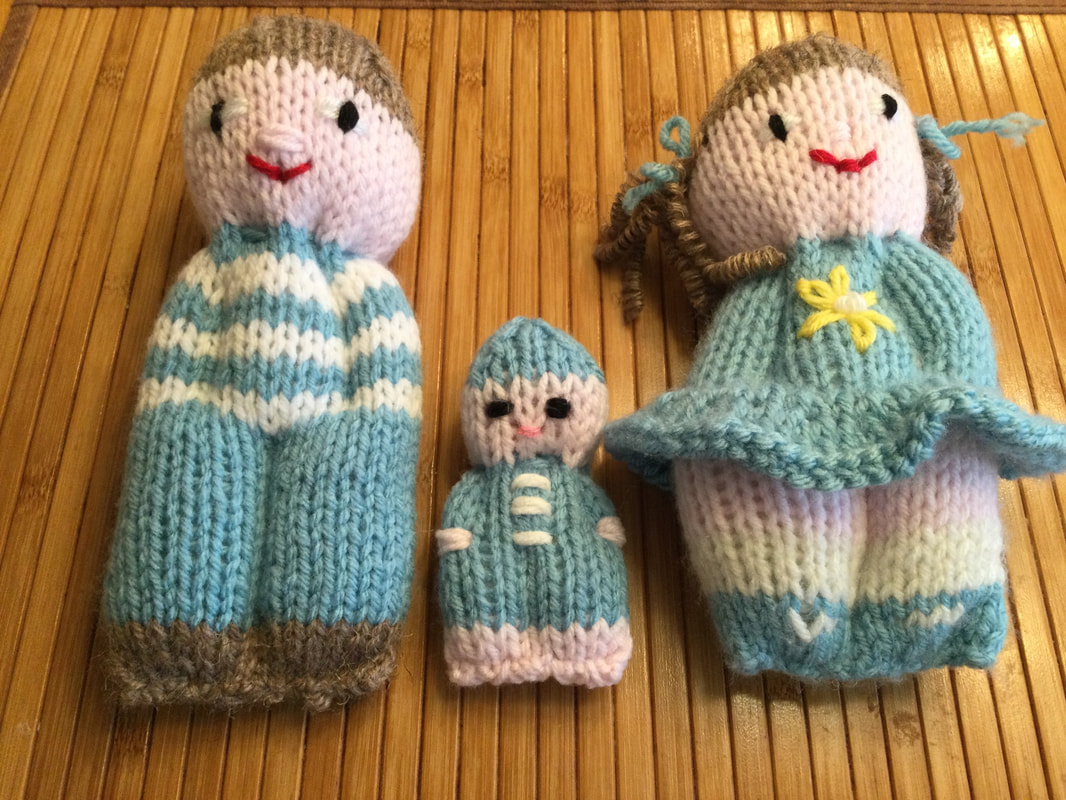
In order to complete my comfort doll families, I needed a baby that followed the comfort doll design principles, but was scaled down to the correct proportion. Free Pattern for Tiny Comfort Doll Materials: Worsted Weight Yarn: for skin tone and contrast yarn for clothes and hat #5 or 6 straight needles (to knit a flat rectangle) or #5 or #6 set of double pointed needles( to knit in the round) Tapestry needle for stitching seams and features Directions: My directions are for flat rectangle. For double pointed needles, knit only. Cast on 19 stitches in doll skin tone. Row 1: Knit Row 2: Purl Body: Change yarn to color of clothing. Row 3: Knit Row 4: Purl Continue with stockinette through row 14. Face: Change to skin tone color, Row 15: Knit Row 16: Purl Continue with stockinette through row 19. Hat: Change back to color for clothes. Row 17: Purl Row 18: K1, K2tog, K2, K2tog, K2, K2tog, K2, K2tog, K2, K2tog (14 stitches) Row 19: Purl Row 20: K1, K2tog, K1, K2tog, K1, K2tog, K1, K2tog, K2 (10 stitches) Row 21: Purl 2tog across row) (5 stitches) Leave long tail and using tapestry needle, draw yarn through stitches on needle. Pull through and stitch together.
As you stitch to form the body of the doll, follow the same principles for the standard comfort doll. You just will be scaling down. Turn the doll inside out to whip stitch or blanket stitch from hat to bottom. Do not stitch the bottom at this point. Turn back to the right side. Stuff with polyfiber. Use the eraser end fo a pencil to push the stuffing into the crevices of the head; When you stitch the bottom, make sure that you have the body aligned so that the seam is in the middle of the back. To define the legs, backstitch along the back seam through all layers from the base to row8.Make sure that the legs are even in size. Your arms will be 4 stitches wide. To define the arms, press the dolls flat so that you can see 2 stitches from the side edge on front and back. Stitch from waist to neck of doll. When you define the neck, use a double length of yarn to make running stitches 2 stitches wide. When you complete the circle, pull the yarn tight and repeat. Anchor yarn. Since the doll is small, you need to split the yarn into one or two strands as you embroider the face. Your eyes will take up 1 inch and will be placed 3 stitches apart. Use 1 strand to center the mouth. See photo as a guide for placement. 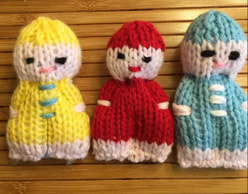 There are still so many dolls to try. My Pinterest feed is full of creative comfort dolls: superhero dolls, gothic dolls, gingerbread dolls, snow babies, fairies, clowns, nurses and doctors, pirates, ninjas, barnyard or forest animals, valentine dolls, worry dolls, ballerinas, witches, princesses, fairytale characters, cartoon, characters genies, avatars, star wars characters to name just a few. I could go on forever. At this time, I believe that I can take a picture or a standard sized crocheted doll pattern and convert it into a knitted comfort doll with the hair, clothes and accessories that deliver the character's basic style. Since my comfort doll population is exploding as I prepared for this article, I need to pause to take on other projects. It is really hard to stop since pictures and ideas keep swirling inside my head, However, I promise to revisit as I find time to produce the many dolls I have suggested. 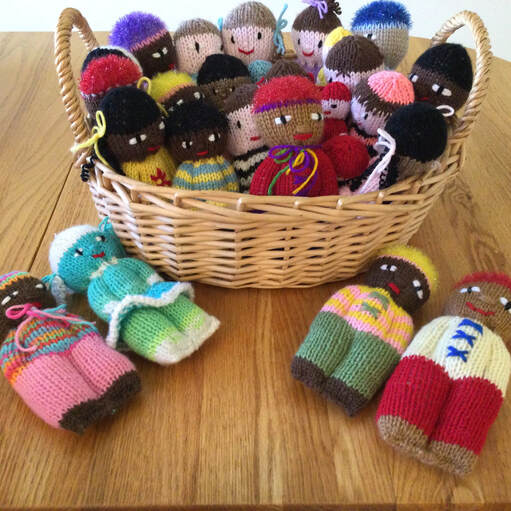 As you may have guess the crocheted dollhouse purse featured in my initial photo was a tease and a hint for a future project. I am working on a pattern as I crochet additional purses for my New York granddaughters, For readers who are knitting only, I will direct you to a knitted purse link at that time.
Always, I welcome your feedback and reflections. I welcome you to join you to join me on my stitching journey. 
6 Comments
Barb Thompson
2/17/2022 02:46:55 pm
How can I download the pattern?
Pat George
5/26/2023 04:42:23 am
Please could you send me the pattern for the New Look Comfort dolls .
Trish
10/13/2023 05:05:19 am
Article
Patricia Constantine
1/24/2024 05:37:49 am
I would love to make these dolls for friends and hospice patients. I make memory bears for family members but a doll would be wonderful for the patient going through their sruggle. 8/27/2022 11:58:13 pm
Very much appreciated. Thank you for this excellent article. Keep posting!
Ellen
4/6/2024 04:56:31 am
If you leave a long length, then when done and stuffed, you could finish them off differently. All you need to do is take your darning needle with that beginning piece of yarn and go in and out the stitches. When back to the beginning then pull tight. Look it twice in the middle upwards. Now you would have 2 feet. Hope that makes sense. I donate all my dolls to kids getting needles. Leave a Reply. |
Archives
November 2022
Categories
|


 RSS Feed