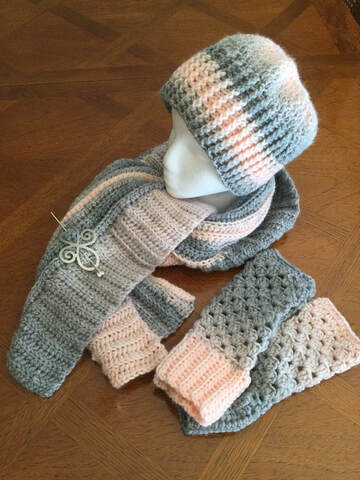
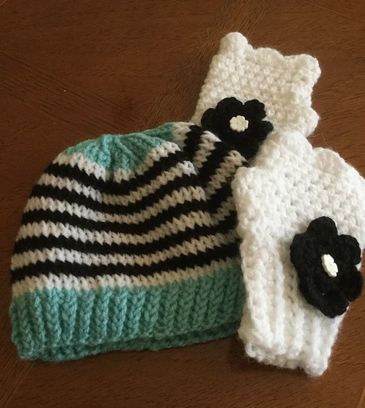
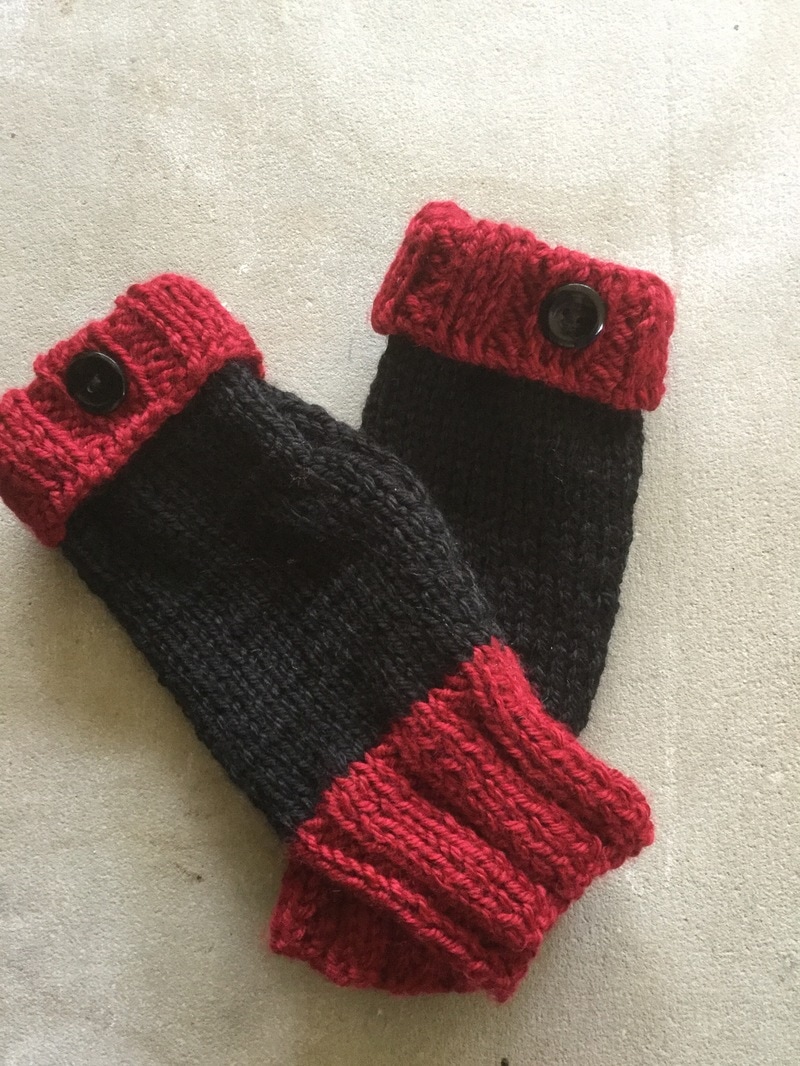
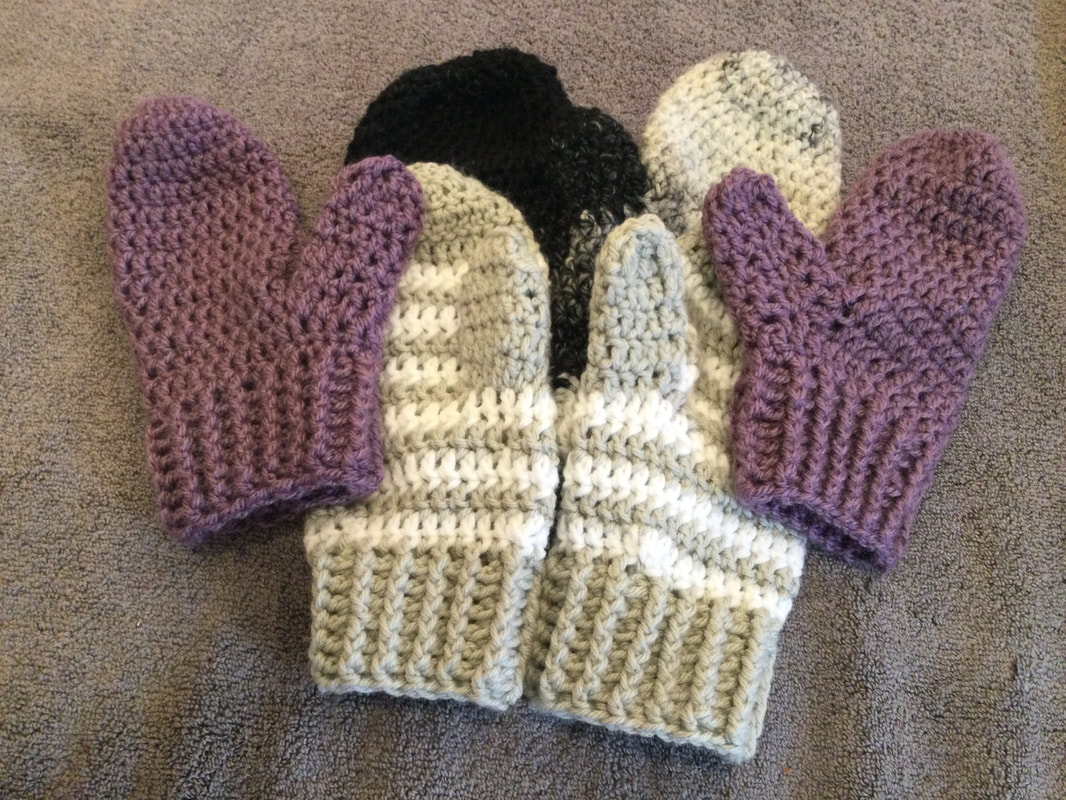
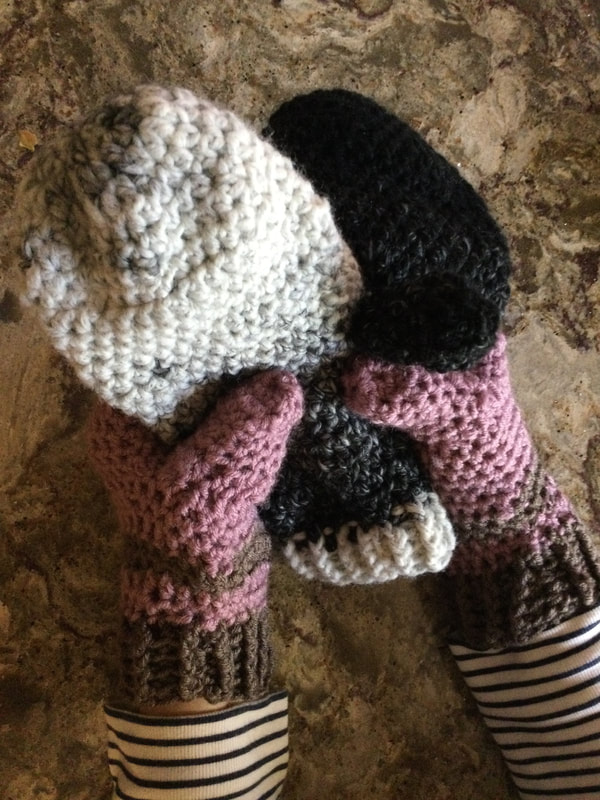
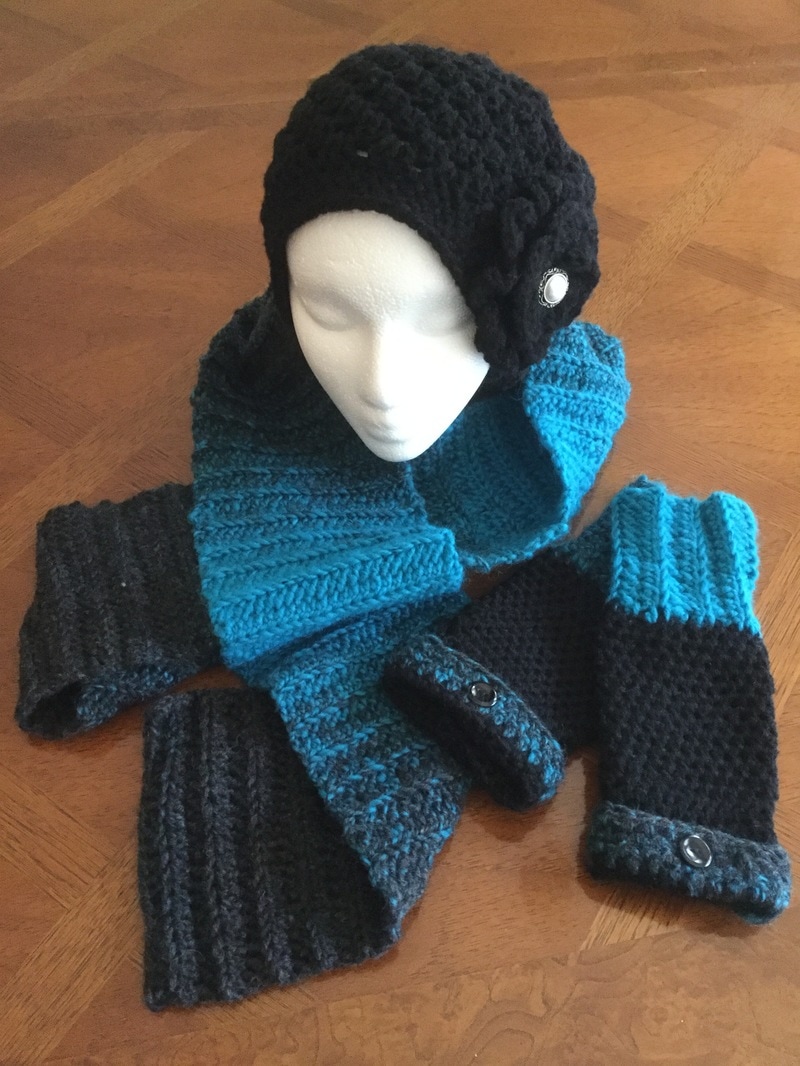
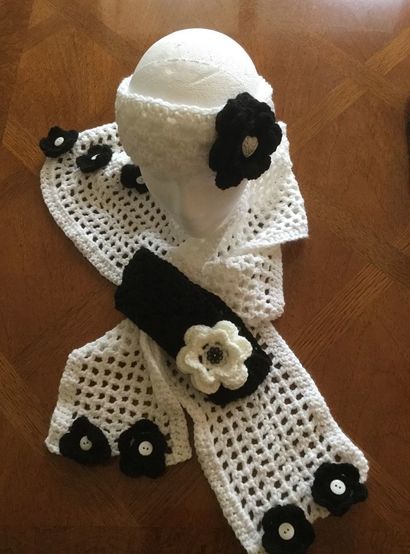
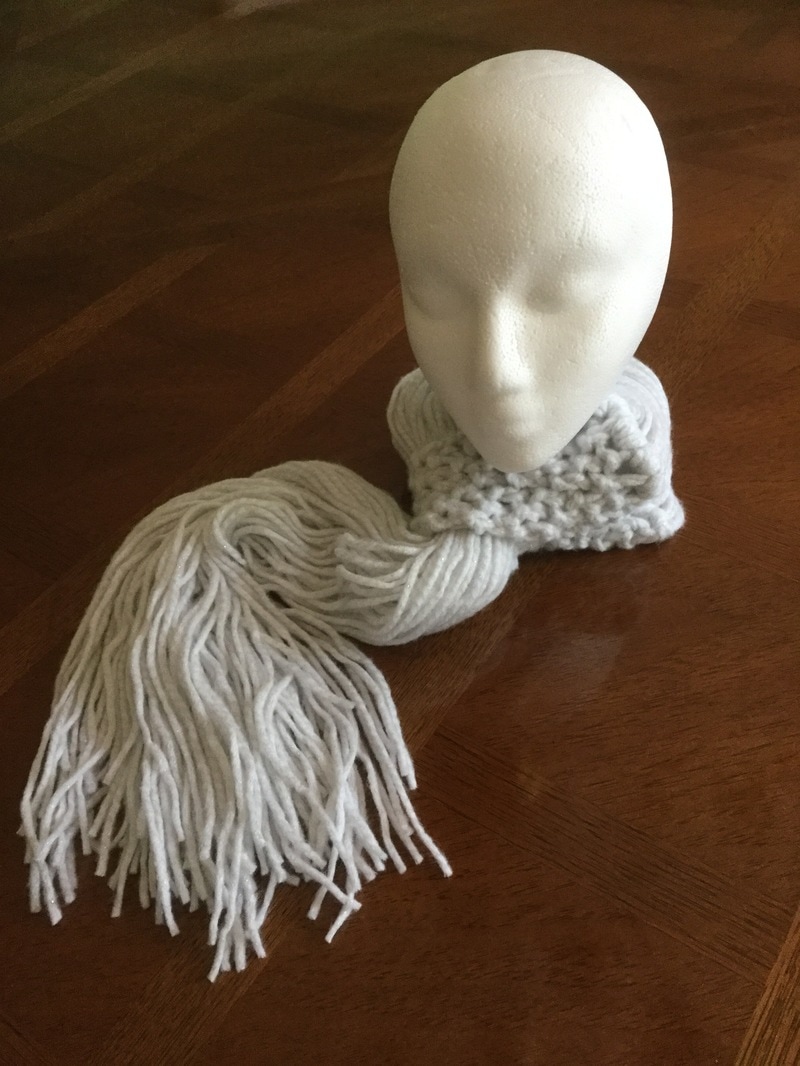
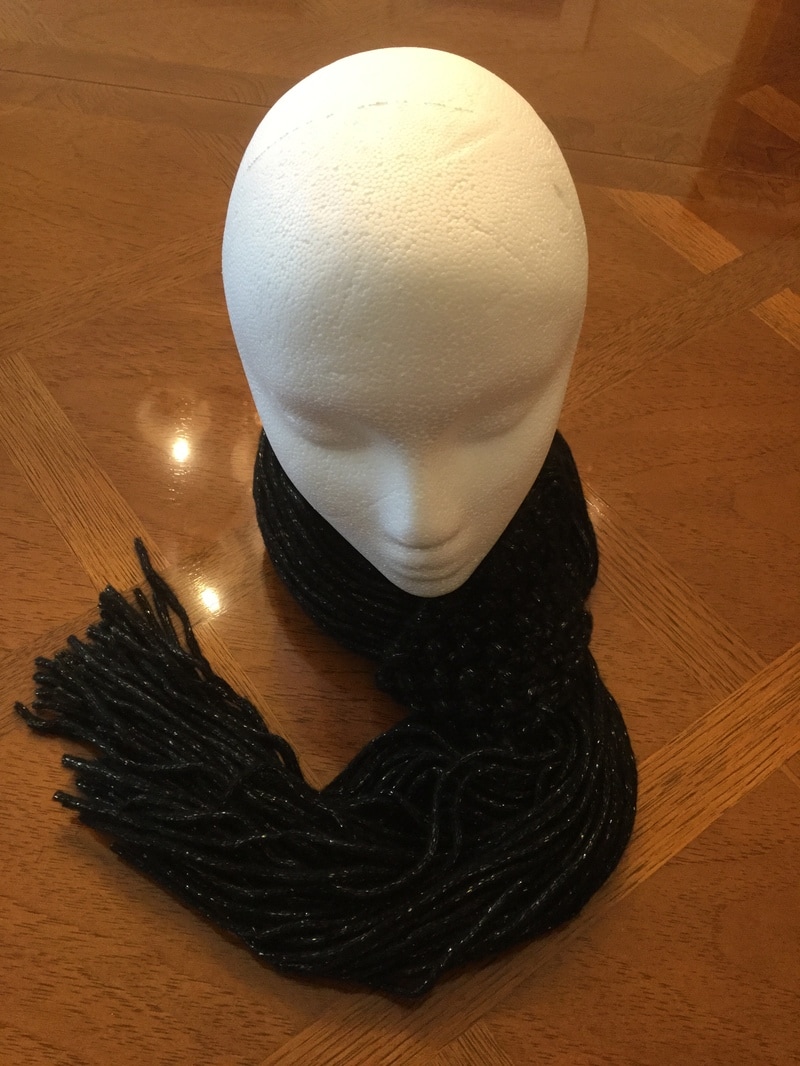
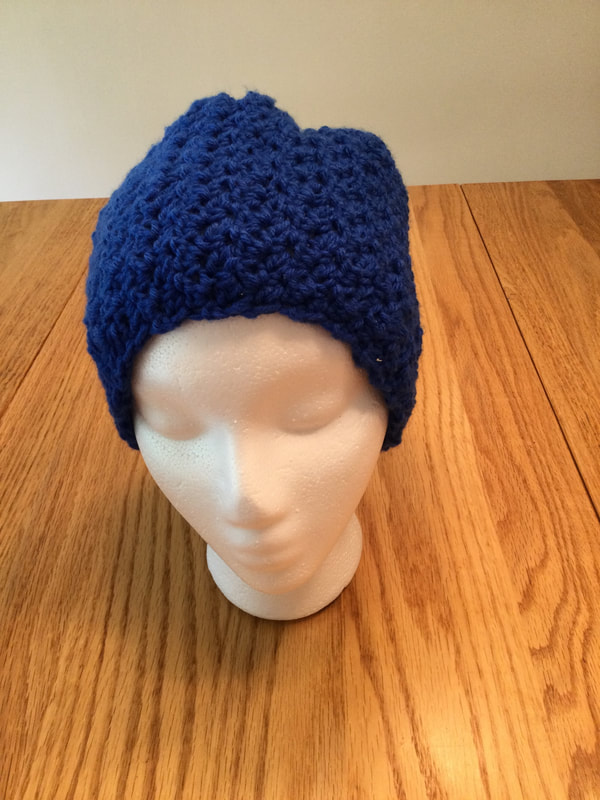
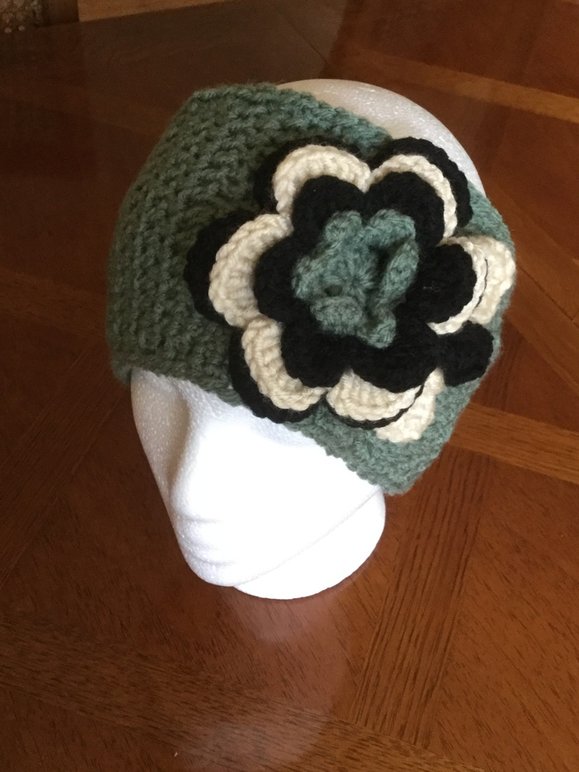
 Black and white - My crocheted and knitted pieces lay before me like so many pieces of a puzzle to solved or at least organized. I wondered how I would use the visuals most effectively to draw in perspective readers and to entice them to continue with the posting. I had actually completed writing this newest article last week. However, when I awakened this morning, my self-imposed publishing day, I knew I wanted to link immediately to the title, Knitting and Crocheting in Black and White. I decided to let the pieces, old and new, help me rewrite this newest entry. So the plan is to introduce my wearable art throughout the article as I explain my writing process and move on to showcase individual pieces. Come join me for my journey in black and white. Which comes first, the project or the blog? Before I started blogging, I thought this question would be easy to answer. I envisioned going through my storage boxes of completed scarves, blankets, cocoons, shawls, headbands, sweaters, and fingerless gloves. I pictured myself taking photos and writing about the crocheting or knitting process that I wanted to share with my readers. However, as I formatted the blog and signed up for 2 years of hosting and domain name, I realized I would have to take a long-term approach if I wanted to have interesting and new ideas to present on a consistent basis. I set an ambitious goal (at least for a newbie) of publishing articles on a weekly basis. This meant I needed content for 52 blogs for the first year. After researching blog marketing ideas and the posts of fellow bloggers, I developed a spread sheet of the year's events, projects, materials, tools, techniques, and designs. As I began writing and publishing I knew I could expand the lists, introduce new ideas, and move topics around. Exploring the themes associated with color, I brainstormed many ideas, but I determined that my first "color" post would be black and its contrast white. My custom clients as well as customers at craft fairs frequently requested black accessories to accompany their indoor or outdoor clothing. Besides black is the color that I wear most frequently. I love the inky color, and black garments, even simple ones, always seem to look so stylish. I also enjoy black and white with a pop of color. I find it easy to write and develop my knitting and crocheting blogs. I am passionate about these fiber arts, and am eager to earn more. I love sharing my ideas with other knitters and crocheters and expanding my connections in the knitting and crocheting communities. However, knitters and crocheters are visual people. Therefore, I needed projects to photograph. I had some pieces in my storage boxes. Still I needed a few more to round out my idea. Knitting and crocheting projects for each blog idea sure does slow the process down. Why should I knit and crochet black in the spring and summer? Light is the answer. I can only see the stitches in bright, natural light, and so I prepare my black hats, scarves, and gloves in the spring and summer for fall and winter use. Bright stitch markers and working on a white background will help me with stitch definition and with keeping track of patterns. MY hook or knitting needles are in lighter lighter or contrasting colors. I have see luminescent, battery operated hooks and knitting needles. I can't wait to get a hold of these new tools. They will be fun for crafting outside by the campfire or for riding as a passenger in a darkened car along road trip. The photos that I have scattered in the first part of this blog display pieces that I had completed. Of course, there are my favorite crocheted floral headbands, this time in black and white. The crocheted black cloche, also with my signature flower, is comfortable and warm for winter. The varigated black scarf is knitted from a skein of Scarfie Yarn by Lion Brand. The flowers were crocheted and affixed to the scarf. Scarfie is a bulky yarn (5) that is 80% acryclic and 20% wool which makes it quite cozy for frigid weather. As the skein is is 312 yards, it makes up a scarf that is long enough to wrap and style in several ways. The black and turquoise scarf and fingerless glove combo were also made from Scarfie Yarn. The ridged effect on the scarf was achieved by crocheting half double stitches on the back loop (hdc). The child's striped beanie shows a pop of blue on the ribbed border of the back and white striped beanie makes the hat cheerful and stylish. You can also add a matching colored pom-pom. The black and white fingerless gloves are quite versatile. Change the applique or the button decoration, and you have a whole new look. The crocheted fingerless gloves with the purple cuff and the marbled black and white hand were from one of my earlier collections. I have already sold similar pieces with bright red or bright green cuffs. I am looking to replace the marbled black and white yarn so that I can create a new narrower design. So what are my new pieces? I took a familiar knitted fingerless glove pattern, made up the pair in black, and embroidered and crocheted a flower with a contemporary twist. The little red button at the center of the flower adds that bit of color. I adapted a v-shaped crocheted summer scarf to worsted weight, and decorated the the scarf with contrasting black flowers. The pattern is by Donna Wolf and can be found on her website, naztazia.com or on Ravelry.com. The project that I am most excited about is probably the simplest. The pattern was, called "the Necks Big Thing," created by Shelly L. Brander and can be found on Ravelry as a free download. The scarf is made in 2 steps. First knit a rectangle in seed stitch with 2 strands of bulky or super bulky yarn held together. You will be cutting numerous long strands of yarn to be attached to the both of the short ends of the rectangle. Fold the knitted piece and the long tails in half, Place on your neck, and pull the yarn through the knitted part of the scarf. See the pictures below to show how the wear the scarf. I made a few alterations to the pattern after my first attempt. The designers suggest sewing small ends of knitted piece together before attempting to pull all the yarn through. I omitted this step, and I still like the look. Also, after my first piece in gray, I cut 70 inch fringe pieces for the scarves shown in this article. My yarn is Isaac Mizrahi Craft (super bulky 6) by Premier Yarns. I knitted the pattern in both black and white. The white yarn is flecked with silver, and the black yarn has light strands of gold. Both are pictured below. Which do you like best? So to answer my question: Which comes first the project or the blog? The answer is yes to both. I usually decide to write a topic based of the flow of the year's events, my interests, discoveries, new experiences, hot topics. Then I will scavenge, as well as create pieces to flesh out the theme. However, I am also drawn to experiment with new styles, techniques, stitches, tools, yarns. Photos of these become the visual content of the blog as I write to share my ideas and information with my readers.
Fellow bloggers, crocheters, and knitters what comes first for you? Do you complete your finished piece, and then photograph, write, and publish, or do you get an idea and then create a post?
0 Comments
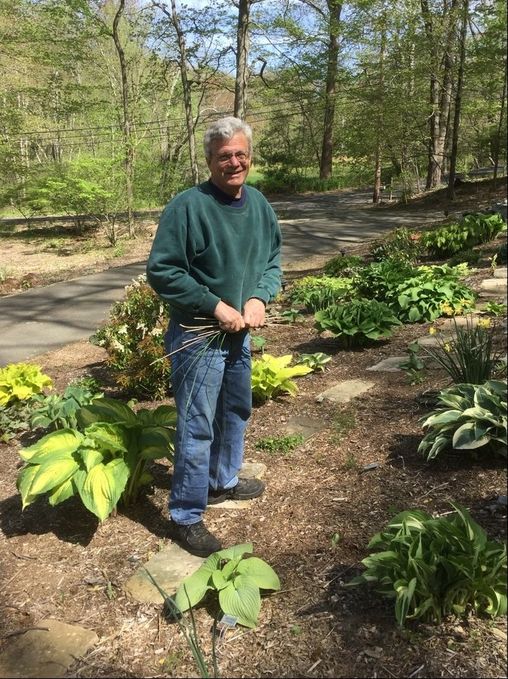
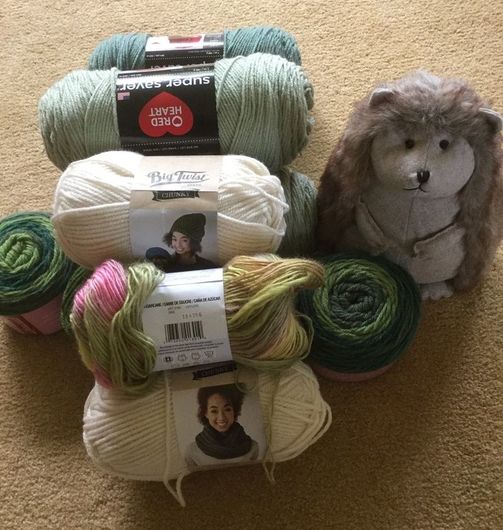
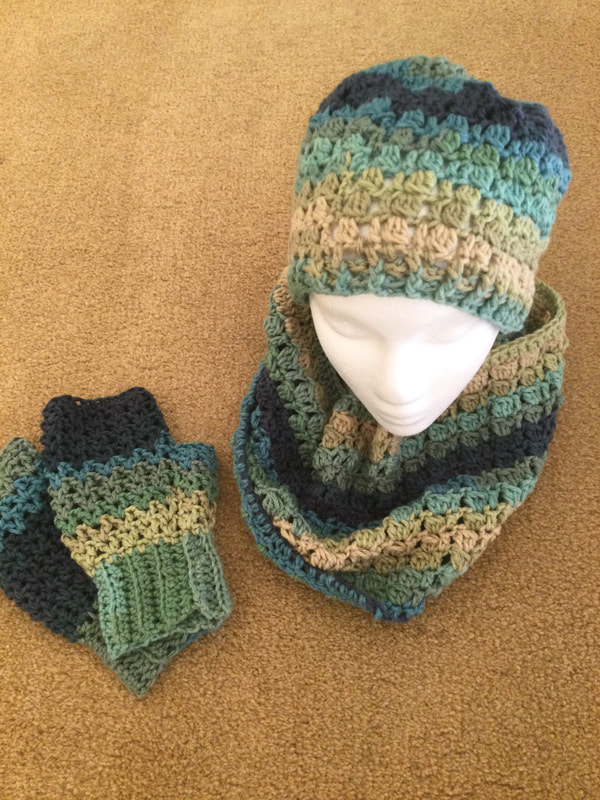
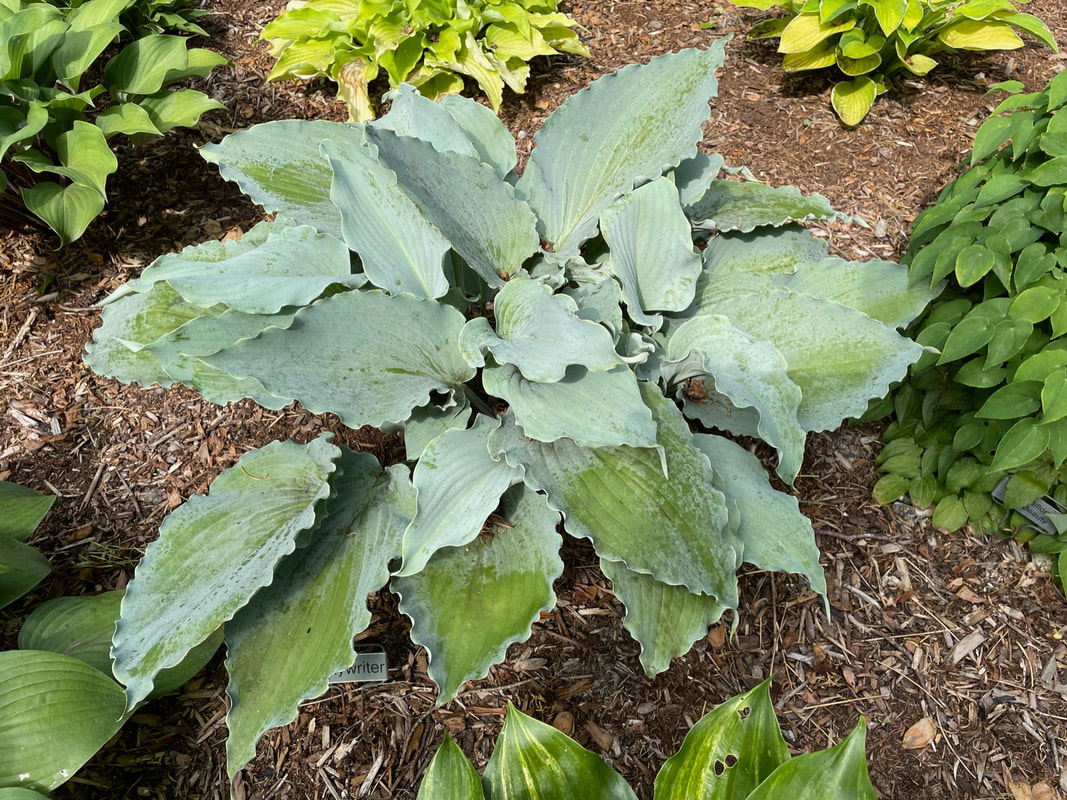
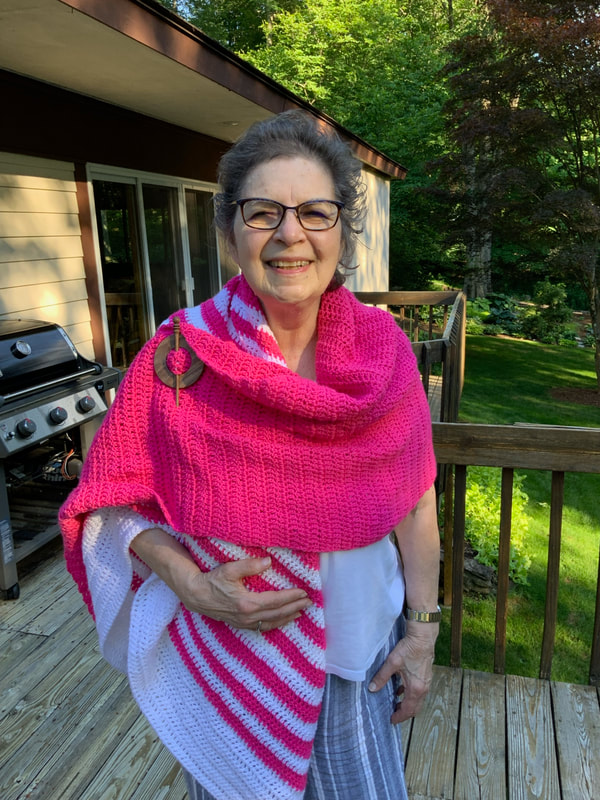
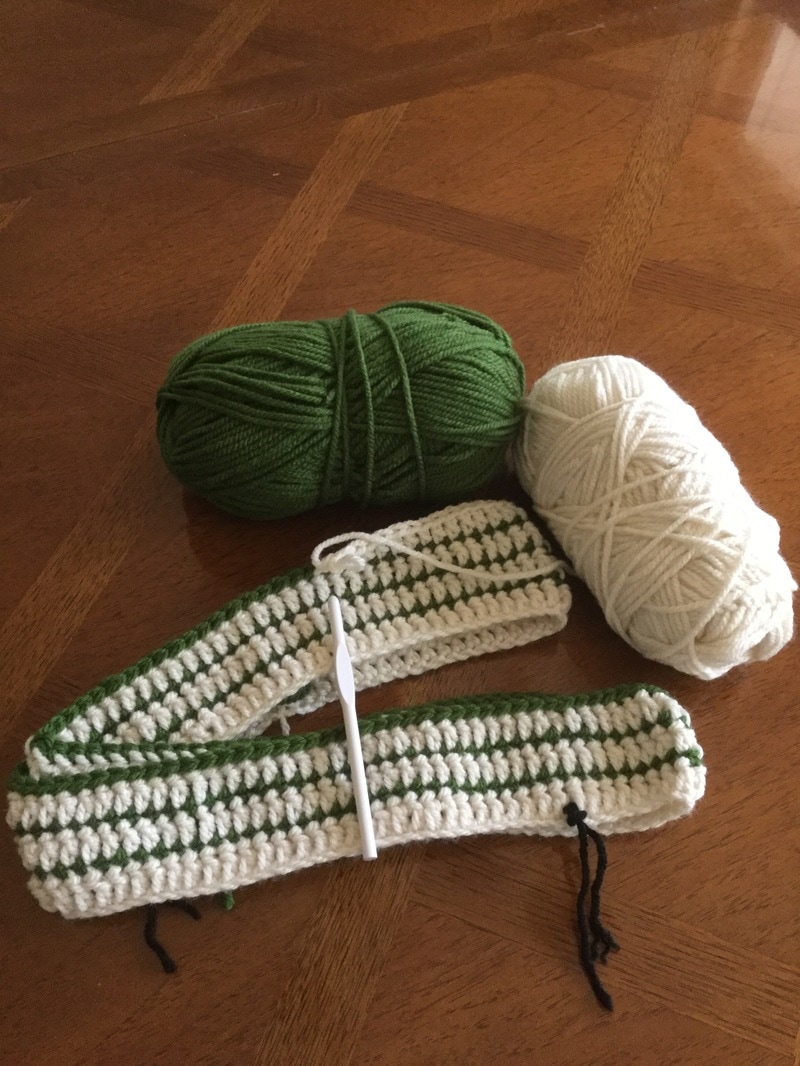
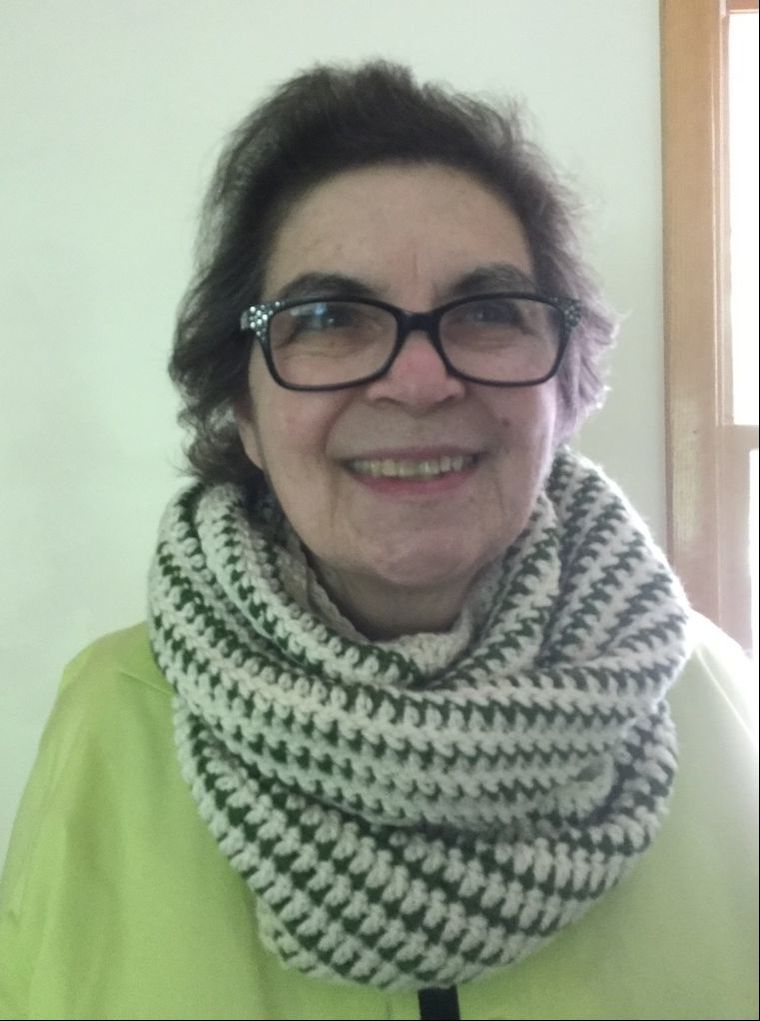
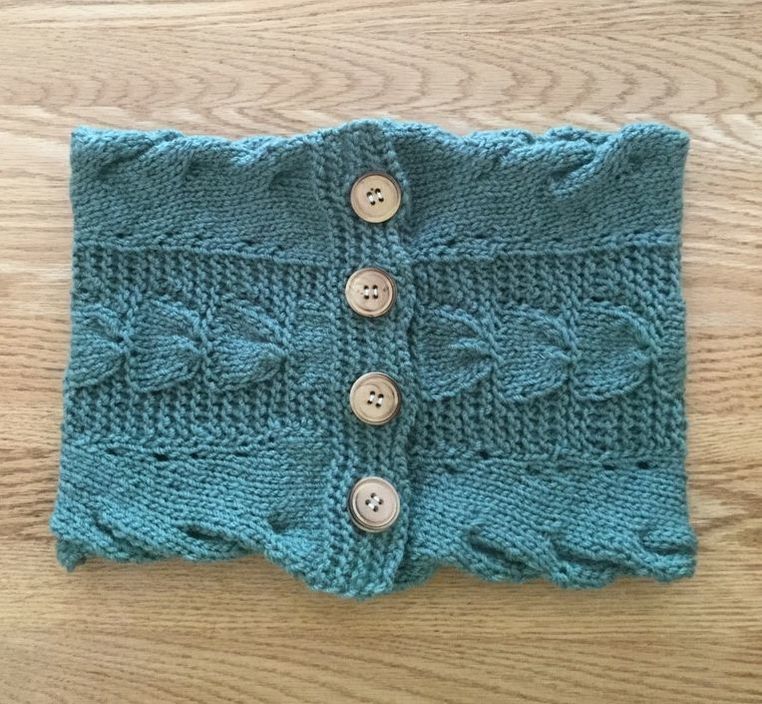
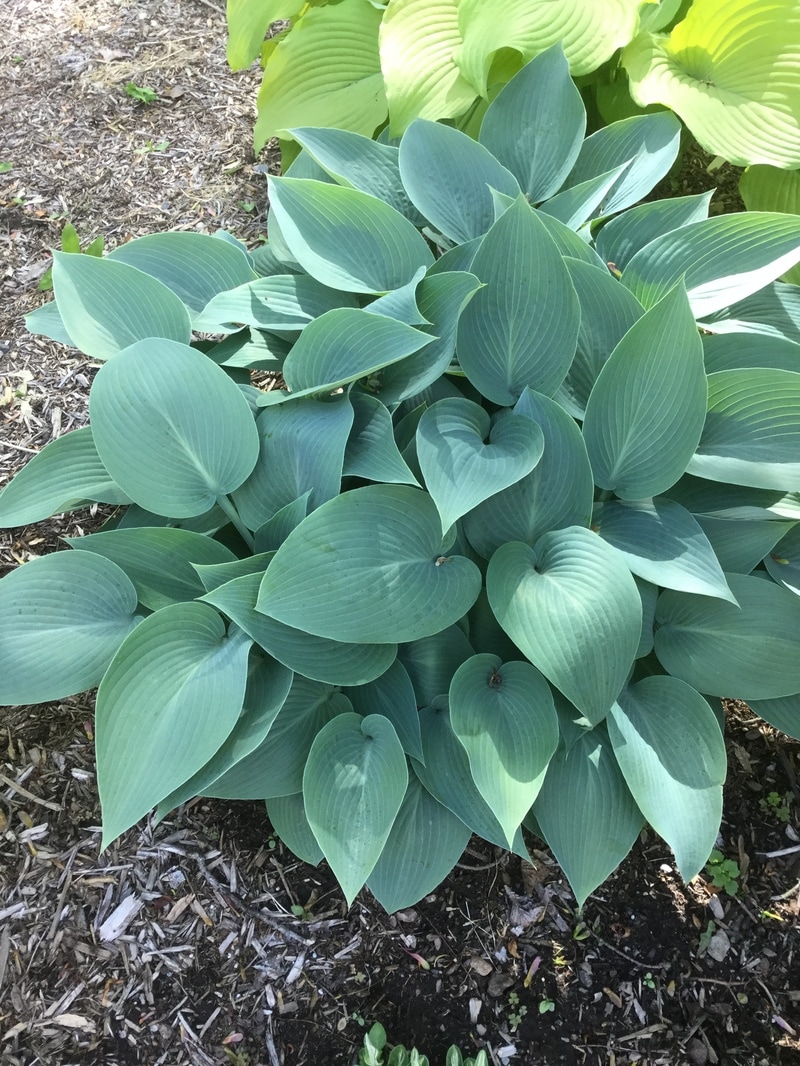
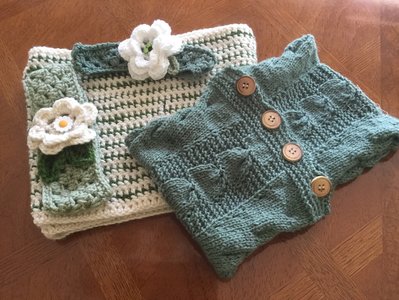 What does a garden have to do with knitting and crocheting? Something magical happens in the acreage around our home during the last weeks of April and first weeks in May. The garden that my husband has designed, planted, and maintained with exquisite effort springs to life. Each day as I slowly drive down from the main road or walk around the yard, I see how many plants have grown or added colors since the day before. This article doesn't only play homage to the creative works of my husband and supportive partner, it demonstrates how the knitter and the crocheter can take inspiration from the beautiful world around us. In my case, it is right in my own backyard.  On our frequent walks about the garden, Bert points out how individual plants are coming along and how each fits into the total scheme of things. This year our garden has inspired me in a whole new way. From a fiber arts perspective, each aspect has urged me to think of how form, structure, color, and composition could translate into projects that I could produce on my needles or on my hook. Throughout the spring and summer, I will return to this theme as a source of creativity and inspiration. One of the most dramatic features of our garden is my husbands extensive Hosta collection. There are over 1000 individual varieties (not counting repeats). Plants range in size from a few inches in diameter to over eight feet in width. Plants may be solid, striped, varigated, trimmed in a contrasting or complementary color. I did know know there were so many shades of green. Side by side, you find the yellow chartreuse and the bluest green. To offset the green of the hostas, Bert has epimediums, heuchera, solomon shield, hellibores, and Japanese maples to provide a background and a contrast. ,After examining the photos of the plants from my personal garden tour, I made a preliminary foraging trip to one of our towns megayarn and craft stores to assemble a stash that represented the colors in the garden. I have been going through my many knitting and crocheting books and online sources to see which designs are the most natural combination of color and form. However, after completing a few pieces, I realize that I have only just begun, and I need to undertake another buying trip to extend my supplies with some different colors and weights of yarns. The subtle greens and naturals were a great start. Now, I need that vibrant chartreuse and rich rusts for some other projects. A skein of yellow or cream will help me to attempt interpretation of the amazing leaf patterns. The first project I tackled was a cowl that I crocheted from a pattern on the back of Big Twist Chunky yarn. I crocheted with a K hook and needed 2 skeins of natural and one skein of juniper green. I have crocheted many scarves, but this was my first cowl. The piece can be worn long around the neck and fasted with a lovely scarf pin, or it can be doubled to bunch around the neck. This cow; was inspired from one of many hostas in the garden. This particular plant has a leaf with a creamy interior section and is trimmed with a darker sage or juniper. I was able to achieve the effect by alternating a row of double crow in natural with a row of single crochet in the accent green color. The photo on the yarn wrapper showed a darker main color and a lighter accent row that I am tempted to try. For detailed directions, you will need to go to the pattern on the back of the yarn band. This is also the first time that I have crocheted with the Twist Chunky yarn. I like the feel and texture, and it works up beautifully. The foundation chain is long and can easily by twisted. To avoid this problem, try the following technique. Start chaining for about 10 stitches. Remove the hook from the chain and insert it in the first stitch you made. Then reinsert the hook into the working stitches and continue to chain with both stitches on the hook until you are at the desired length. At this point, just draw the yarn through both loops. Your circle will not have any twists. See the photo below as a guide. For the headbands, I took a cue from the white flowers and dark green leaves of the vibernum and the white peony. I used a lighter green to balance out the color scheme. I just noticed the purple detailing at the flower's and plan to incorporate that feature in the finished flower that decorates the headband. The cable edged cowl sports a leaf-like feature down the middle of the cowl. I knitted the piece with a sage green from Red Heart on size 9 needles. It took a while to get used to the cabling, but once I got the hang of it, the following repetitions were easier to execute. This was a free pattern flyer that is available at Joanne's stores. Large wooden buttons were the perfect accent. The cowl can be worn closed or opened at the bottom for a stylish fashion statement. The designers call for 2 balls of Big Twist (worsted weight), and I think would try that yarn next time for a softer feel. I am so excited by my photos that I can't wait to take on future garden inspired projects. During the garden season, you can look forward to such topics as "Knitting and Crocheting with Leaf Art" or "Knitting and Crocheting: Pops of Garden Color."
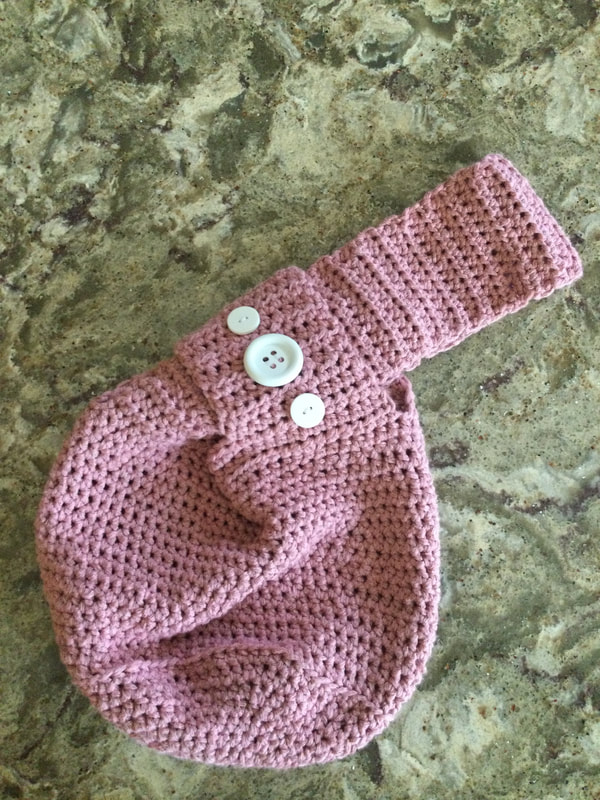
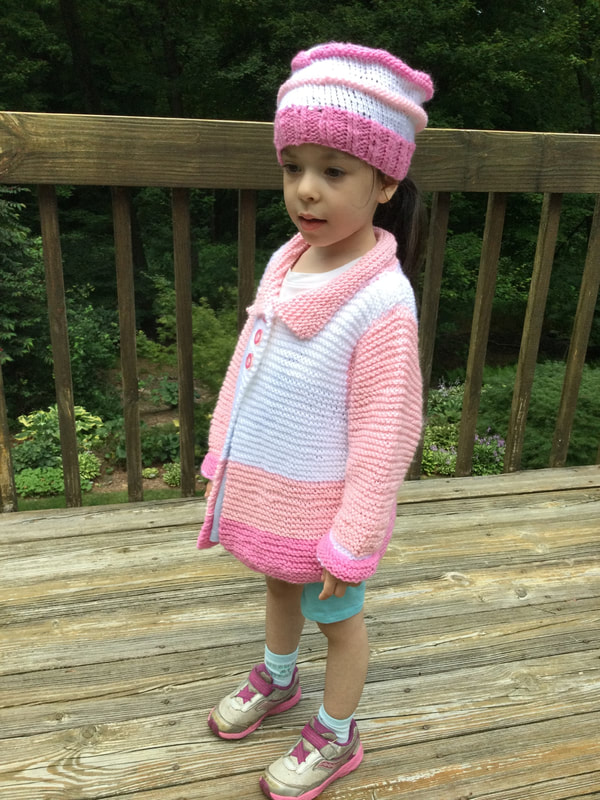
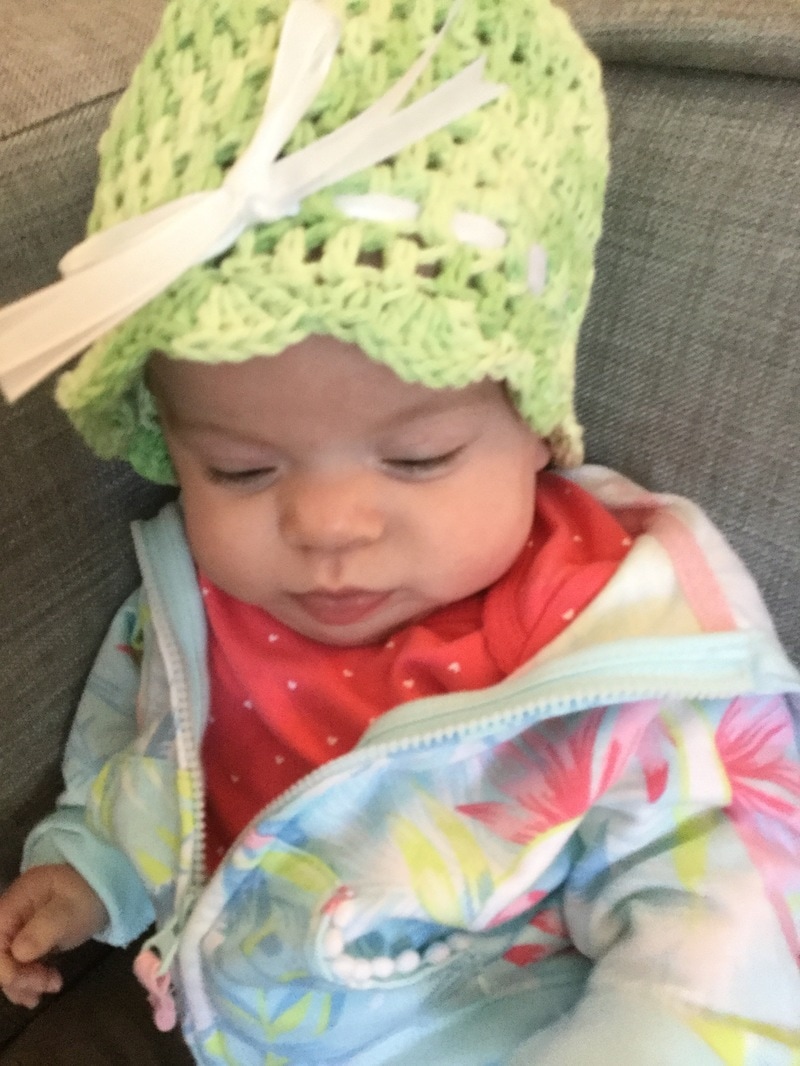
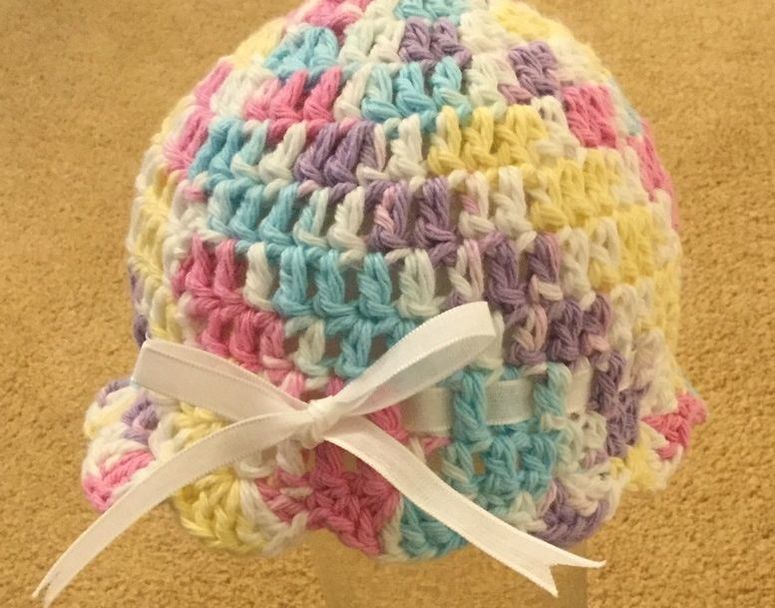
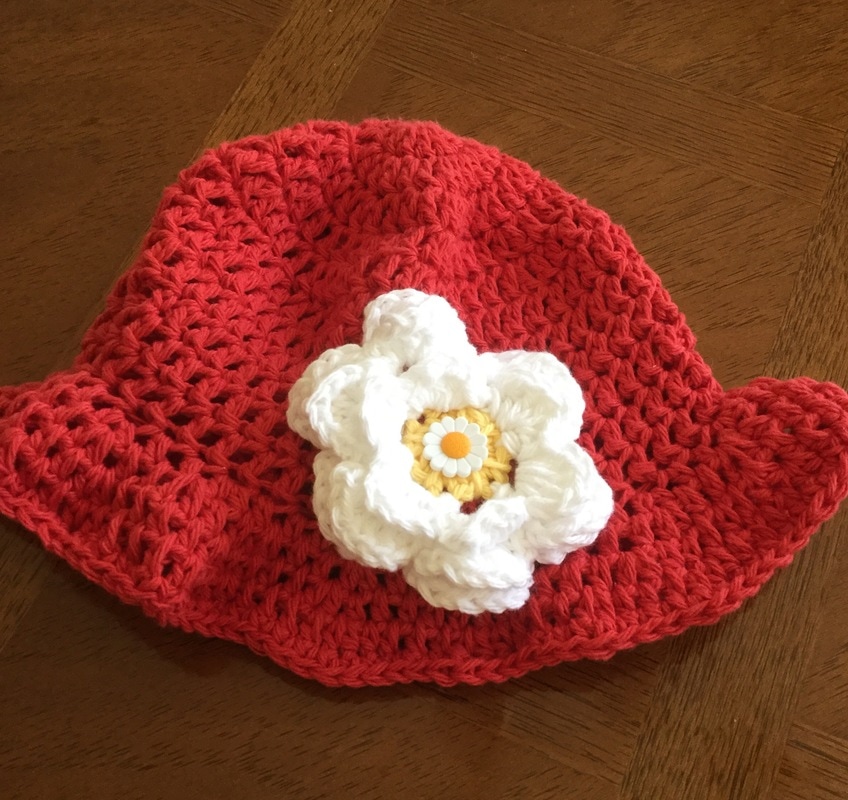
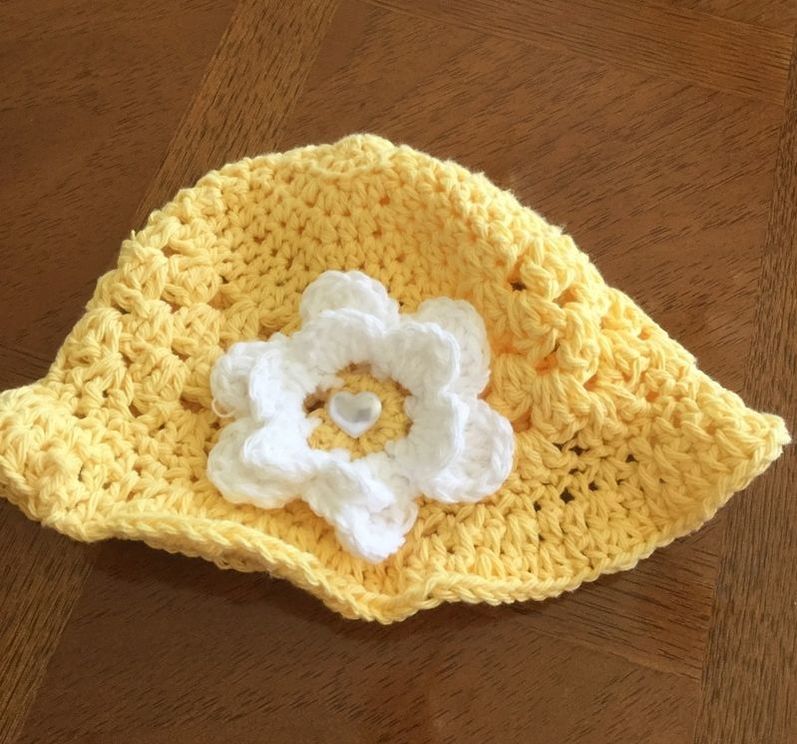
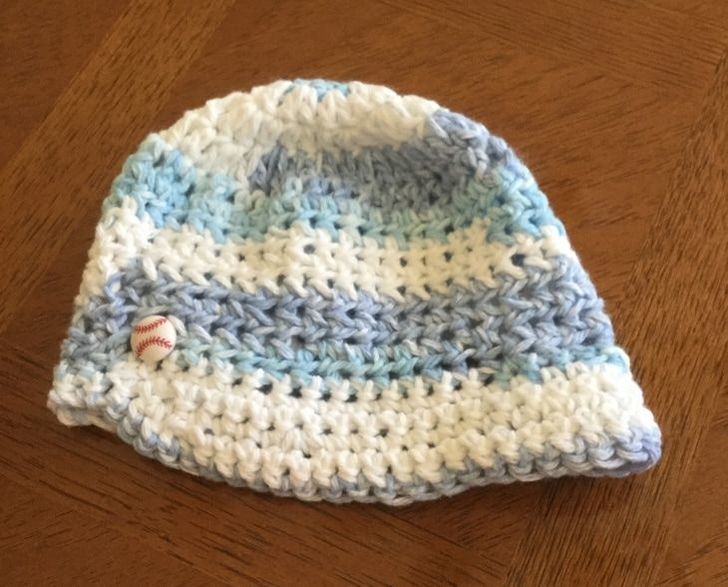
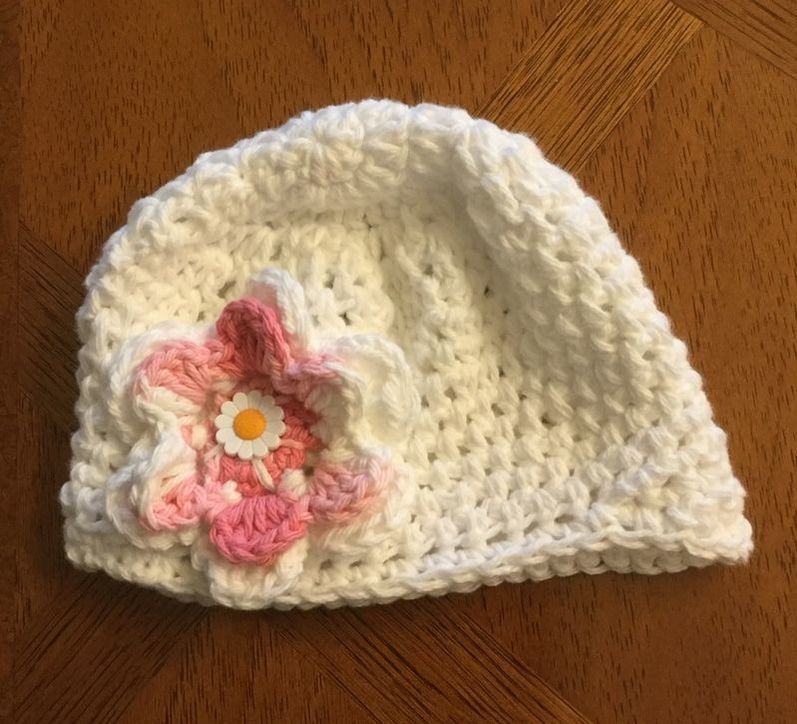
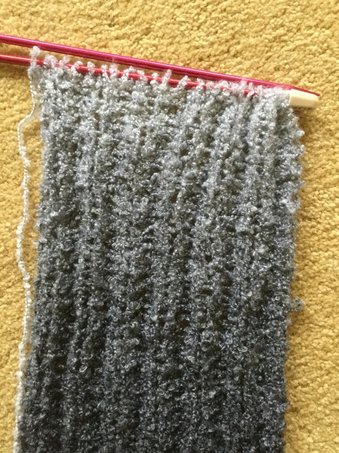
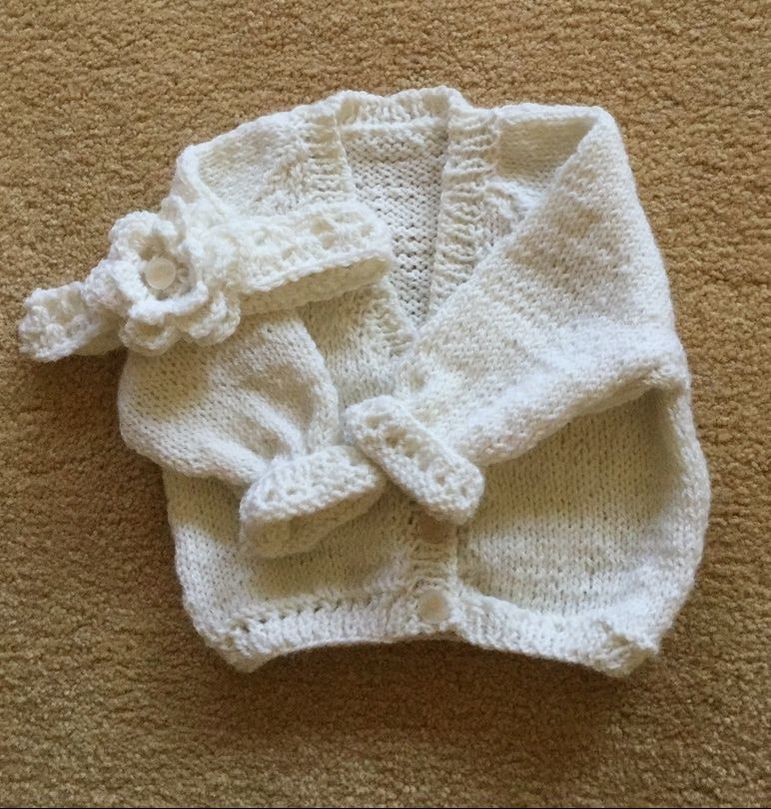
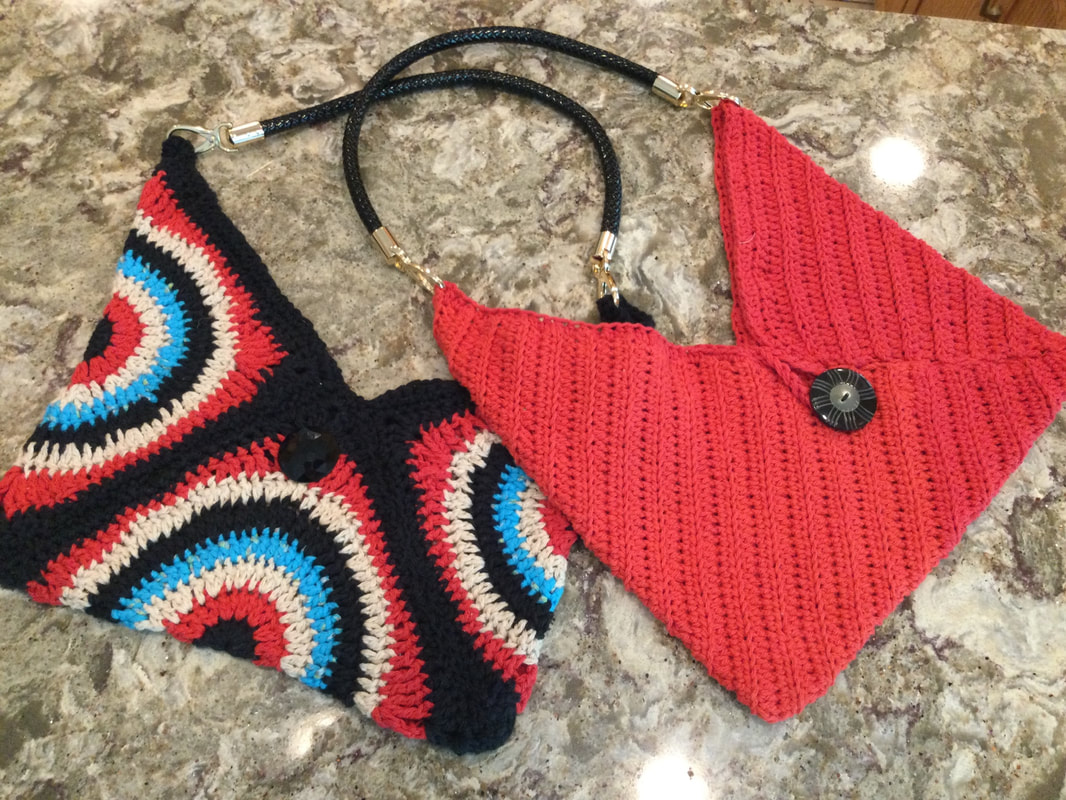
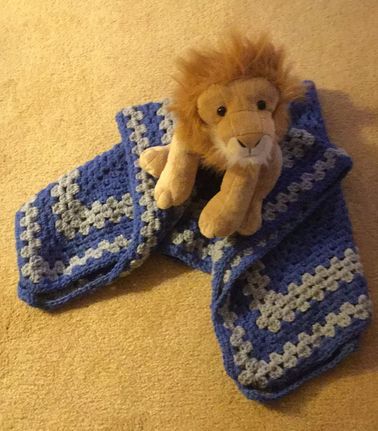
As a fiber artists, what aspects of the natural world inspire you? Please share your thoughts and photos in the comment section of this blog or on Facebook. 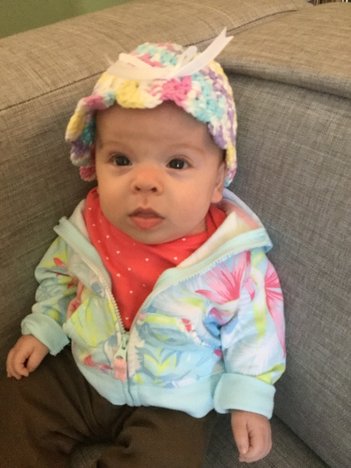 With the sunny days of spring and summer upon us, it is a great time for the whole family to enjoy outdoor activities. Our littlest family members have delicate skin and eyes that are sensitive to the sun's rays. With a few preventative steps and common sense we can protect our babies and toddlers. Of course, we don't want to expose infants during the midday hours of harshest sun glare, In addition a good baby sunscreen and a sun hat are essentials. Since my granddaughter will be joining the family for walks, picnics, and other get-togethers, I have been experimenting with crocheted sun hats that would be comfortable and would shield her from the harmful effects of exposure to the sun. Cotton is an excellent fiber for summer hats. It is light weight, strong, breathable, and draws heat away from the skin. The cotton fibers are not elastic, and so hats made from them will hold their shape. Cotton also gives excellent stitch definition. Displays in your yarn and craft stores show a wide variety of colors. Pieces are machine washable and can briefly go in the dryer. Just be sure to take the hat out while damp and lay flat on a towel to continue drying. With brighter colors, be careful to wash individually or with like colors, as the dyes may bleed and discolor other garments in the wash. I usually crochet cotton with Sugar n' Cream by Lilly. To crochet the sun hats, I have been trying out a variety of styles. Sometimes, I find myself changing the stitch or hook to get the desired look or size that will get the best look or fit. The first pattern I made was a flapper style hat with a scalloped edge that could be decorated with a ribbon or flower.This is a free pattern by Anna Virginia that can be found on Ravelry as Baby Flapper - Girl Hat or on the designers website: http://annavirginiafashion.blogspot.com/2010/11/baby. To shield the baby's eyes and neck from the sun, I chose a pattern with a brim from stitch11.com. The pattern comes with directions for 6-9 months, toddler, child, and adult sizes. The hat can easily be decorated with ribbons, flowers, or appliques. See: http://stitch11.com/peach-happy-sun-hat. A similar hat with shell clusters on the sides is offered by Daisy Cottage Designs.This hat is for children 4-8 years old. I adapted the style to create the yellow hat below for baby size 6-9 months. See: http://daisycottagedesigns.net/shell-stitch-sun-hat-free-crochet/ 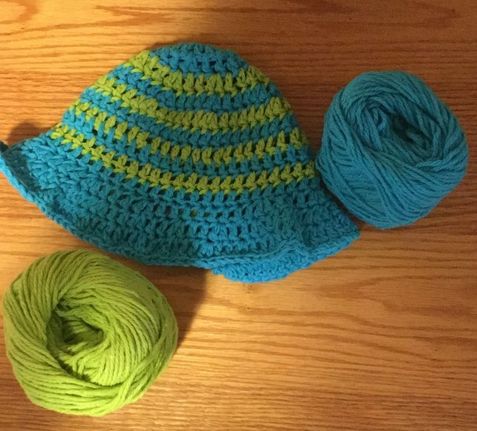 My Messy Life also provides a brimmed hat. The main version is suitable for a boy or girl and can be styled with a variety of color combinations or qppliques. There is also a ruffled version. Sizes come in newborn and toddler. For the 6-12 month size, the designer suggests adding to the crown and length to achieve size suggested on crocheted hat charts. Another option is to use a larger crochet hook. See: http://mymerrymessylife.com/2013/05/crochet-summer-sun-hat-free-patterns-for-a-baby-and-toddler.html For a baseball style cap, I used the Cheri Hat by Jennie Harrell. The pattern can be found as a free download on Ravelry. Of the various baseball caps available online, I found this the the easiest to understand and reproduce accurately. Directions are given for sizes 0-6 months, 6-12 months, 12-24 months. The hat can be edged with a contrasting yarn, applique, or decorative feature and customized for a boy or girl. http://www.ravelry.com/patterns/library/cheri-hat 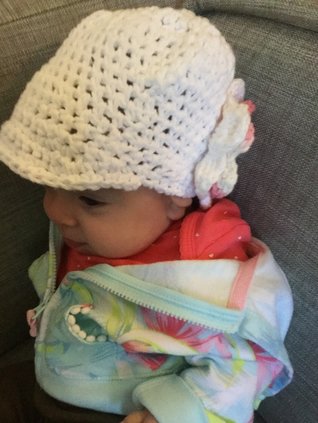 Hats do not have to be just for the fall or winter. These spring and summer designs in cotton yarn are stylist and fun to make and wear for the warmer months. My winter hats have been among my most popular pieces at craft shows and with my custom clients. Now I am thrilled I can fashion one this summer for my granddaughter. I would love to hear about your experiences with hats for the sun and to see your designs. Please post your comments on this blog or on Facebook. You will also find also find my pins on Pinterest. See: [email protected] 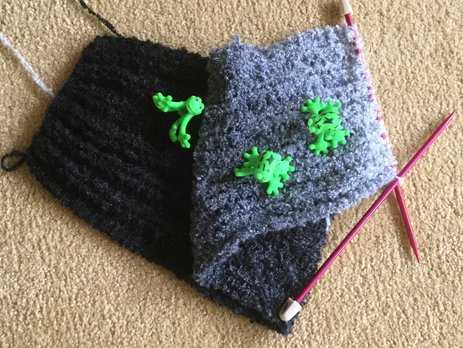 , ""To frog or not to frog. That is the question. Whether it is more practical to rip out and recycle sections of your knitted or crocheted project or to slog along with a piece that is no longer satisfying and by frogging put an end to your misery." Shakespeare's Hamlet pondered issues of life or death. Frogging is not quite as noble. What is "frogging?" According to the "Red Heart Glossary of Knitting," the term "frogging" refers to the tearing down of a project to make corrections or recycle the yarn. The words "rip it, rip it" sound like the call of a frog, and that is how this dreaded remedy got its name. Although most earlier references pertain to crocheting, the term is currently applied to both fiber arts. Like most knitters and crocheters, I have been faced with a piece with a significant error or one that has not turned out as I had anticipated. Should I rip it down to the error, completely frog and recycle, or leave the piece to languish, half done, until I am motivated to pick it up again? I recently began a scarf that was to be part of a photo display for an an article on knitting and crocheting in black and white. The yarn was a soft, fuzzy self-striping boucle that transitioned in shades from black to grey to pearly white. I was knitting in the "mistake" stitch pattern that runs K2,P2 K2...ending in P1 on an uneven number of stitches. When worked on regular worsted yarn, the pattern continuously repeats to form sharp vertical ridges. However, with this boucle, the ridges were rounded, and the piece had a more undefined look. I knew I had lost my concentration when I failed to end the row with a single purl. Frequently, I found myself "tinking" or undoing individual stitches in a row. "Tink" is the reverse of knit and is used to correct mistakes over a row or two. This procedure was difficult for this scarf as it is hard to distinguish between individual stitches with the fuzzy boucle. Anyway, with 18 inches of the piece done, it was looking muddy and unrefined. I had already spent 4 hours to complete this portion of the scarf, and the prospect of another 12 hours to work on this unattractive piece was not appealing. Hence, the question: "to frog, or not to frog." Would the scarf look better if I continued on to the lighter colors, or should I declare it a disaster and stop? I wasn't even sure if I could use the yarn again if I recycle it. Let us assume that your piece is redeemable. If you are knitting, and the error is many rows down, you will generally remove the needles and "frog" down to the point where you made the mistake in the pattern. You are not happy about losing all of those hard earned rows, but you know that this is a necessary evil if you are to salvage your work. Once you have finished "frogging" you are faced with the problem of picking up all of your stitches without twisting or losing any. Sarah White (What Does Frogging Mean in Knitting, https://www.craftsy/blog/2015/08/frogging-knitting) suggests that before you frog you should run a smooth contrasting yarn through the stitches one row below the error point. In this way you will not go beyond the mistake, and you can easily pick up all of your stitches. An alternative would be to run a thinner knitting needle through the row before you started ripping. It is easier to correct and "frog" an error in a crocheted piece than a knitted one. Amy Solovay (What is Frogging in Crochet?, https://www.thespruce.com/what-is-frogging-in-crochet) suggests putting a stitch marker just beyond the error point so that you can easily identify the spot and do not "frog" too much. Also, when "frogging," pull down to the base rather than use an upward motion so that the stitches come out more smoothly. You can't take back your "frogging, so think carefully. Don't panic before you resort to this destruction. So where is my project now? It is currently at the bottom of a spare knitting bag on a spare set of #8 needles. I took the time out to write this blog as part of my journey of reflection as a fiber artist, and am now eager to start a new project. Will I pick the scarf up again? That remains to be seen. I do not like to give up on a project once I have begun, but I am not into suffering needlessly. The pieces in the photos below show the results of successful frogging. The ecru sweater was actually the third attempt with the same yarn. I wanted to make a simple sweater for my granddaughter to go with a dress that she would wear to a special occasion. I attempted to try something new and picked out a seamless design that was worked horizontally rather than vertically. However, after I got to the midpoint I could not figure out the directions to do the other half. After several attempts, I "frogged" and started another. I was not pleased with the way the yarn worked with the second pattern either. After completing the back, I went back to a tried and pattern that I had used many times before. In the second photo, the crocheted baby blanket and hat came from yarn that I received from a friend in the form of a half-done sweater. She had arthritis and could not longer crochet. I "frogged" her sweater and recycled it with the extra skeins to crochet a baby blanket and hat. In the third crocheted piece, I had made only one cluster on the corner instead of two. I really liked this blanket, and was so disappointed when I found my mistake. I "frogged" down to the error, corrected the piece and went on to complete it. The blanket will be one of my donations to Threads of Love. "Frogging" need not be a total waste and can result in a positive outcome. Please share your experiences with "frogging." What happened to your project? Do you have any suggestions? I look forward to your comments and insights.
|
Archives
November 2022
Categories
|

 RSS Feed