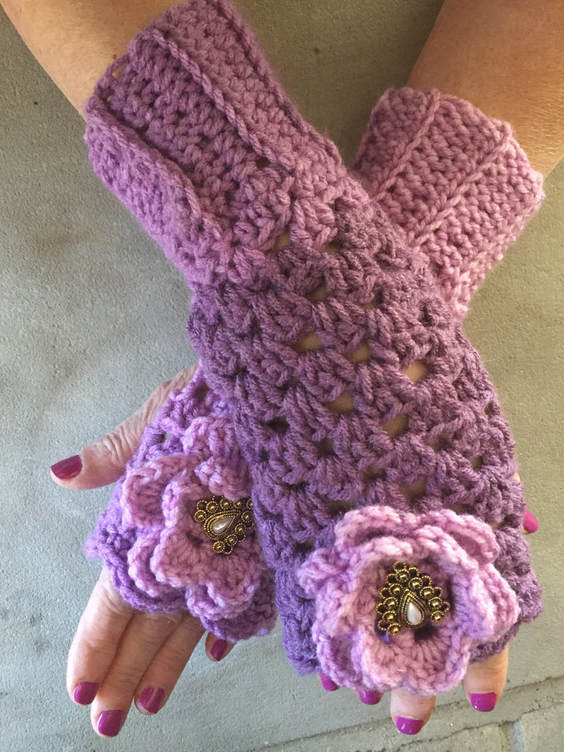
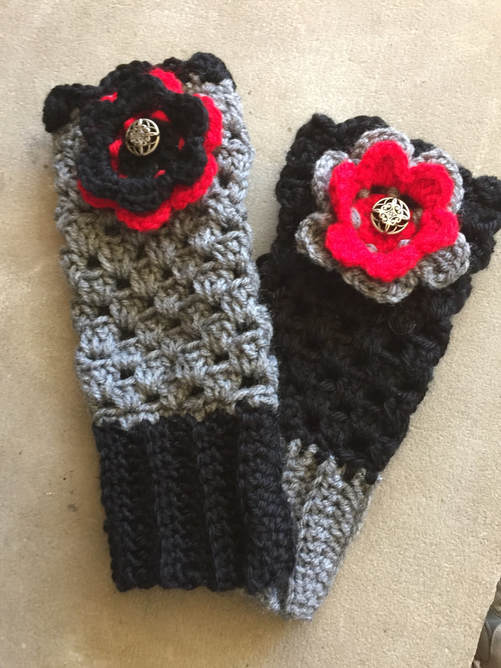
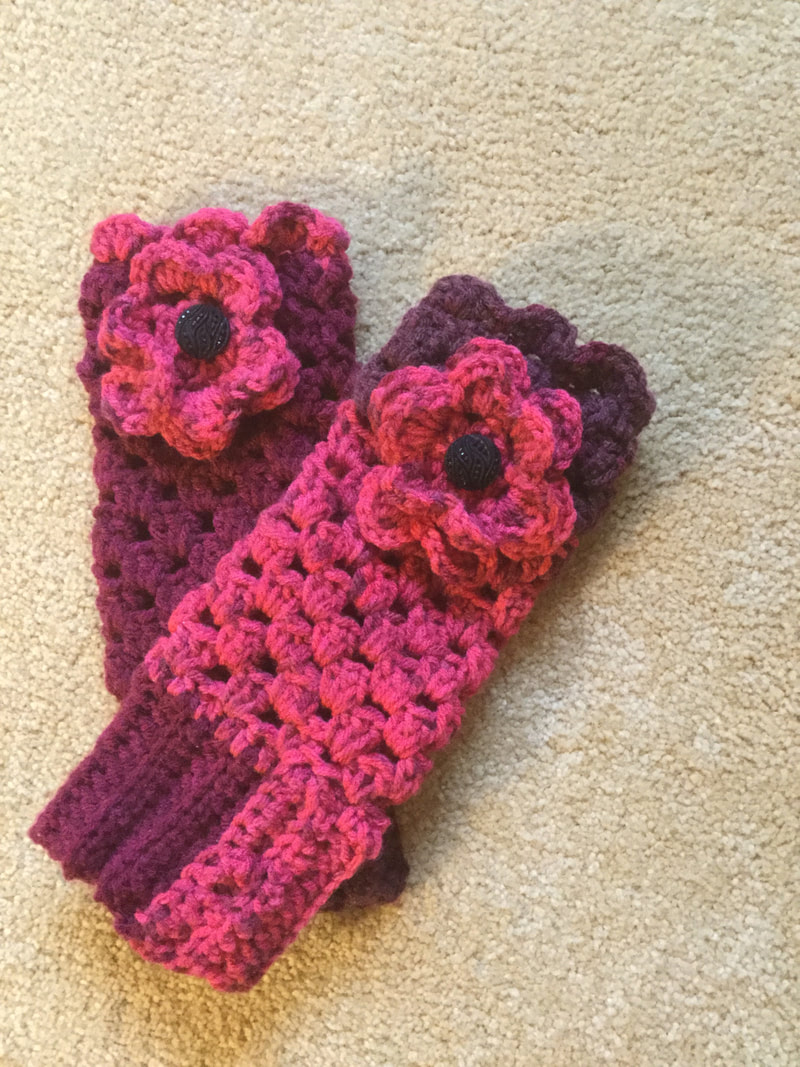
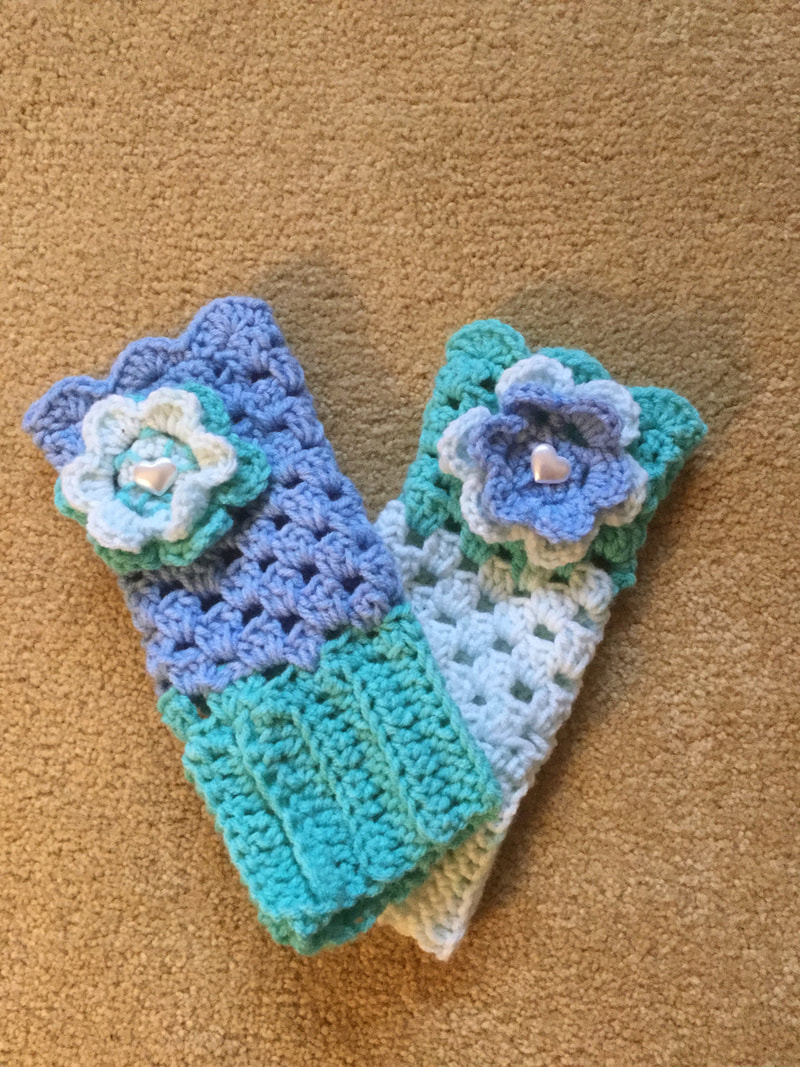
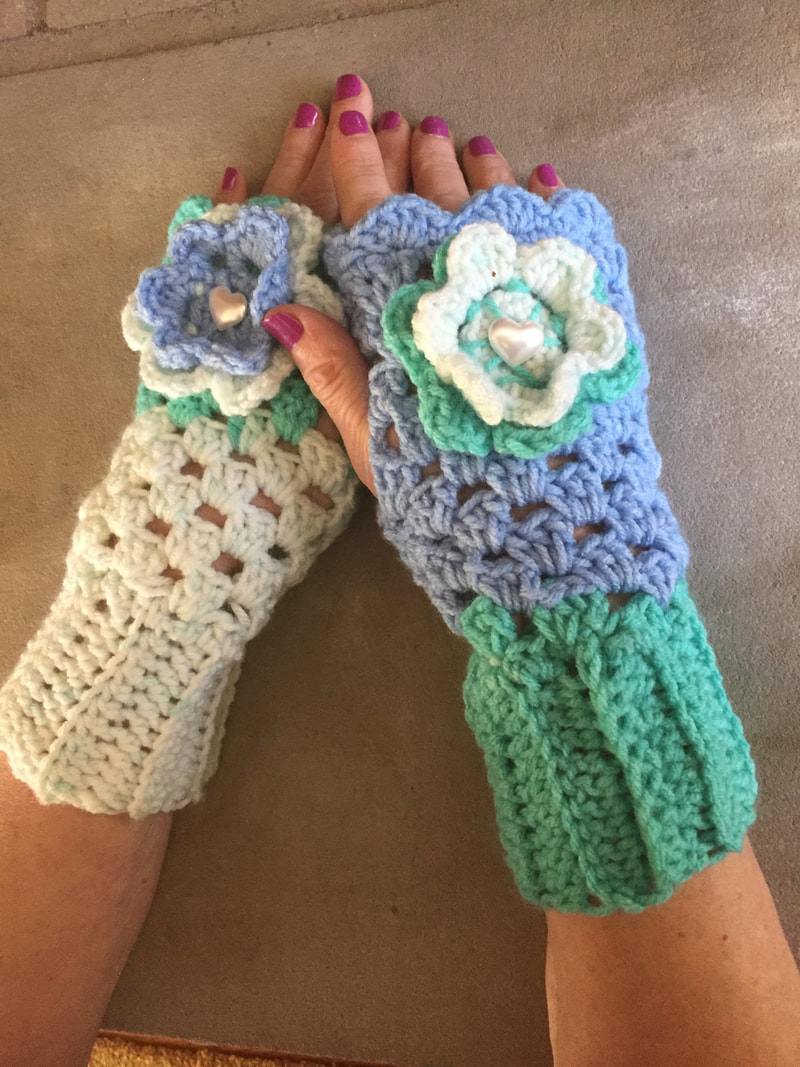
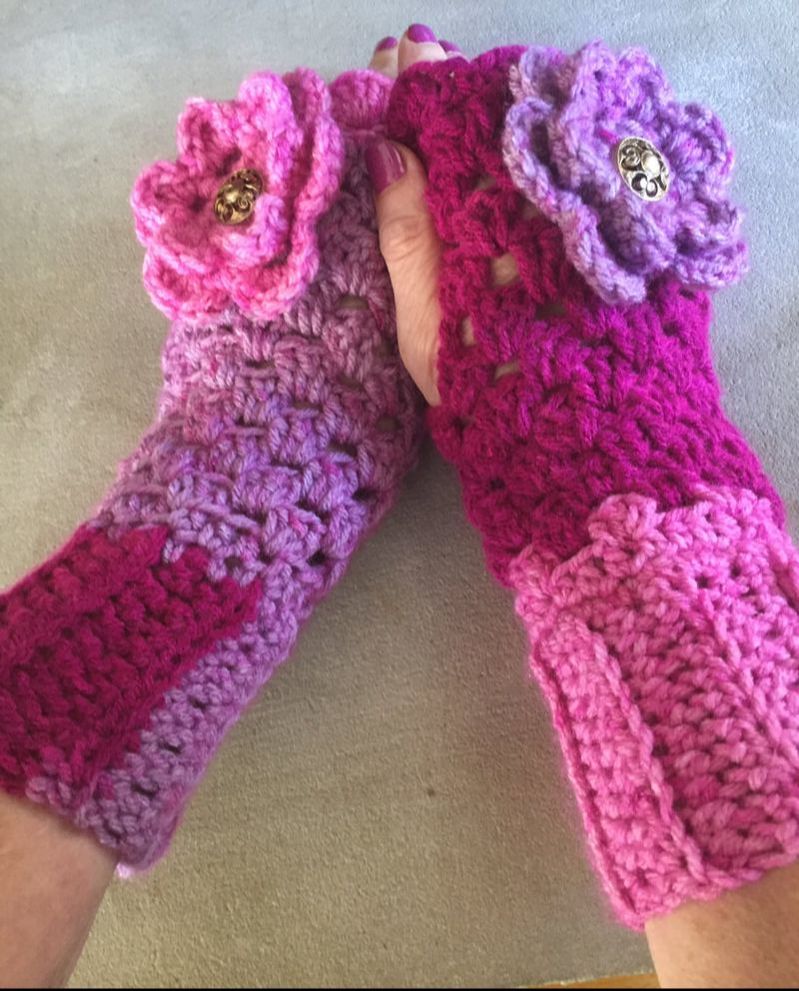
 In celebration of the first anniversary of www.lilcreates.com, I am posting the Free pattern for my signature fingerless gloves. Although I have posted 4 personal designs in the past year, this design has proven to be the most intricate and yet rewarding of them all. By writing down the directions, my crocheted pieces are consistent and correct. When I follow the pattern that I have created, I do not forget necessary steps and the each glove in the pair is true. This is my favorite pattern above all. I really enjoy crocheting these gloves. Since I sold out of all of my grey to black tone gloves during the last holiday season, testing the pattern affords me the opportunity to fill in my inventory as I work out any kinks. As I crochet, I am trying to make the directions clear enough that someone trying the pattern for the first time will know what to do. This FREE version may appear rough. I am working on a future pdf pattern that I will offer for sale on Ravelry or another online sale platform The pattern will need to meet my standards and answer two questions. Do I understand the directions? If I follow the directions carefully, will I be pleased with the finished gloves? As you follow this new pattern, please note any sections that puzzle you. I would appreciate your feedback so that I can make corrections. This pattern is for your personal use only and may not be copied or sold. Gloves made from the pattern are also for your personal use or for gifts. If you post your interpretation of this pattern, please refer back to the source at lilcreates.com. Although I sell these gloves at fairs and as personal commissions, I may be selling them on the Internet in the future. 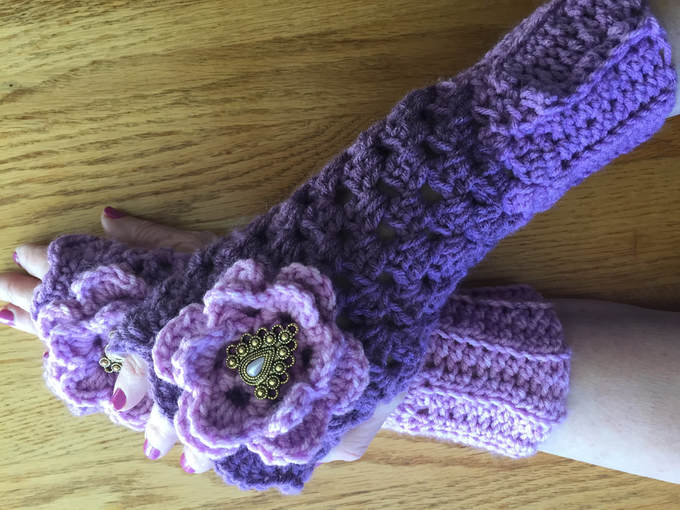  Crocheted Fingerless Gloves: Mismatched Coordinated Handwarmers by Lillian Malkus Published In: www.lilcreates.com Craft: Crochet Category: Fingerless Gloves Date: February 21, 2018 Suggested Yarn: Sweet Roll by Premier Yarns or other suitable worsted self striping or varied colors Yarn Weight: Worsted Weight (#4) Hook size: 5.00mm H Hook; 4.00mm G Hook Size: Circumference 7 inches; Length 10 inches Top comes just above knuckles and reaches to mid forearm Fingerless Glove fits average adult woman Skill Level: Beginner to Medium Level 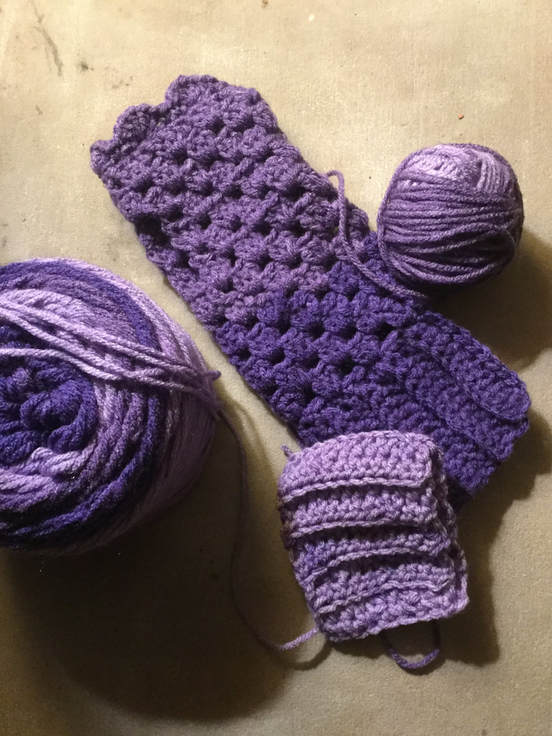 Abbreviations: ch: chain; sc: single crochet; hdc: half double crochet: dc: double crochet; granny cluster: 3 double crochet in same space; ss: slip stitch; blo: back Loop only Materials: 1 skein of Sweet Roll by Premier Yarns or similar alternative self-striping worsted weight yarn. Crocheter may also substitute 3 colors of worsted weight yarn from same manufacturer or yarn type. Worsted weight yarn can vary widely. It is important to use consistent weights to achieve desired effect in finished gloves. Crochet Hooks: 5.00mm H hook; 4.00mm G hook Cuff: Chain 13. HDC through back loop only (blo) to end of row (12 stitches) Repeat until you have a strip with 11 ridges. This should encircle the wrist. Do not cut at this point. Fold cuff so that short sides are touching. Single crochet ends together to form a circle. With crocheted seam you will have 11 ridges. Hand: I like to leave the crocheted seam facing out to the right. Row1: HDC around cuff to form a base for the clusters in hand. Start just after the seam and continue around. You will have 24 stitches. This will take you back to the beginning. Row 2: Crochet 1 double crochet stitch in first apace after the seam. Crochet 2 additional DC in the same space to make you first cluster. Skip two stitches and make the next space. Continue around until you have 8 clusters. Join at top of first cluster. Row 3: Slip stitch (ss)2x until you get to the first space made by the skip 2 from the previous line. Start your first cluster and continue around for a total of 8 clusters and join. Rows: 4-8 Continue with cluster rows. You will note that with each row you are slip stitching andf making clusters one space over at the end of row 8, do not join. Turn work. Row 9: (starts thumb space) DC into first space between clusters. DC 2 more times in same space to make first cluster.Continue around until you have 8 clusters. Chain 3. Turn work You will be leaving a space the width of one cluster for the thumb hole. Row 10: Chain 3 to make a Double crochet into first space. Crochet 2 more DC in same space to make you first cluster. Contine until you have 7 clusters. DC into last stitch. Row 11: Slip stitch into chain. Crochet a cluster into the space made by the chain 3. Continue around until you have 8 clusters. Do not join. Row 12: Repeat Row 10 Row 10: Chain 3 to make a Double crochet into first space. Crochet 2 more DC in same space to make you first cluster. Continue until you have 7 clusters. DC into last stitch. Row 13: Repeat row 1w. Row 11: Slip stitch into chain. Crochet a cluster into the space made by the chain 3. Continue around until you have 8 clusters. Join to cluster at beginning of row. This will close the thumb hole space. Row 14: SS over first few stitches until you come to open space. Start making cluster stitch. Continue around making clusters. You will have 8 clusters. Join. Row 15: ss over first few stitches. Make another row of clusters. At this point you you will have two rows over the thumb hole. Row 16 Sc around the clove in each stitch and into space between stitches.you will have 24 stitches. Trim: Alternative one. Switch to G hook and HDC around the glove for a simple straight edge. Alternative two: Switch to G hook. SC around the glove to make a base for the scalloped trim. Crochet a scalloped edge around the top of the glove. SS to join and fasten off. Cut and weave in ends. Make a second glove following the same directions. With the self striping yarn, each glove will be different but coordinated. In the pair I crocheted to work out the final steps for this article, the first glove started with a light gray and melded into a darker gray. The second glove started with the darker gray and moved on to a charcoal color for the hand before ending with the lighter gray for the scallop trim. 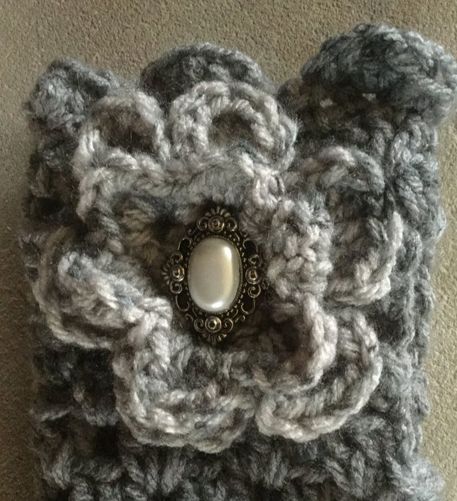 Flower: Examine your yarn to see which color bands to see which color will provide the right contrast to the gloves. Although the gloves are different, I sometimes like to use the same color for the flowers on both gloves.For this pair I selected the lighter gray. I use a 2 layered 6 petaled flower. As I did not create directions for the flower,I refer you to Maryjanesmaryjanes.com (Three Layer Flower from Crocheting the Day Away) or to Mango Tree Crafts (Six Petal Flower Free Crochet Pattern and Photo Tutorial). There are also several choices FreeCrochet.com. Some crocheters find it helpful to play a YouTube video until they get the sequence right. Make sure you leave a 12 inch tail for attaching to the gloves. You will only need to follow the patterns for two layers so that the blossoms fit squarely on the glove. also, I am working on the directions for the flower that I use most often. I hope to publish the pattern and ways to use the flower in a future article.  Sewing on Flower: Place your gloves on a table so that the thumb openings face one another. This will be the top of each glove. It may be helpful to tie a bit of yarn on each top side so that you do not forget which side is which when you start sewing. Imagine that you are playing the piano. You want to make sure that you are sewing the glove to the top of each hand. once you have made an error, it is a messy job to cut out the flower and resew it on the reverse side.Place the flower so that the top of one petal lines up with the middle scallop. I like the top of the flower to lies at the base of the scallop, Make sure tghat the flower aligns vertically. Thread the yarn tail through a tapestry needle and bring it up through the center of the flower. Stitch the flower through one of the petal spaces and bring back up through the center. Continue until you have a star design in the middle of the flower.. To secure the flower, you can also stitch around through each petal as well. Weave in ends and cut the yarn. With a regular sewing needle, sew a decorative button into the center of each flower. Try the first glove on to make sure that you are happy with the placement of the flower and button before sewing on the second. 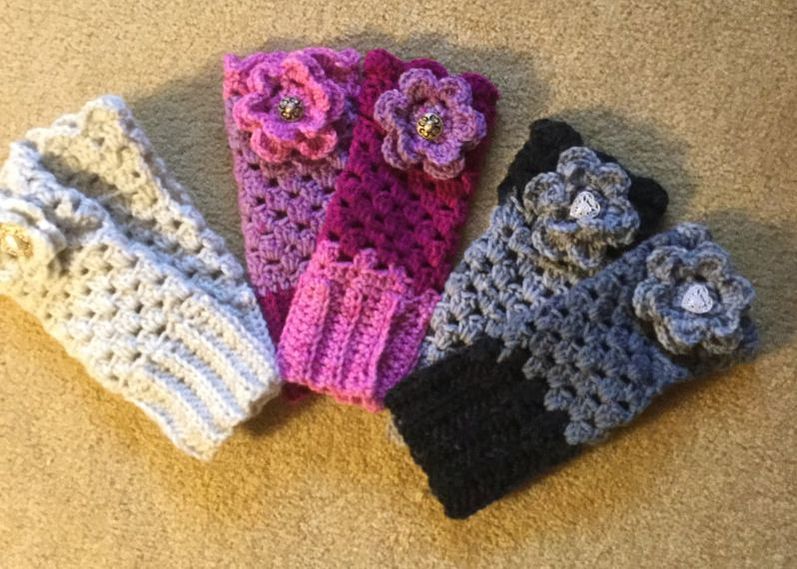
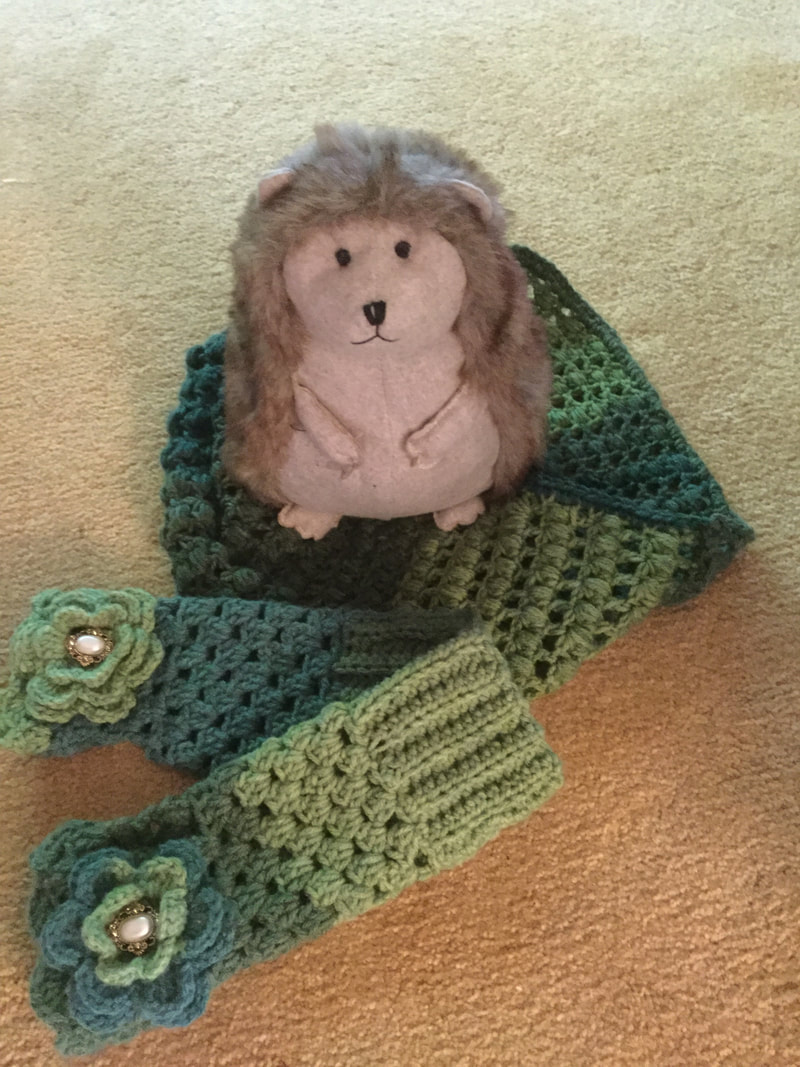
Adaptation to Regular Worsted Yarn Select 3 coordinated or complementary colors of worsted yarn. Glove 1: Cuff: color A,: Hand: Color B; Upper Cuff: Repeat Color A; Flower Color C Glove 2: Cuff: color B: Hand: Color A; Upper Cuff: Repeat Color B; Flower Color c After you join the ends of the cuff, you will cut off yarn. Join next color at seem and HDC around and follow directions for glove hand as written above. Switch to first color for trim and third color for flower.For the second glove switch colors as noted above. You can use the same color for the flower for both gloves, or try a combination like the gloves featured below. For those who prefer a solid colored glove, just use the pattern without any color changes. The cream pair of gloves above show how the stitches and design are highlighted when the color is stays the same.
 I hope that you enjoy creating your own fingerless gloves from my pattern. I would appreciate any feedback. I will posting notice of this article on Facebook and Pinterest. If possible, I would love to see photographs of your interpretation of my design. Happy crocheting.

0 Comments
Leave a Reply. |
Archives
November 2022
Categories
|


 RSS Feed