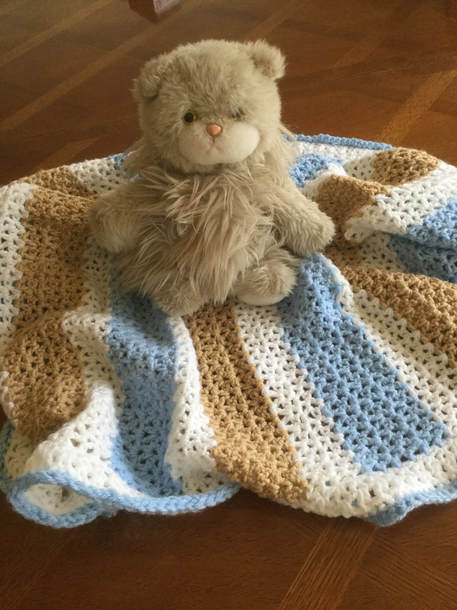
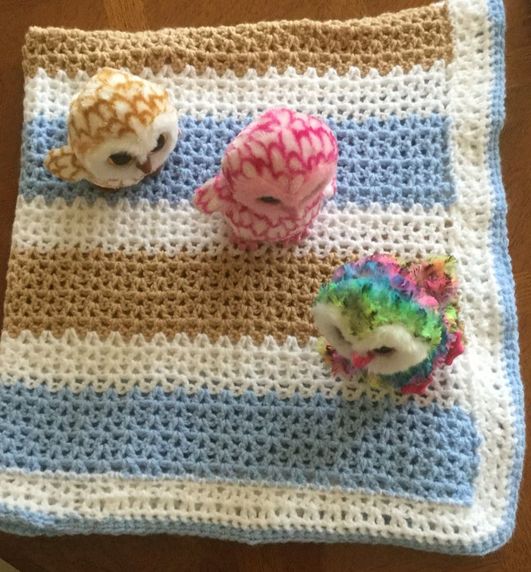
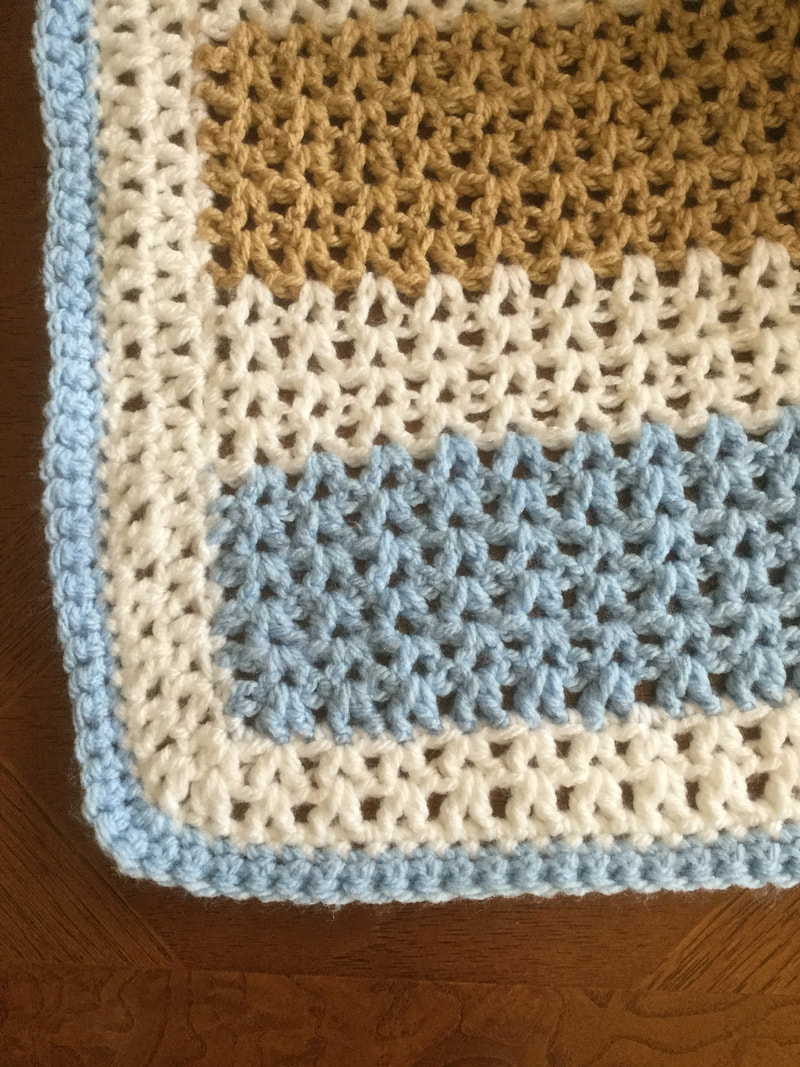
 Crocheted baby blankets have always been among my favorite projects for gifts or custom orders. Now with the warmer weather ahead, I was looking for a lighter version for my "blankets with holes" to provide a cuddler to keep the chill off while not overheating the baby or toddler. The inspiration for this article came from "V-stitched Crochet Baby Blanket by Maria through her website "Dinki Dots." By crocheting with a V-stitch instead of the 3 stitch cluster, I was able to achieve an open weave without the added thickness found in most Granny Stitch patterns. I had thought that I was finished with the baby shower gifts for children of dear friends when my BFF, Phyllis, from Florida called to tell me that her daughter, Melissa was expecting a little one in the fall. I had watched Melissa grow up from infancy, and so any of her children would also be dear to my heart. Even though she is a grown woman she still calls me "Aunt Lillian," a relic from our early years in Miami. She will not be able to use the blanket for her new baby until the winter, and even then she will need a lighter weight cover. Since I do not know the baby's gender, I guess I will make two blankets, and give her the right one when the little one arrives. I already selected pink, white, and a multi-shade for the female version. 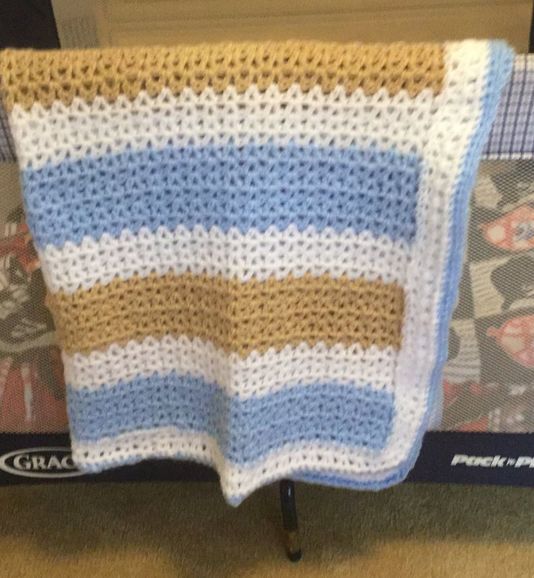 The original V-stitch inspiration was done in rainbow colors, but I wanted to use up some worsted from my stash and decided to stitch with white, baby blue, and camel. Lately, I have been crocheting many of my bigger projects with a worsted weight (#4) yarn called "Studio Classic by Nicole." This is an affordable house brand from the mega-craft store AC Moore. The yarn is at the thicker end of the worsted range, It is soft to touch and works up beautifully. The yarn is machine washable and dryable under low heat. I generally just dry until some of the moisture is removed and block flat on a towel. Since there are 372 yards in each skein, I only needed 1 of each color to complete my blanket with an accent trim.  While still following the basic style of the pattern, I made several changes to make a larger blanket. Instead of a 133 foundation chain, I widened the chain to 122 as the V-stitch repeat is 3 plus 3. The original started with 2 rows of white alternated with 4 rows of different rainbow colors. I started with 6 rows of color and alternated with 4 rows of white. Since I wanted to start and end with the same blue, I ended up crocheting 70 rows before applying the trim (instead of 58) My model was 26.9 inches wide by 37 inches long. My finished piece was 36 inches wide by 40 inches long. The larger blanket would still work well for a toddler. The number of rows in each segment does not matter. Just choose a pattern that pleases you. Next time I will probaby choose a combinati9on that works out with a smaller number of rows to yield a square.The blanket was crocheted with a 6.00mm J hook. 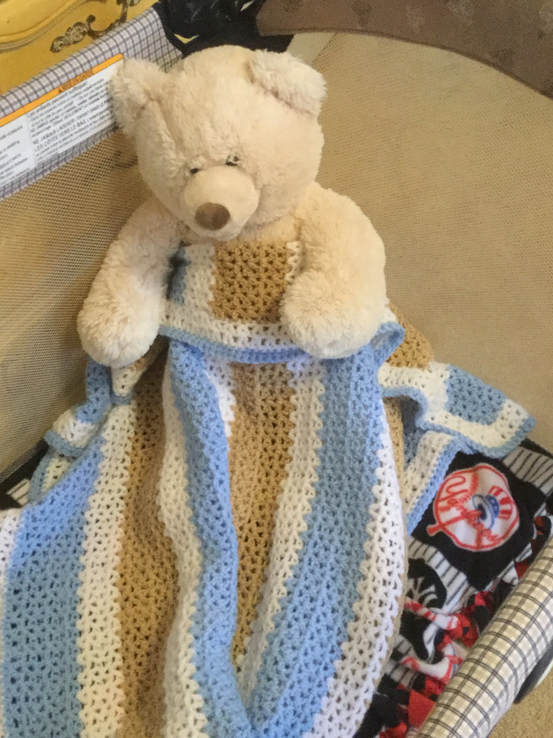 With the exception of the trim the entire blanket is done in V stitch. (DC-CH-DC in the same stitch. After several tries I was still unable to execute the chainless foundation. Therefore, I just chained my 122 stitches and added 1 for the turn and crocheted back along the chain. I am determined to master that technique, but I will have to devote a lot of time and many reruns of You-Tube shorts dedicated to the demonstration. At the end of the row, I chained 3 and turned my work.and made my first V-stitch into top of the first stitch in row. After each V-stitch I skipped 2 stitches until I reached the last stitch. Next, I double crocheted (DC) and turned my work. In each following row, I made my v-stitches in the ch space left in the previous row. At the end of the row, DC in the top of the CH3. Then CH 3 and turn.
Please note to change color, work into the two open loops before making the chain 3. When I finished the sequence, I single crocheted in white around the circumference of the blanket. I made sure to make 3 single crochet stitches into each corner so that the blanket would lie flat. The next step was to follow the V-stitch pattern as I had done for the main portion. I was able to work in 3 DC in the first row and2 sets of 2 DC in the second row of trim. The last step was to change to blue changing back to single crochet. The final row was done with Crab Stitch. This stitch is also called a reverse Single Crochet. This stitch provides a thicker more interesting edge to the blanket. You can find a simple photo-tutorial, "How to Crow A Reverse Single Crochet Stitch" through dummies that is related to Crocheting for Dummies. or through "Reverse Single Crochet Stitch (Crab Stitch) from AllFreeCrochet.com. 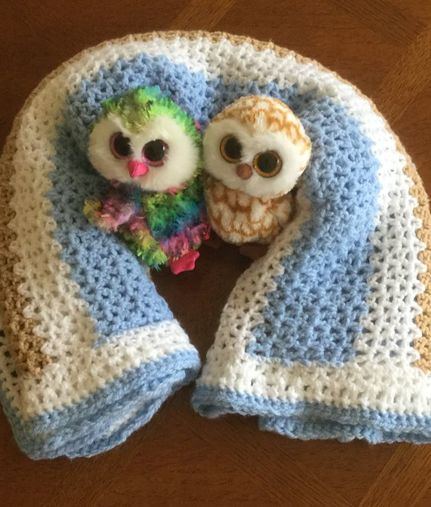 I am proud of my new blanket and look forward to presenting it to a new mama. As with all of my pieces, I give it a critical eye so that I can continue to improve in future blankets. The V-stitch was easy to execute and worked well into a lighterweight baby blanket. Next time, I will change the color count so that I can end up with a blanket about 10% shorter. I also might consider adding a fourth color or work the stripes from light to dark for an ombre effect in the same color family. I need to be careful when crocheting along the long sides so that my edges lay flat without extra stitches. Now that this blanket is finished I am eager to start the female version. Whenever the parents reveal, I will be ready to send off the blanket. The baby's older brother received an earlier version of my "blanket with holes," and it well worn with love crocheted into every stitch.

0 Comments
Leave a Reply. |
Archives
November 2022
Categories
|

 RSS Feed