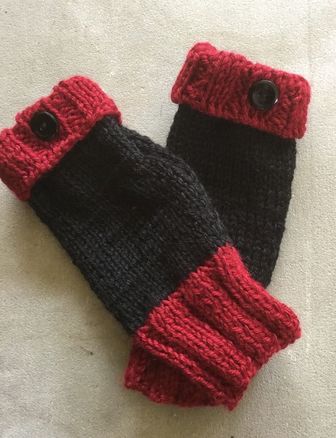
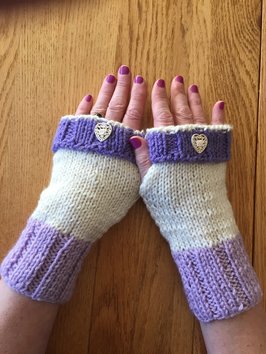
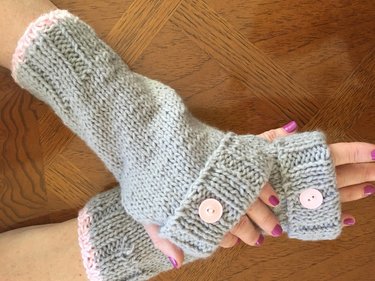
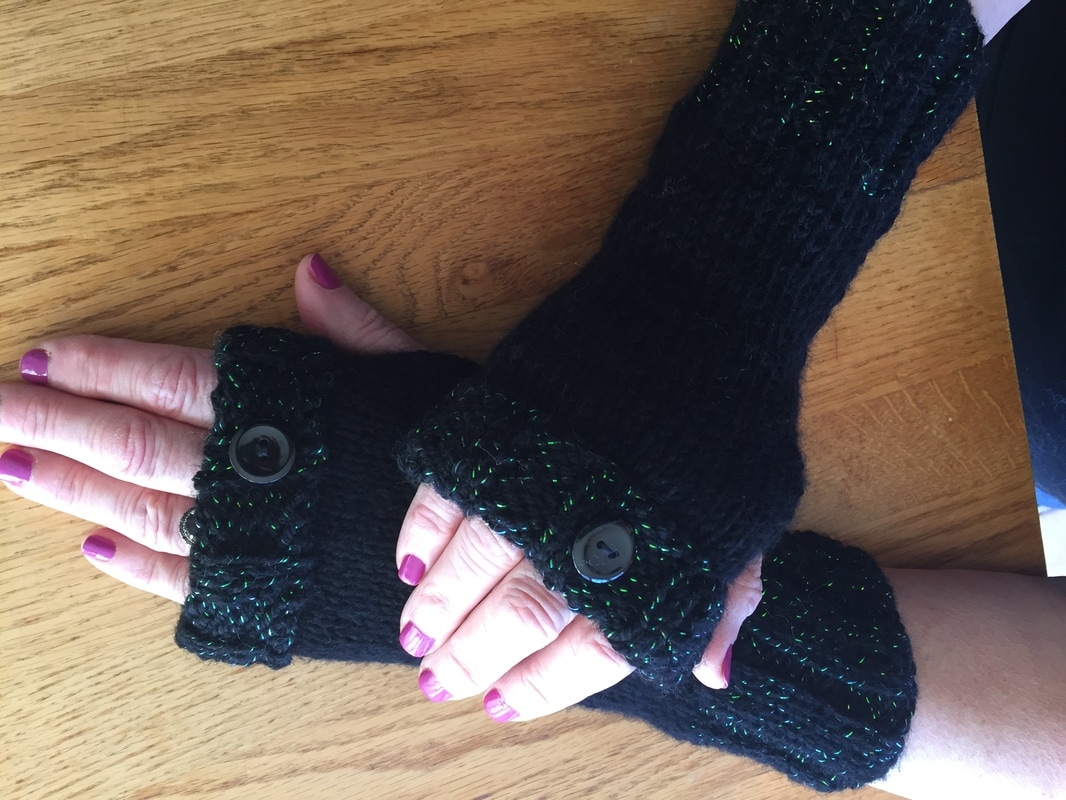
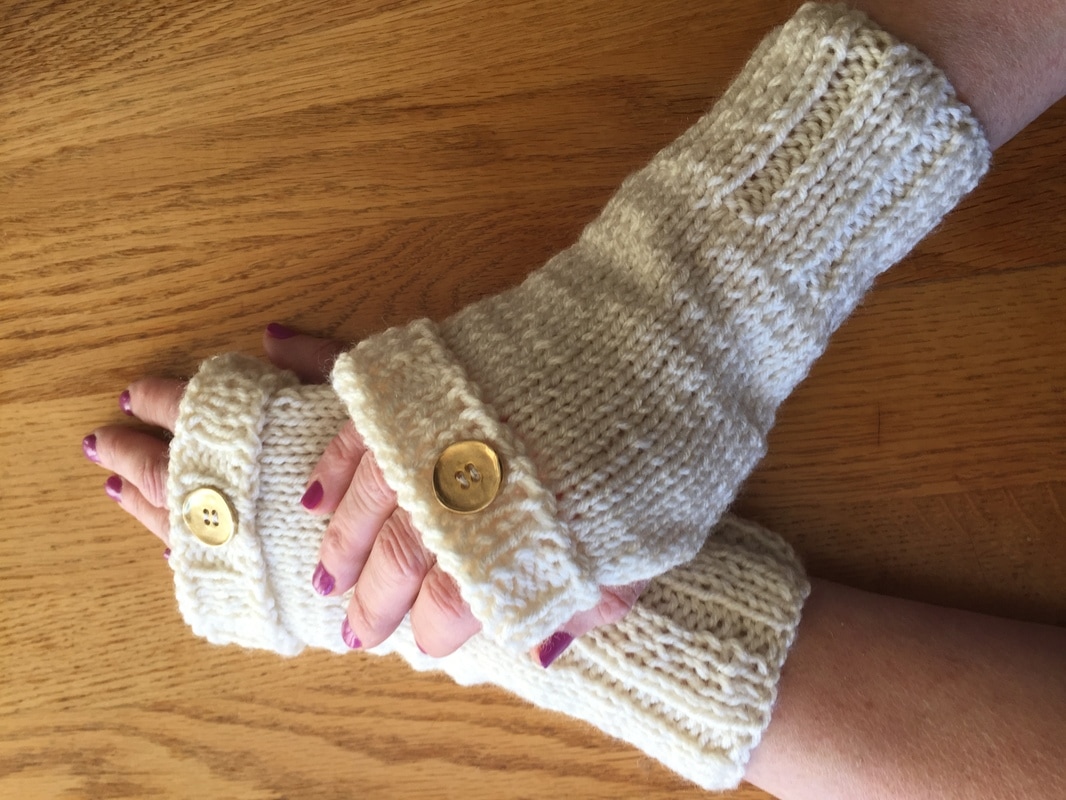
 You have just finished your scarf, shawl, afghan, or sweater, and you have used up most of the several skeins you needed for the project. Now you have part of a skein of perfectly good yarn, and you are reluctant to throw it away. WHAT DO YOU DO WITH YOUR SCRAPS? I roll mine into balls and squeeze them into my scrap box with the fervent hope that they will fit into a design that requires minimum yardage. Since I liked this yarn enough to buy it in the first place, I can expect that it could bring a bigger piece to life. Even better, I might be able to figure out how to incorporate several scraps into the same project. My FREE PATTERN for cuffed, fingerless gloves is just such a creation. Your ultimate design will be determined by the yardage in your scrap. For a larger ball, part of a really large one pound skein, you will probably get complete a solid pair. For about one-half of a regular skein, you can manage both the lower and upper contrast cuff from your scrap. For a lesser amount, make the lower cuffs in one color, the body in the main color, and the upper cuff in the second scrap. Another idea would be to stripe both lower and upper cuffs with accent colors from the scraps. Finally, if you knit just a few lines at the start of the bottom cuff and complete the glove with the main color, then you can catch the color again with a matching button on the fold over cuff. FREE PATTERN FOR CUFFED FINGERLESS GLOVES Make 2 rectangles that you will sew together to complete the pair of gloves. MATERIALS: 1 skein of worsted weight yarn for the body or for complete set of fingerless gloves. assorted scraps for cuffs as described above and pictured in the article size 8 straight knitting needles blunt sewing needle with eye big enough for yarn DIRECTIONS: LOWER CUFF: (main color or large scrap) Cast on 37 stitches. Knit in the following rib pattern for 16 rows. 2P, 3K, 2P, 3K, 2P... ending in 2P BODY: (main color) Knit in stockinnette for 5 inches. UPPER CUFF: (optional change back to same contrast color as lower cuff, or third color, or main color with a stripe) Since you will be folding the cuff over the top of the body of the glove, you will need to change the order of stitches in the ribbing. Start with 2K, 3P, 2K, 3P, 2K... ending with 2K. Continue with 13 rows or 2 1/4 inches. Bind off in rib. CONSTRUCTION: To construct the gloves place both right sides together. It helps to use plastic pins to keep the sides even. You may want to sew the cuff with the same color and switch to the body color so that the stitches do not show when you turn the glove right side out to wear it. Sew up from the bottom until you reach a point 2 1/4 inches from the upper cuff. Loosely stitch over one of the sides. At 1/4 inch from the upper cuff, sew 2 stitches to anchor both sides together. You just made the thumb hole. Since you will be folding he cuff down about 1 1/4 inches, you need to sew the upper cuff with the wrong sides together so that a rough ridge does not appear on the outside. Again, you may want to change the stitching color so that the stitches are not visible. Weave in all ends. Wash gloves in cool water in sink and block gloves on a towel on a flat surface. Attach a button to the middle of the top upper cuff. Be careful before you attach the button to the second glove. Lay the first glove down on the table with the button side up. Make sure that the thumb hole faces to the inside like you would place your hands to play the piano. Then place the second glove so that that the thumb hole is next to it. When you sew the button on the middle of that top cuff, both buttons will be on top. I hope that this pattern works well for you. Although I have made these gloves many times, this is the first time I have written down the pattern. Please leave any questions in the comments section of the post or on the Facebook page. I would love to see your experiments with scrap yarn. How have you puts your scraps to use? Leave a comment or post a picture or comment on Facebook.
0 Comments
Leave a Reply. |
Archives
November 2022
Categories
|


 RSS Feed