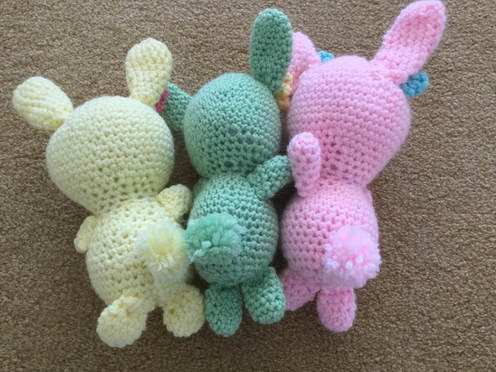
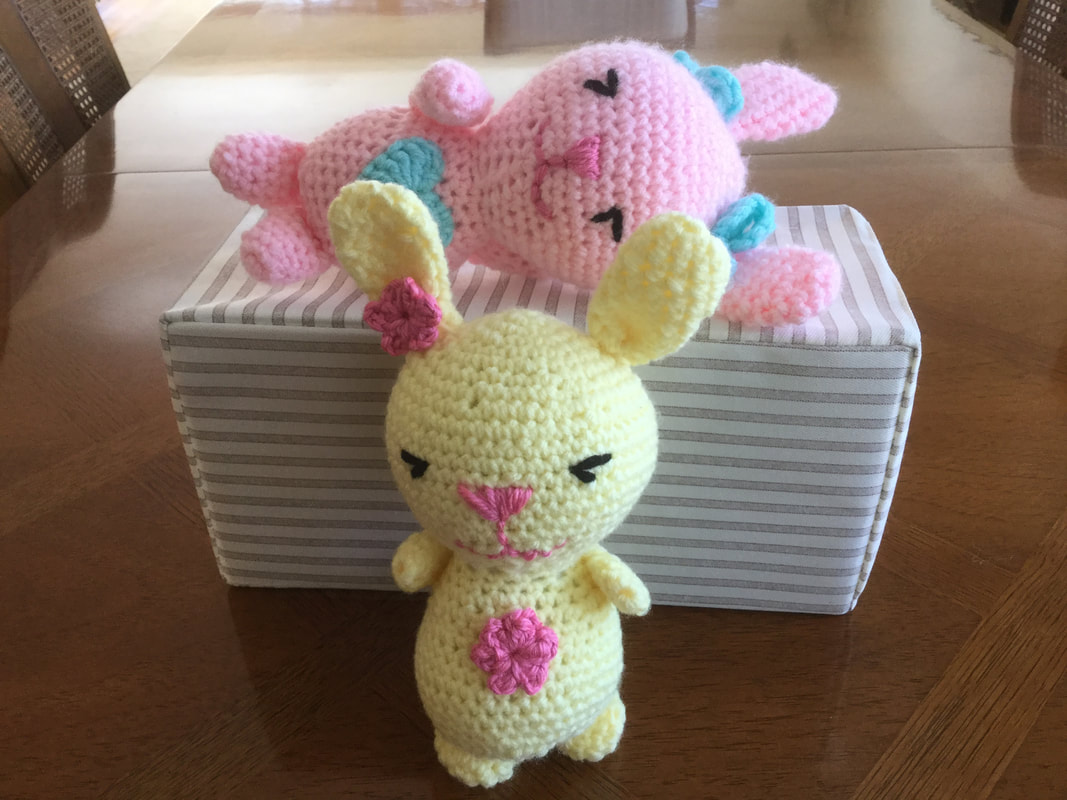
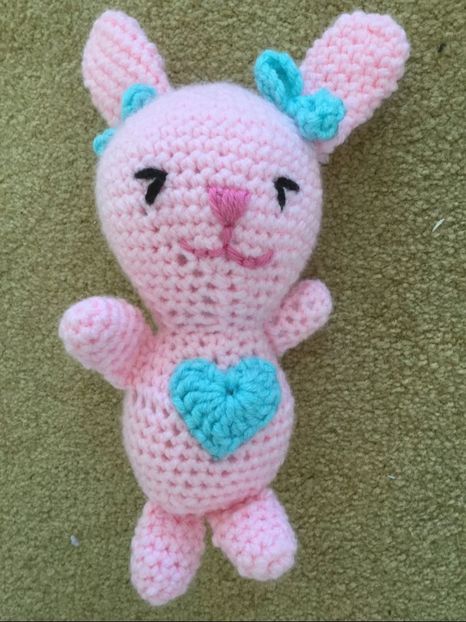
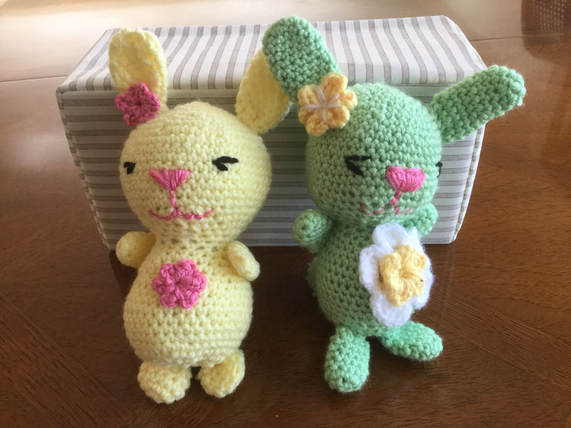
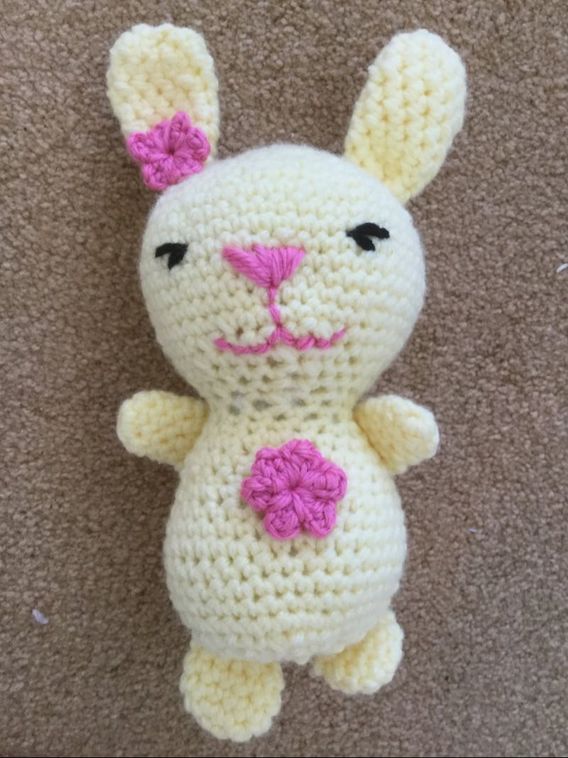
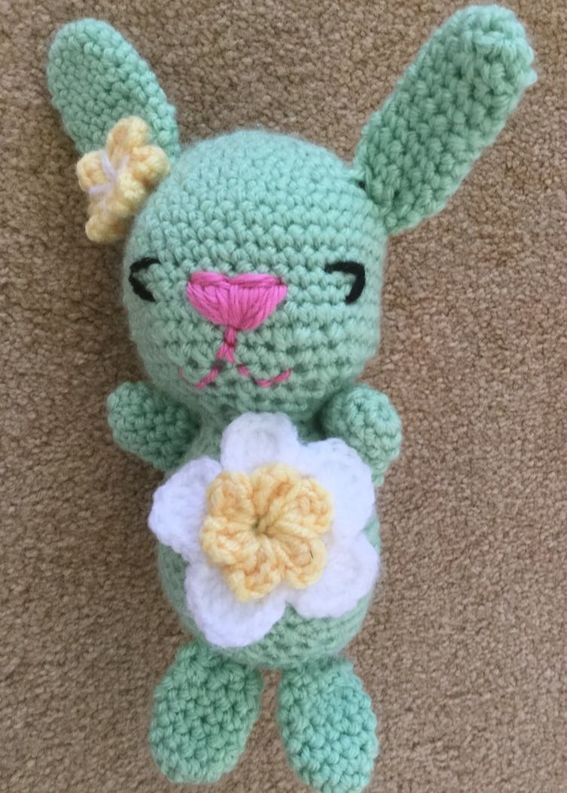
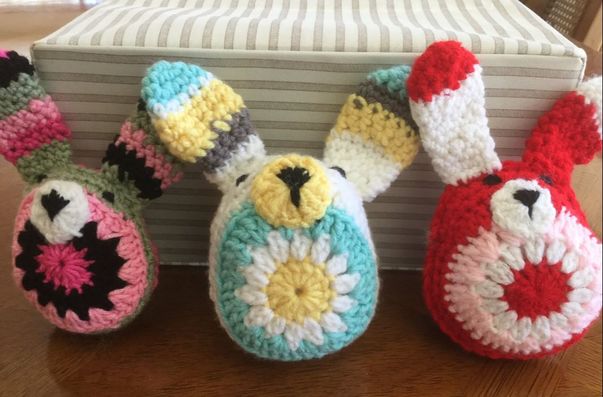
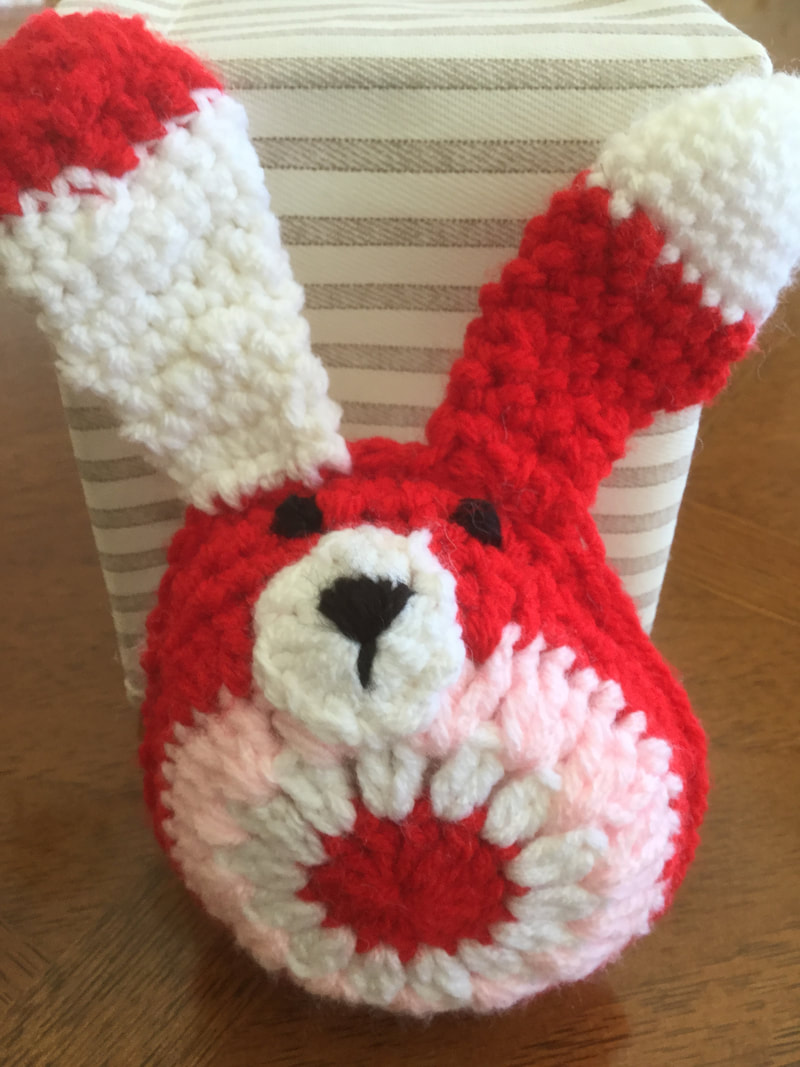
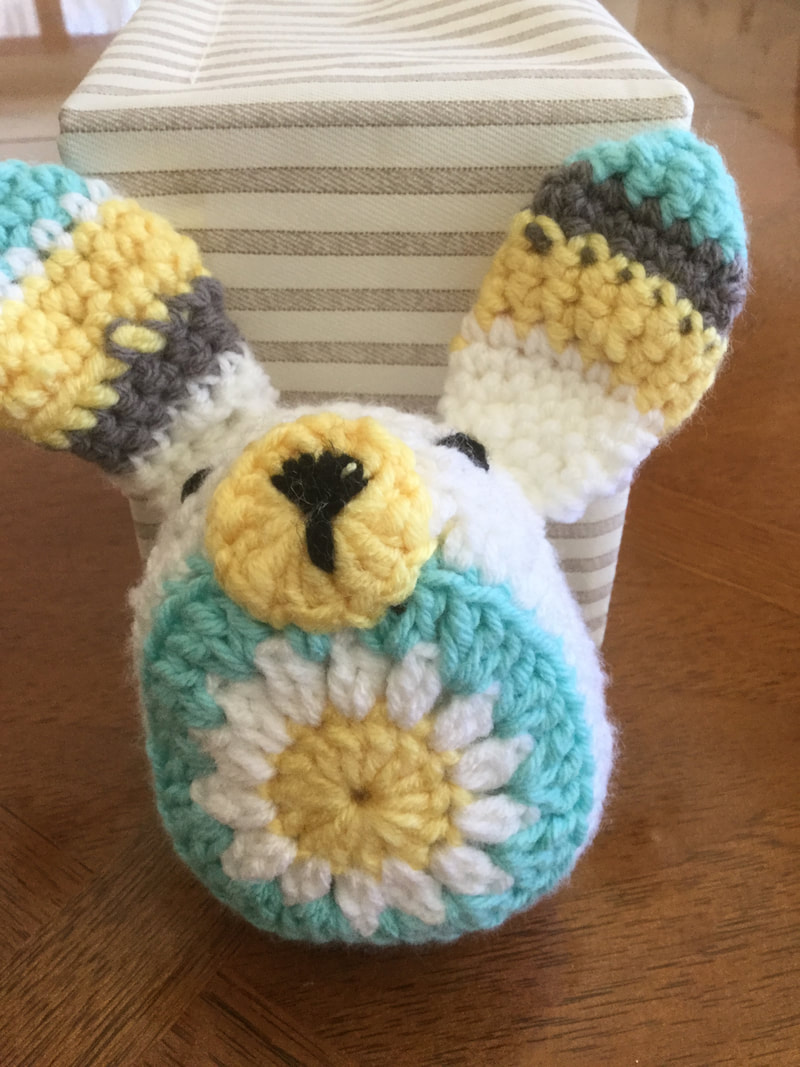
 As Spring approaches, I have been fascinated with the crocheted art of amigurumi. I started with the sleepyhead dolls which are my granddaughter's favorite. As I have noted in previous posts, the sleepy head doll, her baby, is a constant companion at home and at her day program. I mastered the basic style and experimented with stripes and decorations. From there, I moved on to teddy bears and other critters. I am amazed at the skill level and creativity of my fellow crocheters who have shared their projects and patterns with the crocheting community. With spring approaching, I decided to try my hand on a variety of rabbits. The English pattern that I completed after last week's post was interesting, but like several of the patterns in the book, it was long and lean, rather antique looking. For the length of time involved, I was minus the wow factor. When I came upon Easter Bunny Amigurumi by Craft Passion, I knew I would have to try it out http://www/craftpassion.com/easter-bunny-amigurumi/2/. The rounded baby bunny was designed to make mother and child smile. As with many patterns, I had to adapt the instructions to my style. Instead of the DK yarn (#3) and an E hook (3.0mm), I used my favorite worsted acrylic (#4) with a G hook (4.0 or 4.5). I prefer yarns on the thicker end of the #4 spectrum, and I achieved different looks with the the thinner or thicker worsted yarns. Each of my bunnies is slightly different as I worked on the measurements to get the look I wanted. The first bunny was pink. It had a larger, longer head and a thinner body. I crocheted an aqua bow for one ear and a heart for the chest. The pompom tail was made by weaving yarn about the tines of a fork. I maintained the same color as the body. My adapted bunny stands about 10 inches tall from the feet to the top of the ears. The second bunny was pale yellow, crocheted from a standard commercial weight yarn. She turned out shorter and plumper, and I was rather pleased with the result. Since my figure was larger than the bunny in the pattern, I added stitches and rows to the ears, arms, and legs. I changed the pattern to crochet the figure in one piece, Using standard increases for the head, i increased to create a circle of 48 stitches. I remained true to the pattern for the head until I got to the neck. I stopped decreasing at 12 stitches to create a more substantial neck than the 6 stitches in the pattern. The pattern has the crocheter making a separate body piece. I continued down from the neck with standard increases until I got to 36 or 40 stitches instead of the 24 in the pattern. I really like a plumper bunny. After a few rows at the same circumference, I decreased in succeeding rows until I fastened off at the bottom. I fashioned a small rosette for the ear that was the same color as the embroidered nose and mouth. The third mint green bunny used yarn I had on hand. The thinner yarn made for a thinner rabbit. I crocheted a white flower with a yellow rosette center for the chest and attached a yellow rosette to the ear. This little one was finished off with a mint green pompom tail that matched the body. The directions indicate that it takes about 4 hours to make one bunny. Once I get the procedure correct without having to frog because of my experimenting, I will come closer to that time frame.This basic style allows the crocheter a lot of flexibility in design and creativity. By changing the ear to a triangle and switching the pompom to a longer tail, the crocheter can easily make a kitten. A completely different rabbit figure was created by dragonfly.com. The starburst body is built up with concentric circles of granny -like stitches to yield a sunburst design. For the front and back of the bunny, the crocheter can change the order of the colors to make a unique design. When both sides are done, the pieces are crocheted together and stuffed. Then muzzle, nose, eyes, and ears are added. The pompom tail is made using a fork. This creature is great for using up scraps. Since you are changing colors and stitches, the little rabbit takes longer than one would think for a rabbit this size. There are no arms or feet. The basic circle is 4 inches in diameter, with an extra1/2 inch to give shape for the nose and eyes. The ears which are crocheted in the round and attached to the body are about 2 1/2 inches. These bunnies would make an excellent mobile for a baby's room. They can also be lined together to create a wall decoration. The folks at The Green Dragonfly have created an excellent step-by-step tutorial for building the bunny. The directions for making a pompom from a fork are included in this pattern. I have had so much fun crocheting and experimenting with these amigurumi. The only thing that stopped me was that it was time to stop crocheting and start writing this article for the blog. With spring fairs coming up, I hope that the moms, dads, grandparents, and kids know that they have to give a bunny a home. In addition to being a doting grandmother, I will soon be a step-grandma to an adorable, engaging 2 year old. One of my bunnies will be perfect for the holiday season.
6 Comments
Josephine molloy
3/19/2018 03:39:52 pm
Air love all of them you are very talented, I’m not good with faces
Reply
Josephine molloy
3/19/2018 07:39:01 pm
I love all of them ,and would love to have the pattern or if you can tell me how to get it please
Reply
3/20/2018 03:42:01 pm
Josephine, I am so glad you like the bunnies. As noted in the article, I was experimenting, and so each of the bunnies is different and larger than the pattern. The pattern is at the end of the first paragraph, but I will recopy it for you. Http://www.craftpassion.com/easter-bunny-amigurumi/2/ 3/19/2018 04:23:28 pm
Those three bunnies in the basket are adorable! I think they all three need to go together. I don't think I could give just one away.
Reply
Debbie
3/20/2018 01:51:58 pm
These patterns are really cute! How can I get them?
Reply
3/20/2018 03:39:33 pm
Debbie, I am so glad you like the trio. As noted in the article, I was experimenting, and so each of the bunnies is different and larger than the pattern. The pattern is at the end of the first paragraph, but I will recopy it for you. Http://www.craftpassion.com/easter-bunny-amigurumi/2/
Reply
Leave a Reply. |
Archives
November 2022
Categories
|


 RSS Feed