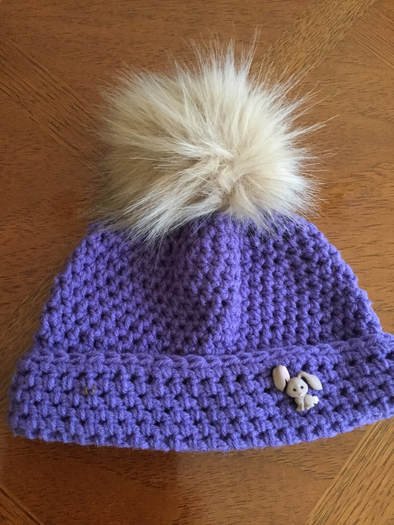
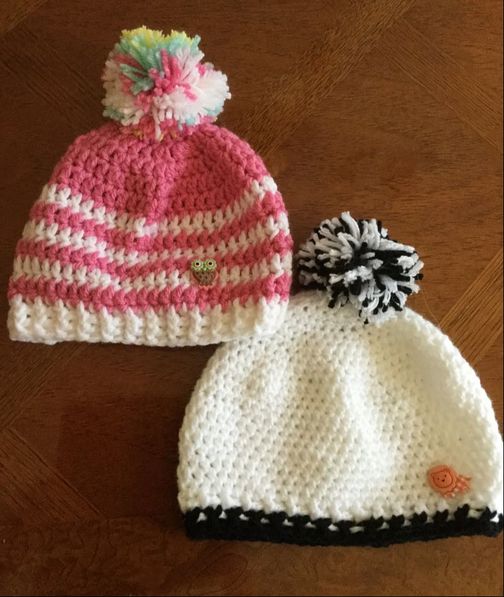
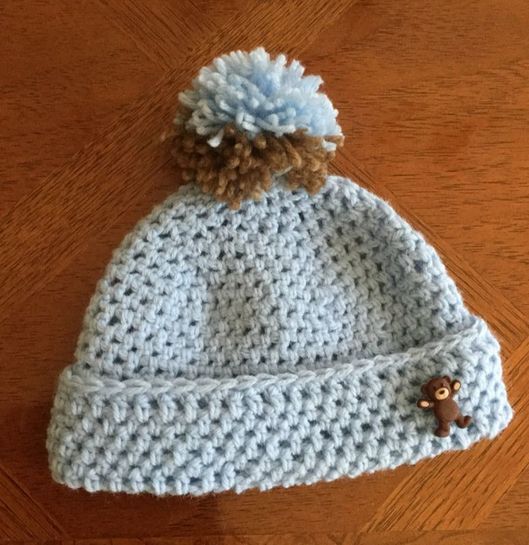
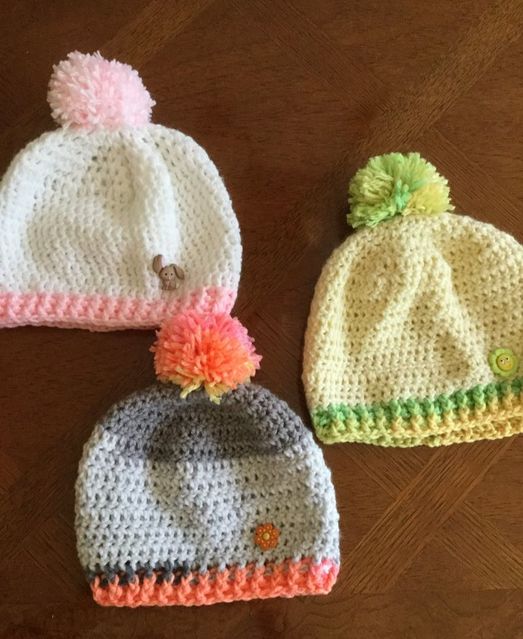
 Put some pizzazz in your winter headgear. beanies keep your head warm in colder temperatures. However, you really need the wow factor to put a smile on your face. My flower decorated beanies have been one of my top sellers since I started on my lilcreates enterprise. this winter season, i decided to add a new embellishment-- pompoms. Pompoms add height, textures, a colorful accent, and a playful attitude. Before we examine the pompoms, let's take a look at the foundation, the beanies. While beanies can be constructed from the bottom up or the top down, I find that most styles start with a circle of increasing rows at the crown. Charts are available to help the crocheter scale the beanie based on the age of the wearer, the circumference of the crown, and the height of the beanie. The following useful chart has helped me to create my beanies when I work without a fixed pattern. (Type into your search bar: http://thecrochetcrowd.com/wp-content/uploads/2015/11/Hat-Sizing-Measurements.pdf) Once I reach the diameter for my chosen wearer, I fix a marker to the edge and continue to crochet down the sides with the same number of stitches as I used in the last row. A simple beanie will end at the last row. I usually use a need one size smaller for the last couple for rows to make for a snugger fit. For a cuffed beanie, I continue crocheting for an additional 1" -1/2" so that I can fold up the added rows. For a ribbed edge, I stop my basic pattern stitch about 1"-1 1/4" before the desired height and create a rib based on alternating stitches of front Post Double crochet (FPDC) and back post double crochet (BPDC) these beanies may be crocheted in single crochet (SC), Half Double Crochet(HDC) and Double Crochet (DC). Sometimes the crown may be worked in one of the above stitches and the sizes will be stitched in clusters before returning to the stitch used for the crown for the border. When I am working on my own without a fixed pattern, I prefer to crochet in worsted with an h hook (5.0) and use a G hook (4. 5) for ribbed border. When done I add a coordinating button and pompom. If you need to work directly from a pattern the following sources are helpful:
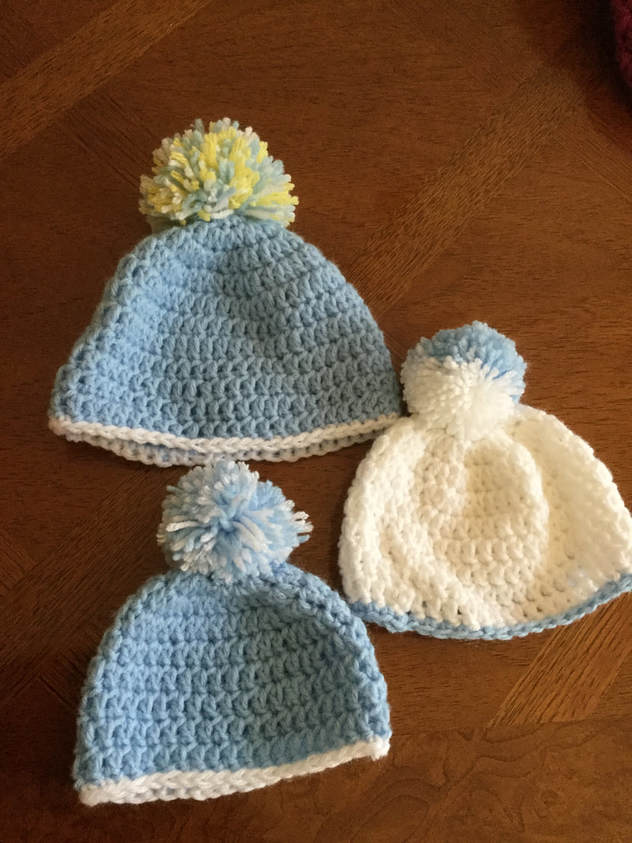
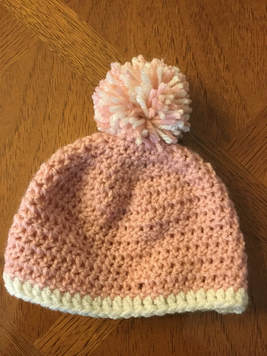
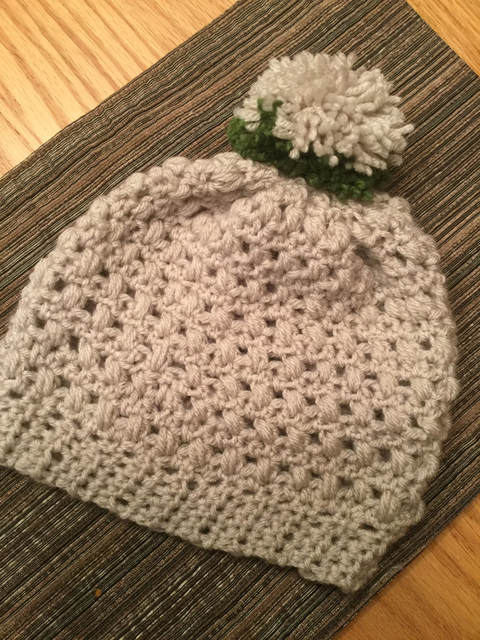
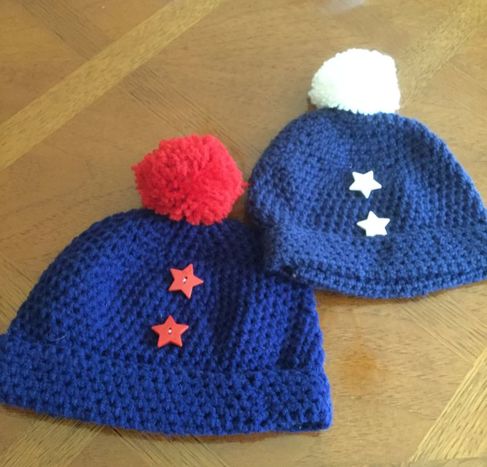
When beanies are worked from the bottom up, the crocheter usually makes a separate band that is joined to make a circle. The crocheter then works stitches onto the band before continuing up the sides. Sometimes the crochet just cinches up the sides to meet in the center. At other times, the crocheter makes a series of decreases before cinching the stitches at the top of the crown. The hat below was crocheted with alternating rows of puff stitch and HDC. The Crochet Puff Stitch Beanie can be found at www.rescuedpawdesigns.com At the end of the last winter craft season, I was able to scoop up some ready made pompoms in red, white, and cream that had been reduced from $4.00 to $1.00 a piece. They sat in my resource tub, until I was ready to embark on this season's pompom project. at 3.5" in diameter these full and puffy decorations set securely on the navy toddler and child beanies pictured below.These cuffed hats were crocheted in HDC. Since my supply of pompoms was limited and would soon be exhausted, I obtained a Clover Pompom Maker manufactured by Clover Needlecaft, Inc. so I could make pompoms on my own. After my first spindly pompom, I realized that I had to wind my wool over several layers to obtain the right number of strands for my pompoms. I used a heavy bladed scissors to cut through the layers and tied the a piece of yarn between the two halves of the devise.When I separated the arms and popped off the devise, I just needed to fluff up the strands to form a perfectly round pompom. I gave the ball a bit of a haircut, and we were all set. The manufacturer included a diagram on the back of the device to show how to make the perfect pompom. Solid pompoms are attractive accent, but there are several other ways to add excitement to your yarn pompom. use striped yarn with bright colors. Cut your yarn so that you include yarn from two bright contrasting or complementary color bands.
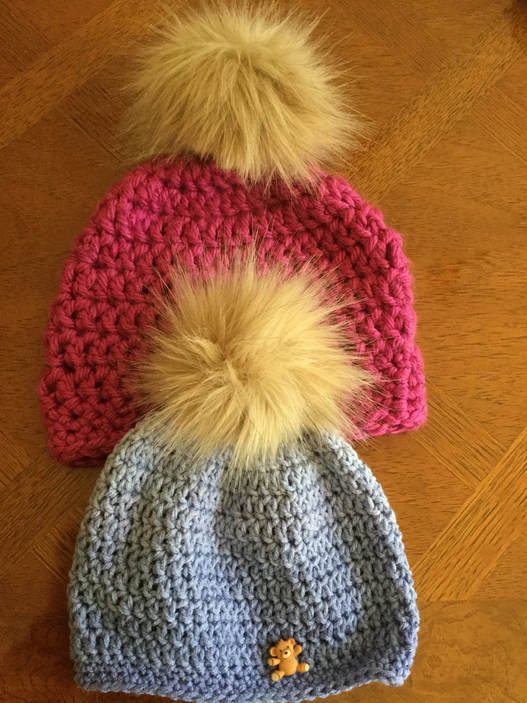
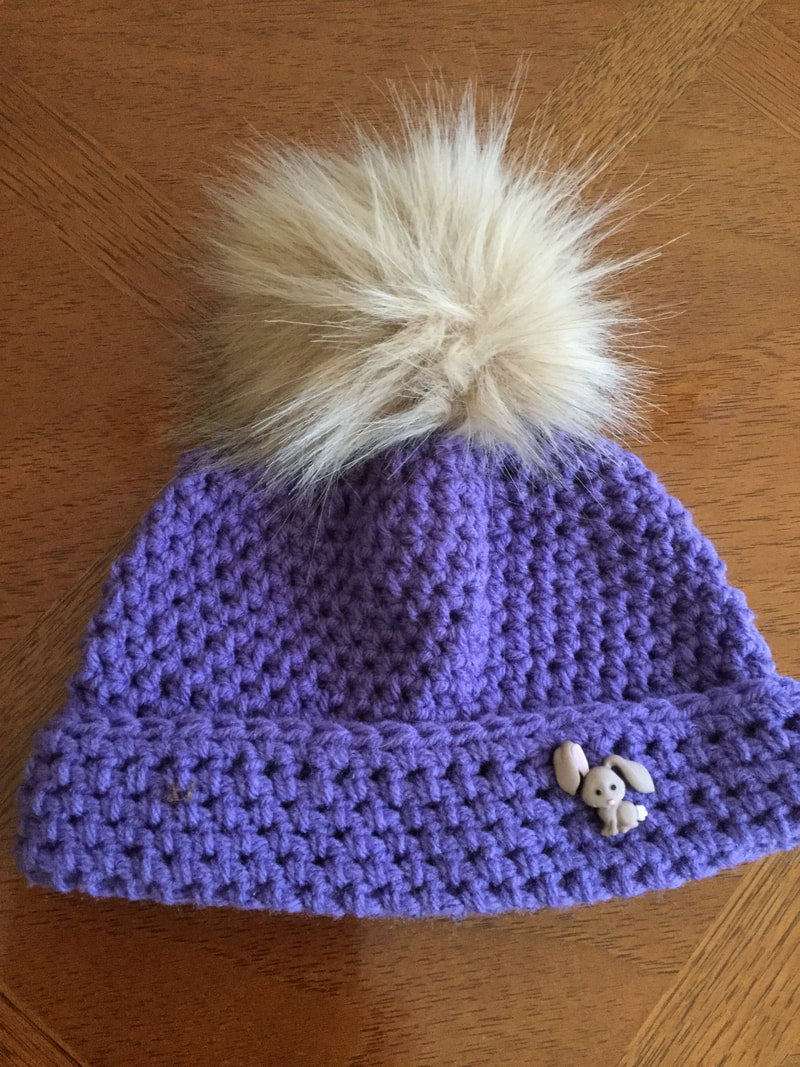
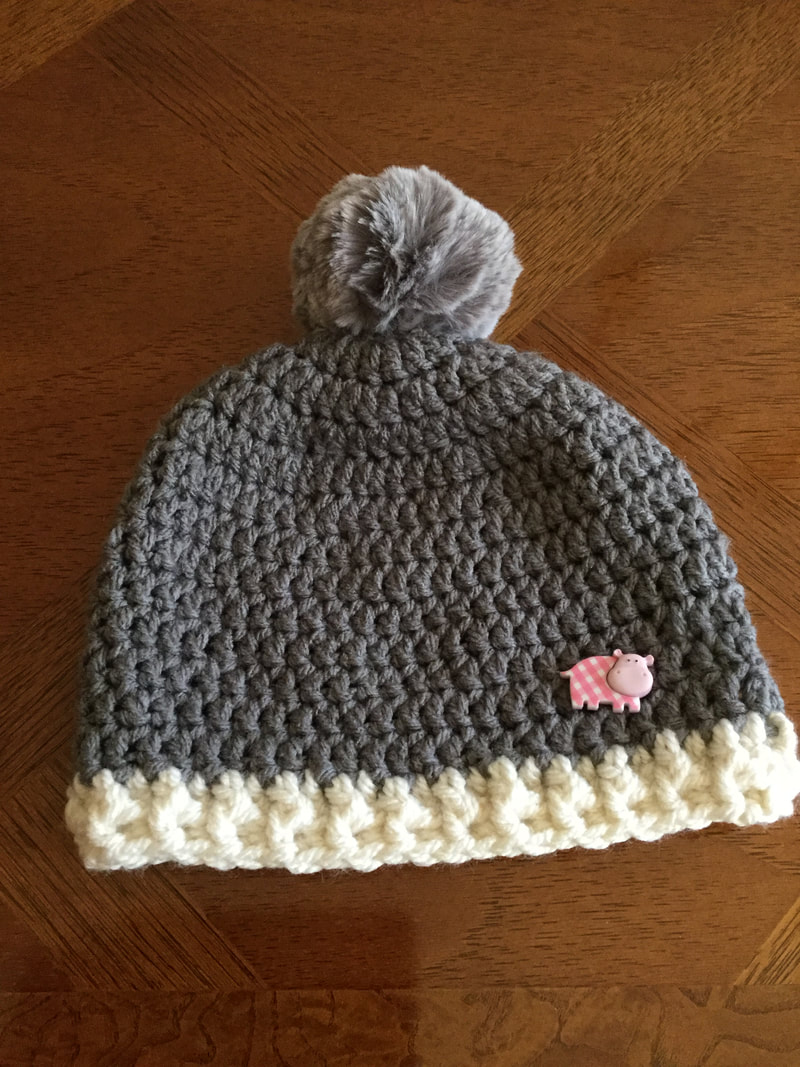
A low tech option would be to take 2 plastic lids, cut off the trim, and cut a matching C-like shape in each. you till then wind the yarn in much the same way as you did with the Clover device. When finished winding, cut between the layers and tie as above. The same objective can be accomplished with using cardboard to make your own cardboard pompom maker. Last winter, I admired the lovely beanies with the fur pompoms affixed to the top. I researched several sources for pompoms and found them to be quite expensive. By chance I stumbled upon a Pinterest Tytorial on how to make a pom pom from fun fur (How to Make Faux Fun Fur Pom Poms in Mintutes from Heart, Hook, Home) What is more, from a 1/4 yard of fun fur fabric, I could assemble more than 2 dozen. I traced lids and bowl on the fabric backed side to get the desired diameter. Then I cut with a sturdy scissor also from the back, trying not to cut the fur. I needed about a 4" circle for a toddler, a 5" circle for a child, and a 6" circle for an adult. I sewed around the edges, gathered the stitches, used a light stuffing, and secured the bottom before attaching to the top of the hat. The fluffier, long furred furs looked the best. 'I was able to find a bag of two inch furry pompoms 40 to a bag. They are suitable for a baby hat. However, I think I would prefer to make the smaller version of the pompom with the pom pom maker. I am currently in the process of crocheting pom poms from fun fur yarn. When I have perfected the operation, I will alter this article and post online.
These hats should make an exciting addition to my beanies at this year's Holiday Fairs. I think that family and friends will be be thrilled to receive a playful pom pom beanie as a winter fashion accessory. Have you tried to accent your hats with any of a variety of pompoms? I would love to see your efforts. Please share your photos and experiences.
3 Comments
10/16/2017 10:31:48 am
Love These! Im totally making these this year for the kiddos in our family!
Reply
Michelle Baier
10/30/2017 12:35:55 pm
Your Pom poms are excellent! They are the one I want to try to make for my daughter. Thank you for sharing Happy Halloween 🎃
Reply
8/12/2022 05:11:27 am
Thanks for sharing this useful information! Hope that you will continue with the kind of stuff you are doing.
Reply
Leave a Reply. |
Archives
November 2022
Categories
|


 RSS Feed