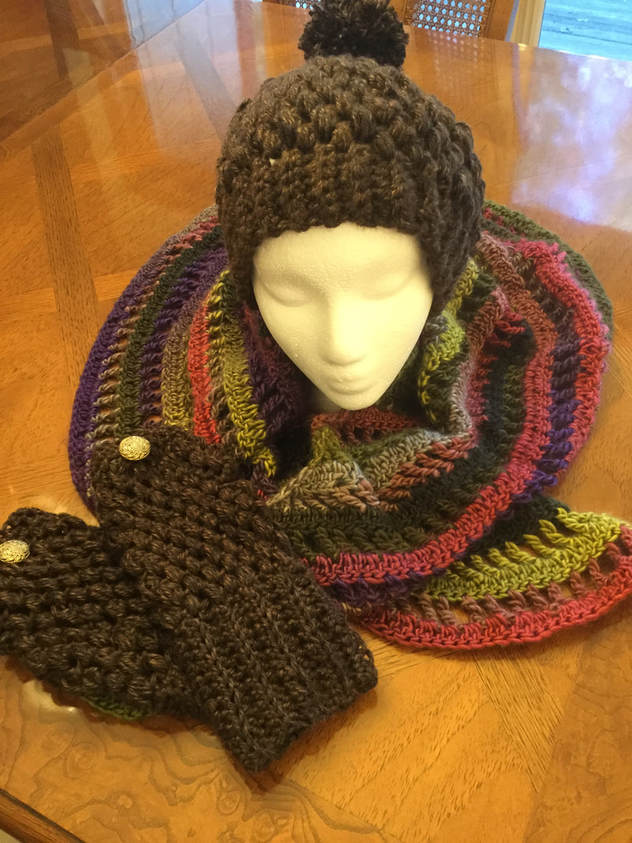
 The rich browns hues of autumn draw me in. Just give me a luscious skein of dark brown or rust, and I am driven to create a set of fall accessories to accent my wardrobe. A ball of varied shades of green, gold, brown, rust, or beige calls out to me, and before long I have completed a shawl to drape over a sweater or jacket. I am keeping to my promise, and I will take the time to coordinate these pieces and wear them when I venture out from my cozy cocoon or mingle with friends. They are too exciting to leave in a drawer, and they will represent my new style. If I spend so much of my week with my hooks and needles, my passion should be represented in my new look. 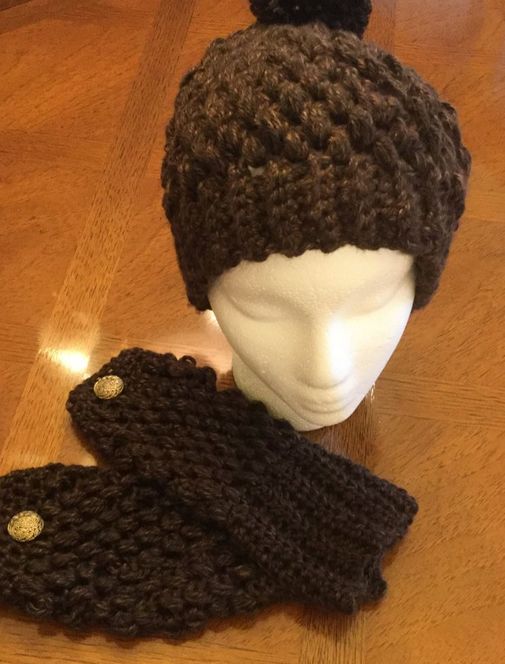 The open weave of the Lydia Shawl by Denise Crawford can be downloaded as a free pattern from Ravelry. I have crocheted this pattern before , but it was a perfect medium for the exciting pallette of colors in Lion Brand's Landscape in the Rain forest color view. This worsted weight (#4) yarn is luscious and works up easily. After the initial set up, the triangle pattern is basically two alternating pattern lines. The first is mainly double crochet. The second is a triple crochet chain 1 sequence. The designer suggested an H hook, but I was more comfortable with an J hook. I can wear the shawl clasped in front with a broach or tied on the side over one shoulder. The piece took three skeins of yarn. 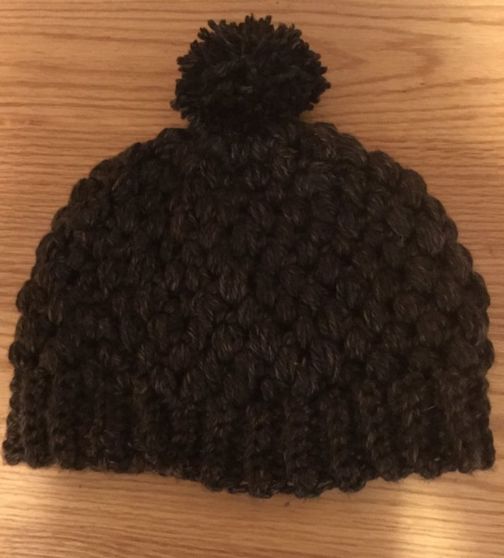 My hat and fingerless glove set helped me to master the bubble stitch. The Crochet Gradient Beanie Hat Puff Stitch, posted on Pinterest, delivers the hat pattern in video form. There is no verbal audio, but written instructions appear on the screen from time to time. The video shows how to execute the puff stitch as you make the hat. Lion Brand's Heartland (worsted weight #4) in Sequoia color view gave me a rich dark brown and that was highlighted by a tawny lighter hue. The hat was comfortable and fit perfectly. 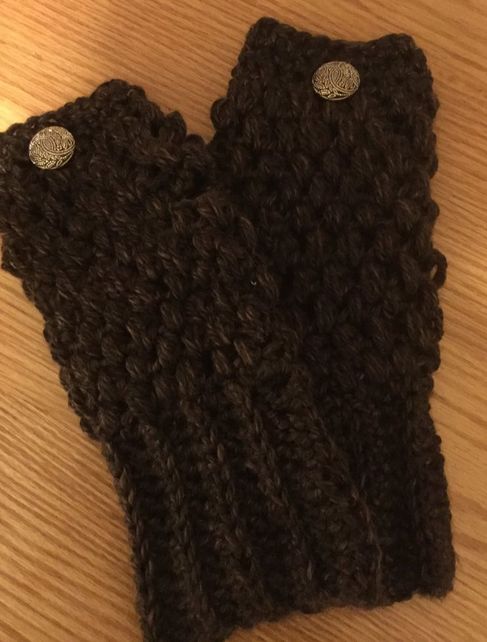 To create the matching bubble stitch fingerless gloves, I had to improvise and adapt my pattern for mismatched fingerless glove pattern. These directions are general. I plan to make a step by step pattern in the near future, and will write down my procedures at each stopping point. I started with a cuff, chaining 14 stitches with a H hook. Crocheting half double crochet stitches into the second stitch from the hook gave me a 12 stitch wide cuff. in each succeeding row I crocheted into the back stitch of each chain. When the piece was large enough to fit around my wrist, I crocheted my ends together to make a circle. To create a base for the puff stitches, I crocheted 21 HDC stitches into the cuff. When I completed the foundation row, I chained 3 and began my first puff stitch. After a couple of experimental tries, I found that 14 puff stitches gave me a snug , but comfortable sizing for my hand. I crocheted 6 rows of puff stitches before making my thumb hole. While my mismatched glove with 3 stitch cluster stitches could tolerate a vertical thumbhole, the puff stitch glove needed a horizontal thumb hole. I chained 9 stitches and skipped two puffs before crocheting a puff stitch into the space between the next two stitches . I continued stitching around until I came to the chain and created two puff stitches on the chain before continuing onto the body of the glove.I made three more rows of puff stitch and transitioned into the final trim. Since I like the glove to fit more tightly around the upper fingers, I switched to a G hook to crochet 3 rows of HDC (Half Double Crochet). Then I repeated the process for a second glove. I placed the gloves so that the thumb holes faced one another. Then I sewed a decorative button to the top of each hand.
As I repeat the process from this posting, I will be able to execute exact directions that can be replicated by my readers. Then I will post them in this blog and on Ravelry.In the meantime, I lookf orward to wearing my stylish autumn accessories. 
0 Comments
Leave a Reply. |
Archives
November 2022
Categories
|

 RSS Feed