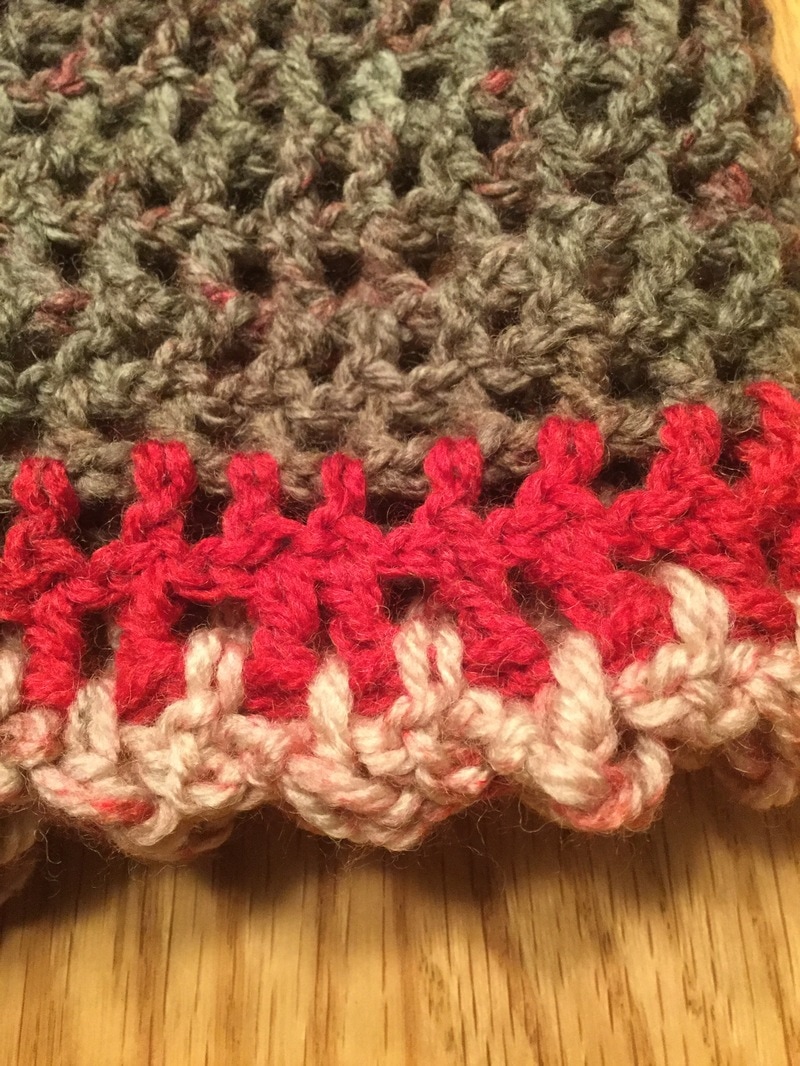
 When is your crocheted piece finished? When is it finally done? You have spent countless hours working the intricate stitches, counting rows ,and assembling parts as needed,. The colors are beautiful and flow into one another. The one last step that raises the quality of your presentation from good to extraordinary is the crocheted finished edge or border. As a blogger, I love sharing my journey as a fiber artist, creating and especially learning new stitches, techniques, approaches. So this week my quest leads me to the crocheted finished edge. It evens out rough spots, and adds an attractive and often sophisticated touch to your work. I have watched countless videos and analyzed many different photo-tutorials to the 11 edgings I find most useful, most attractive, reasonably easy to understand and execute. A few of these I already use to to finish and decorate my work. With others, I will make a concentrated effort to expand my repertoire to learn and repeat until they become a regular part of my crocheting toolbox of skills. 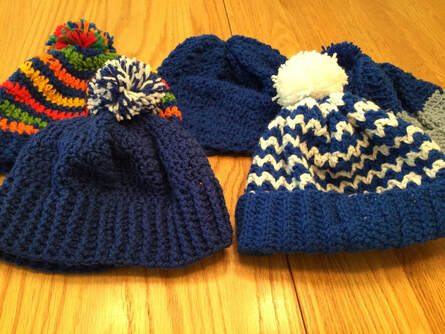 The simplest, yet most useful edge is the single crochet (1). While the top and bottom of a piece have a smooth edge, the sides to a piece look rather rough. Just by crocheting one line of single crochet around, the crafter, neatens up the work. When your crochet was a single crochet, single crochet 1 stitch on the side border. For the half double or double crochet row, make 2 stitches on the side border. For the treble crochet, make 3 stitches. In this way your work will lay smoothly.. The line of single crochet is a must for more complicated edgings and provides a foundation for the more complicated stitches to follow. The single crochet may be in the same color as the main part of the piece, or it can be in a contrasting or complementary color. Be sure to crochet 3 single crochets into the corner so that the work lies flat. Frequently, I will follow the line of single crochet with a line of half double(2) or double crochet(3). Another simple, but effective border is achieved by alternatiing a double crochet with a single chain stitch(4). The crocheter can thread a slender ribbon through the open spaces. These were my main edgings until I decided to expand my knowledge base. The blanket stitch is another simple border. I have seen this edging in simple garter stitch knitted sweaters for infants.
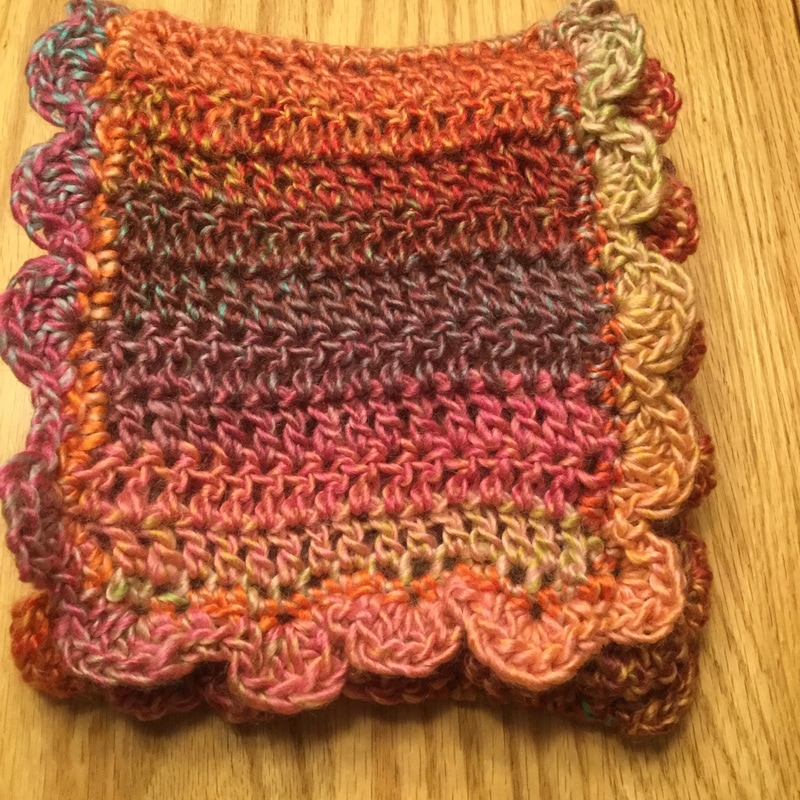
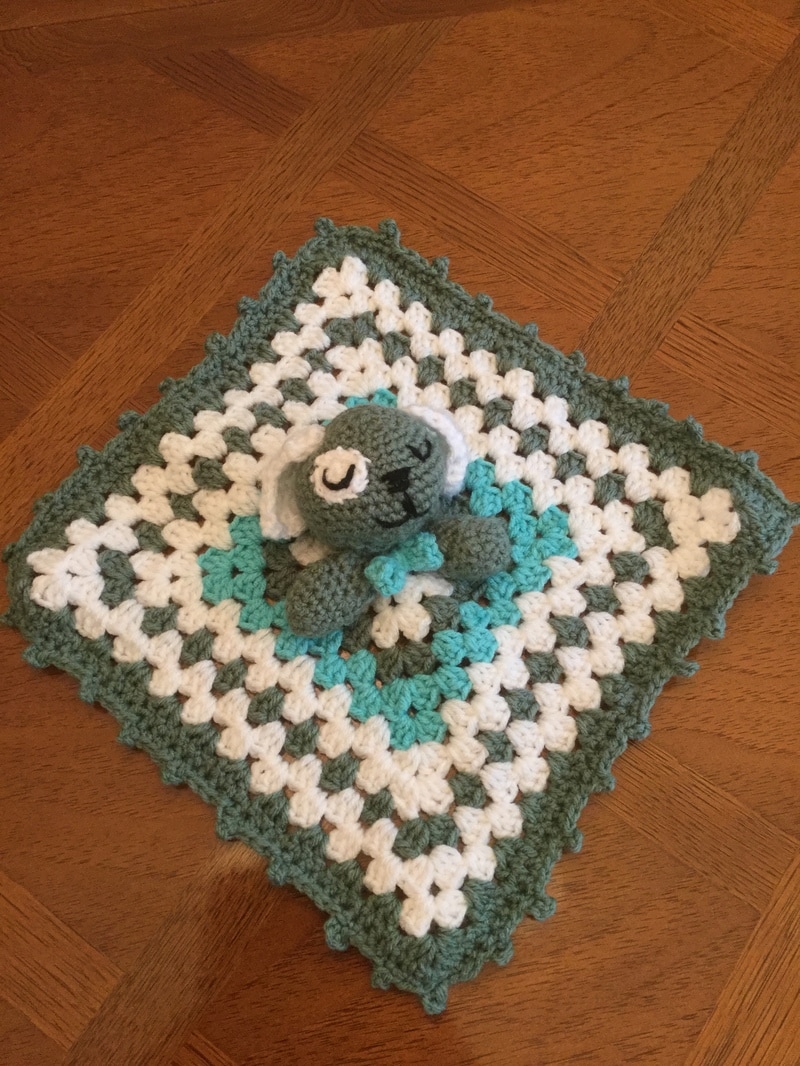
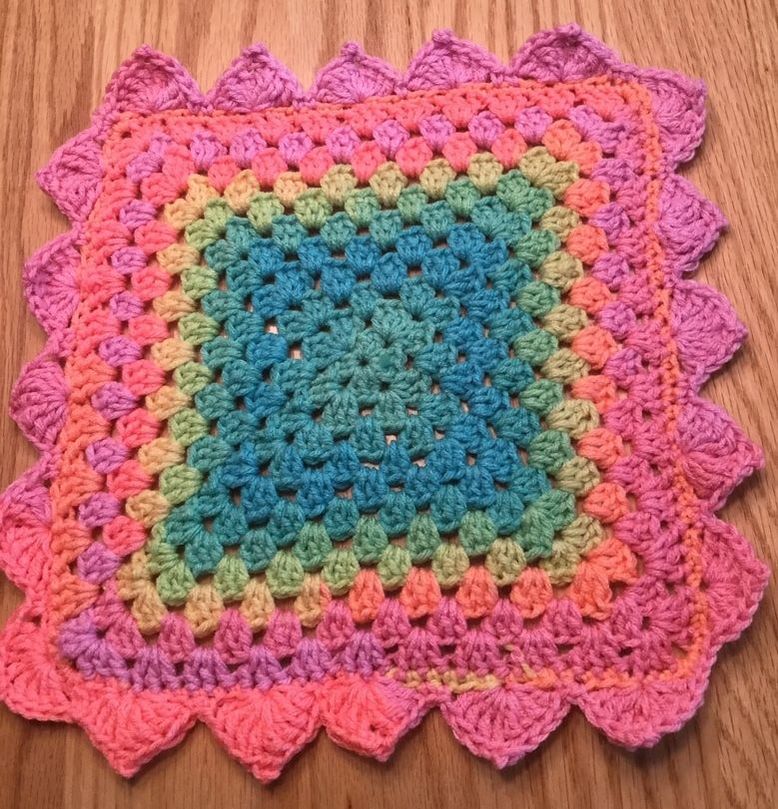
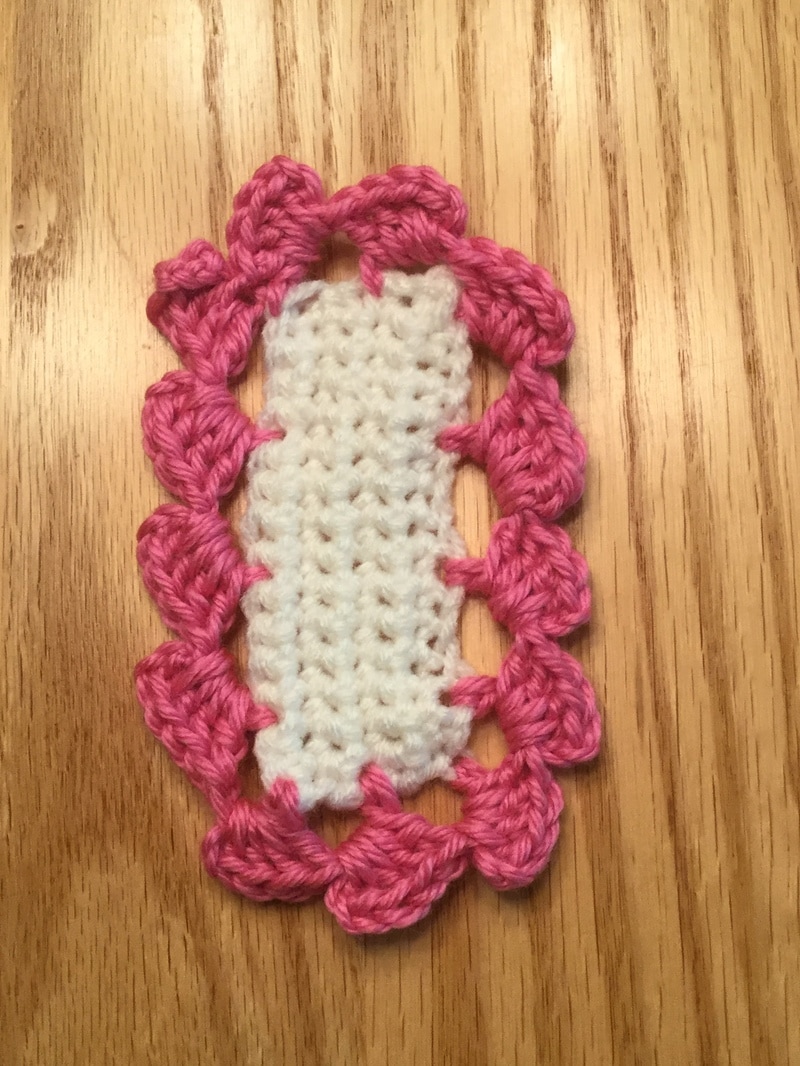
I just taught myself to do the reverse single, also called the crab stitch (5). It makes for a simple, but interesting effect, and be be executed with a double thread for a more defined accent. Execute this stitch by crocheting from left to right instead of from right to left. In the piece below, I show you my sample of this basic edging. How to Crochet: Reverse Single Crochet Stitch by Mooglyblog.com offers a You Tube video that can help you stitch in reverse order. 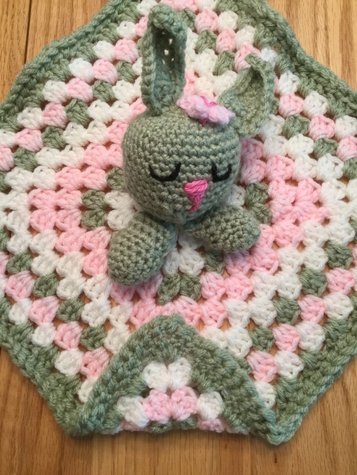 Another edging that I frequently use is the Scallop or Shell (6). Use a small or regular scallop, depending on the size of the piece. I like the feminine touch it gives to the work. I usually like a shell at the corner when I am edging a blanket. The basic edge pattern is: 1SC,. sk 1, 5DC in the same stitch, sk1, 1SC to anchor the shell. Then repeat around the blanket, scarf, bib, etc. If you are a stitch short, you can usually leave out a stitch, and it will not be too noticeable. Some crocheters leave out the single crochet between the scallops. By placing a shell at the top of my fingerless gloves I gave a finished look that goes well with the flower accent. A Craftsy.com article, Five Simple and Stunning Edges provides written directions for completing the edging. It is worked over a multiple of 4 stitches plus 1. Fiberflux.blogspot.com offers a photo tutorial that shows the crocheter how to crochet the scallop edge around a square. This is a strategy that works for granny square blankets. When I was preparing for my last lovey posting I had to crochet several 12" x12" squares. I took advantage of the opportunity and crocheted the scalloped/ shell edge around a few of the squares to practice. The Double V Stitch (7) is easy to master, and it is also an attractive finish to a extended granny or cluster stitch project. In each space between the cluster stitches, crochet 2 DC in the same spot. Make 2 chain stitches, and then crochet 2 more DC. You now have a double V. Chain 2 stitches and continue around the square. At each corner, you will have the same double V stitch.

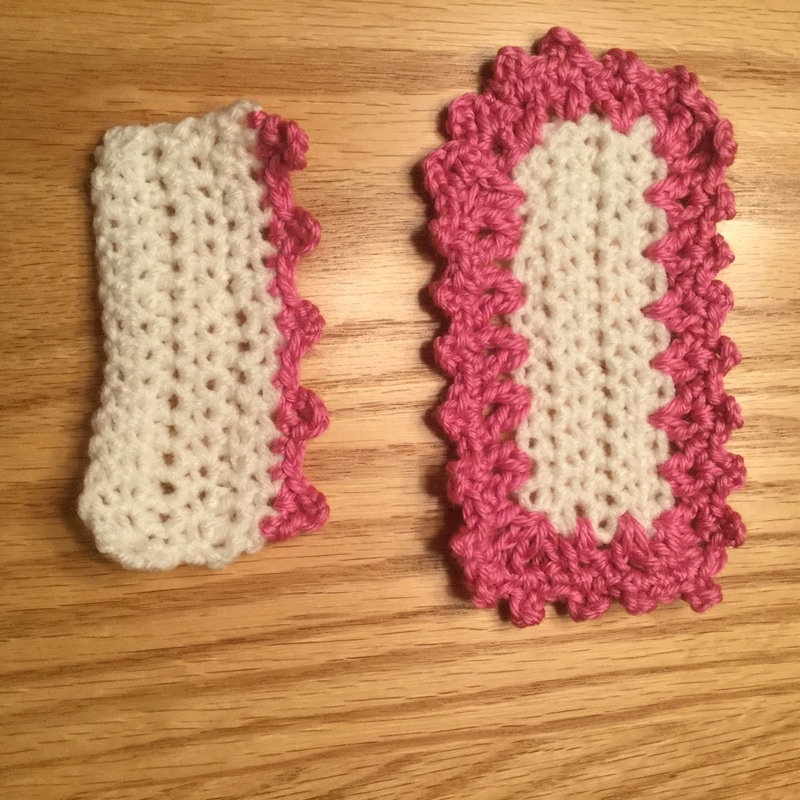
The Picot Stitch (8) adds an attractive edging when you do not want to overwhelm the main piece. The size of the Picot and the stitches between raised stitches can be variable. I like to use a 4 stitch chain that can then be stitched back into the same stitch and to separate the picot with 2 SC stitches. The Picot can also be added to the to the V stitch to make a fancier edge.(9)
Another border stitch that I just discovered is the Block Stitch (10) is demonstrated in a You Tube Video, Crochet: Block Edging tutorial. by Bella Coco. The stitch pattern is done in multiples of 4. My sample is done in single crochet, but it would look fine with Half Double Crochet. The sample swatch in the video is done in waffle stitch. The instructor shows the viewer in detail how to single crochet stabilizing row around the sample before starting the Block Stitch. The instructor uses British terms, but she frequently translates into American terms .Another helpful article, See How to Crochet 3 Beautiful Designs to Finish Your Project in Style by Alice Cullerne Browne (http://diyeverywhere.com) explains and demonstrates, the shell, picot, and block edges. The last edging that I would use with any frequency is the Cathedral Edging Stitch (11). The pattern repeat is 6 stitches. On my sample, I had the base of both triangles at the corner. It is gender neutral, but it uses quite a bit of yarn. The Cathedral Edging can be found as a free download. on Ravelry
6. There are so many edgings that can expand, finish, or enhance your crochet work. The nature of your work, and the purpose for the edging will determine which one you use. I would still like to master some of the more complicated finishes. The tulip edging looks especially pretty, but I have a lot of practice to do before I add it to a feminine piece. The intricate border for the "Road Trip Scarf" from a previous post was done in three rows. In the last row the crocheter had to remove the hook from the chain before weaving it through a loop and then replacing the hook. For a photo tutorial, see .the Road Trip Scarf from a previous posting. The final effect was worth the effort even though it required quite a bit of focus and and redoing. This kind of border is best used on a larger piece, such as a shawl or larger scarf. What is your favorite go-to edging? How do you use edgings to enhance your pieces? Please share your photos or your thoughts in the comments section or on Facebook when I post this article.
What is your favorite go-to edging or border? How do you use edgings to enhance your pieces. Please share your photos or your thoughts in the comments section of this article or on one of the Facebook postings.

1 Comment
Elaine
6/26/2017 06:13:50 pm
Lovely edges. I sometimes do a single crochet to add color or look more finished. It works! Leave a Reply. |
Archives
November 2022
Categories
|


 RSS Feed