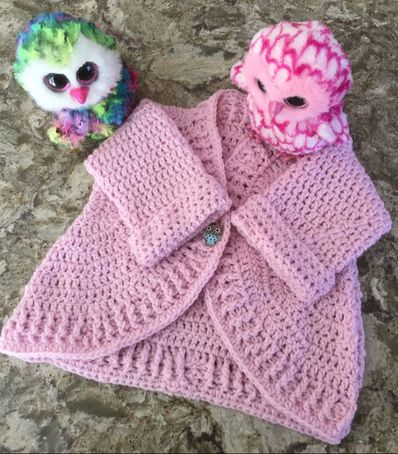
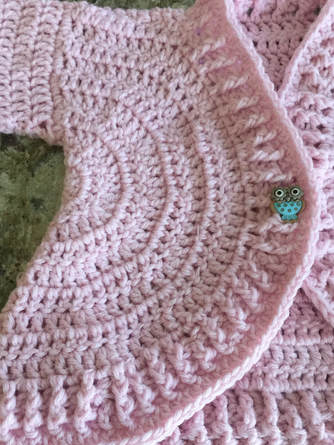
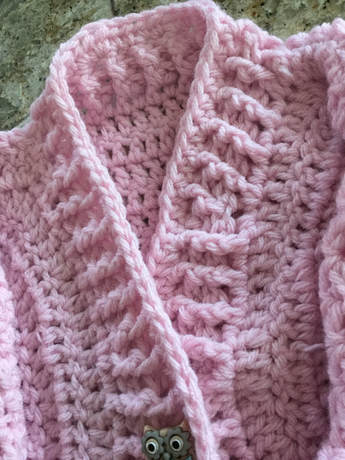
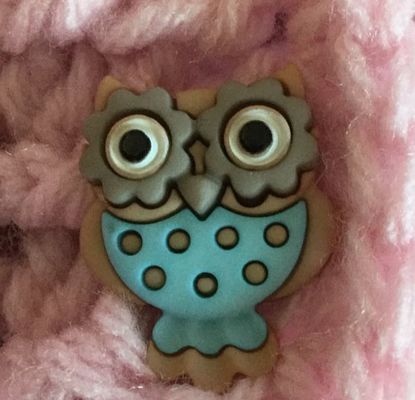
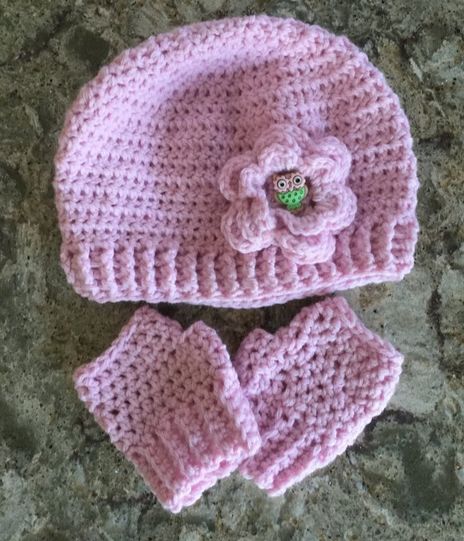
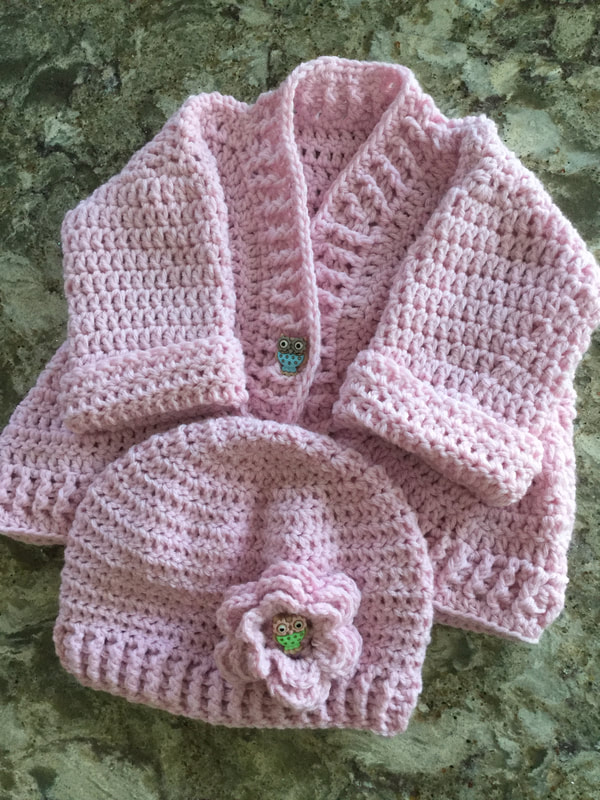
 When I first saw the image and pattern for this jacket months ago, I definitely put the project at the top of my to-do list. I loved the shape and design and could picture my granddaughter wearing the sophisticated style. The piece was designed by KIki Crochet, and the designer provides clear directions for all phases of the jacket on a You Tube Video.(http://crochetdownloadpattern.tk/pattern-coat-crochet-for-kids/). While the instructor gives specific directions for a 2 year old, the pattern can easily be adapted for a younger or older child using her suggestions. The speaker bases her directions on measurements taken from a sizing chart for the chest circumference. In this case it as 54 cm Each front will be 23 cm, and the arm hole opening will be 10 cm. The instructor starts with a square back piece before proceeding to the semicircular front pieces. The semicircle front pieces are crocheted in the way you would crochet a hat in Double Crochet. However, after starting with the magic circle and in each increase row, you do not join to close the circle. By crocheting back and forth with the appropriate number of increases in each row, you will fashion two front pieces. Listen carefully to the video. The instructor shows you how to make the fronts that will fit perfectly onto the back piece. After she sews the sides together, she shows you how to crochet the arms from the opening. Throughout the presentation, I stopped and paused the video as I completed each stage of the directions. The last step is the ribbed edging that is crocheted with Double Crochet Front Post alternating with Double Crochet Back Post. While you will crochet one stitch in each stitch on the straight portions of the jacket, you will need to make increases on the semi-circular front sections. Again the demonstration is clear and helpful. A button hole is not needed as the spaces in the edging are flexible enough to allow a 3/4 inch button to pass through. In sorting through my button collection, I found two buttons that would work well with the design.The first was a pewter circle with an embossed flower. The second an owl in tan and turquoise with pink around the eyes. In the end I chose the owl. It was playful, and the pink matched the pink in the jacket. The jacket needed a hat and gloves to complete the ensemble. Here is where I decided to improvise. I had made another piece with the first skein of blushing pink yarn, but I wasn't thrilled with it. Therefore, I just loosened the end, and instead of rewinding into a ball, I crocheted directly from the discarded piece as it unraveled. A flower with a matching owl button was the perfect accent. I had enough yarn for toddler fingerless gloves. If I can find another pair of owl buttons, I will add them to the gloves. I decided to publish this article before I could get my granddaughter to model it. I hope to update the post when I have her picture.
It was fun to work the jacket along with the instructor as she demonstrated each part. You Tube videos have been quite helpful as I have learned new designs and techniques. Crocheting has never been easier with the wealth of video demonstrations to take you step by step.
7 Comments
Vanessa R. Brown
1/5/2018 02:32:44 pm
I love the entire outfit...on your fb page i accidently called it a frog, it's an owl...still is beautiful. Where did you get the pattern for the sweater...I have a pattern similar but for a bigger girl I got from Mary Maxim...love her magazine...I get good quality from Willow, and i'm in love with Lion Brand yarns....That sweater would look nice in Pound of Love yarn in your color...Thank You for sharing.
Reply
Vanessa R. brown
1/5/2018 06:07:49 pm
Vanessa, I could not find the written pattern. I had to listen and view the video to make the piece. Sometimes, designers include the directions in a box following the video, but I could not access this kind of information. I guess you will have to listen and make your own notes. I cannot do this for you as the pattern is copyrighted. If you find the written pattern, please let me know. I include the You Tube link in the first paragraph of the article. I tried it out before posting, and it worked for me. Good luck in your crocheting.
Barb Mitchell
1/5/2018 06:00:51 pm
Barb, I could not find the written pattern. I had to listen and view the video to make the piece. Sometimes, designers include the directions in a box following the video, but I could not access this kind of information. I guess you will have to listen and make your own notes. I cannot do this for you as the pattern is copyrighted. If you find the written pattern, please let me know. I include the You Tube link in the first paragraph of the article. I tried it out before posting, and it worked for me. Good luck in your crocheting.
Reply
Chris
1/8/2018 09:25:06 pm
Is there a written pattern?
Reply
Chris
1/9/2018 07:42:16 am
Chris I was unable to find a written pattern. I used the general strategies from video to make the jacket one size smaller. Once you figure out your measurements from a sizing chart that you can google for, use the instructors strategies to make back square, front semicircle and other parts. Good luck in your efforts.
Reply
7/2/2018 02:22:31 am
There are a number of factors to consider when debating the importance of dog life jackets for family pets. The concept of dog life vest to many consumers is a perplexing one. After all, the well known doggy paddle was inspired by dogs.
Reply
Leave a Reply. |
Archives
November 2022
Categories
|


 RSS Feed