|
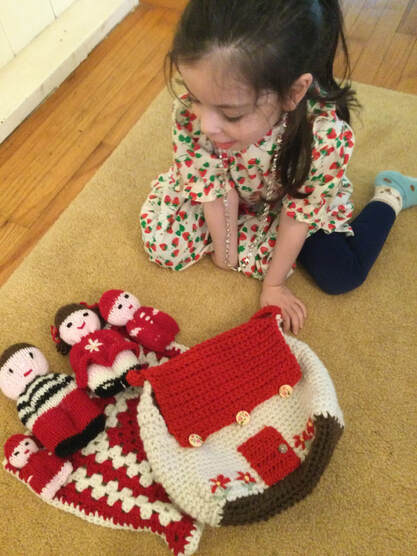
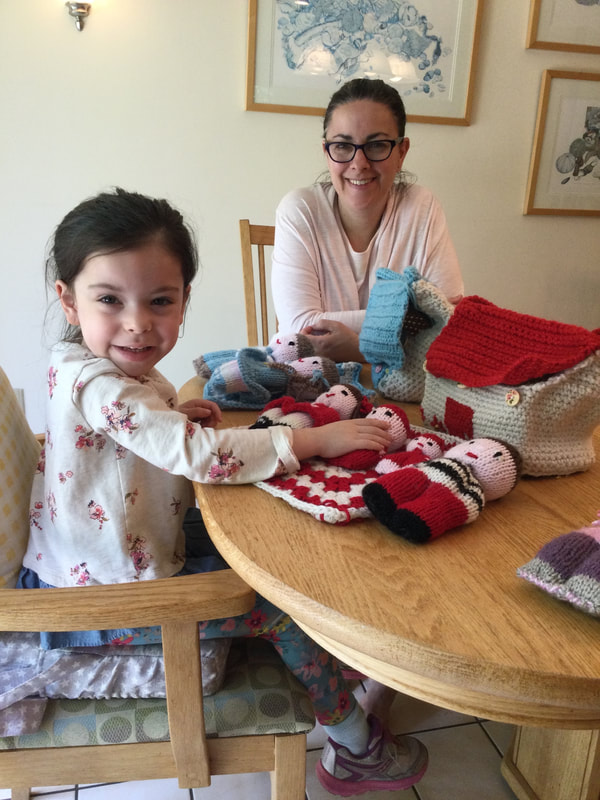
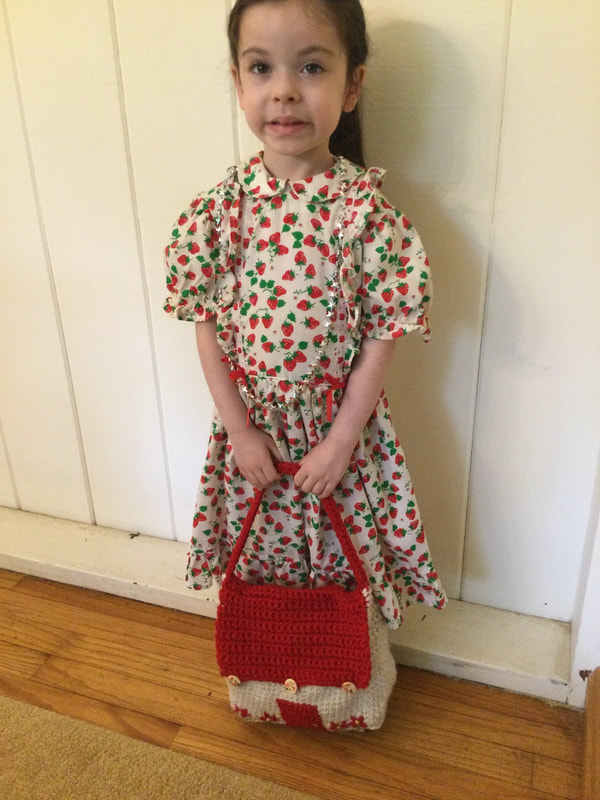
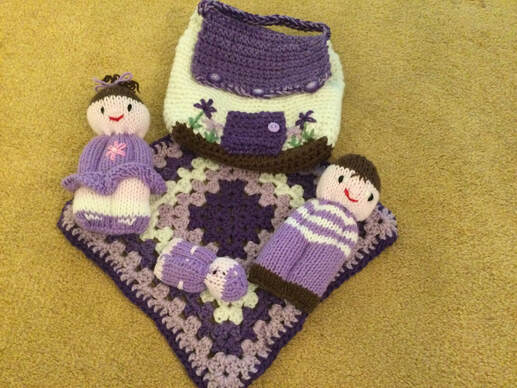
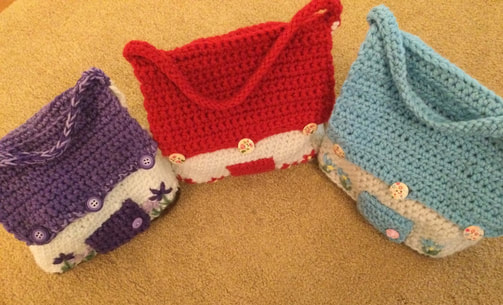
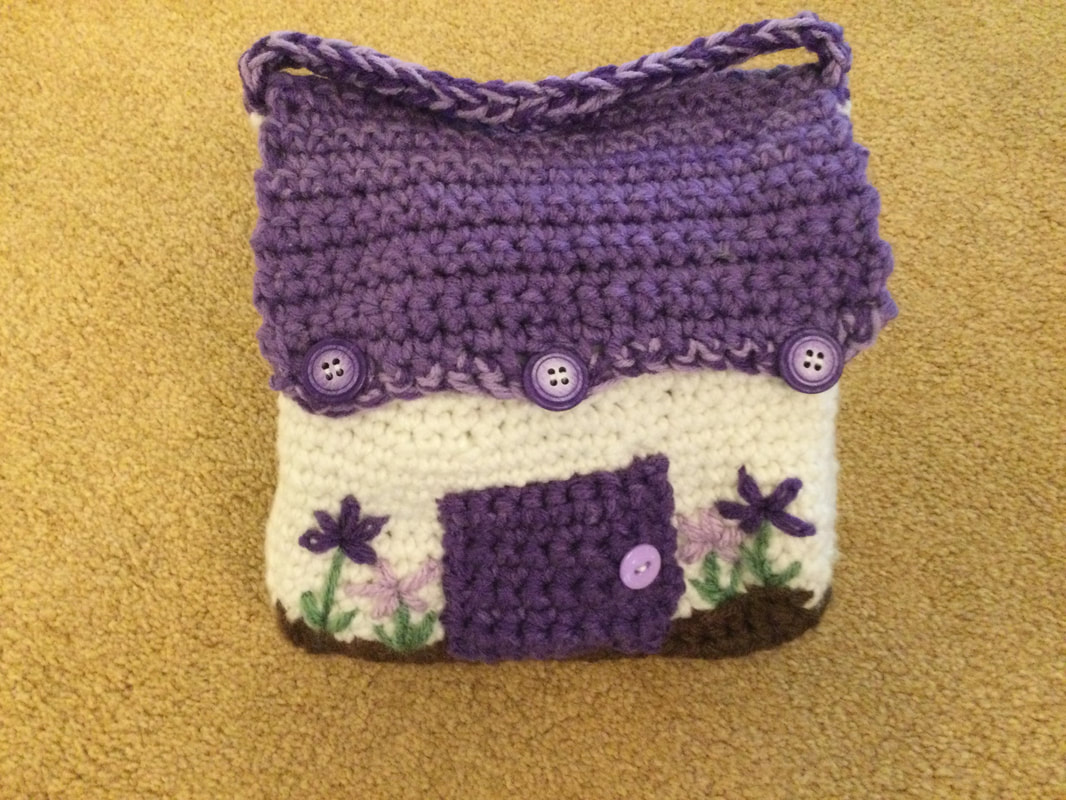
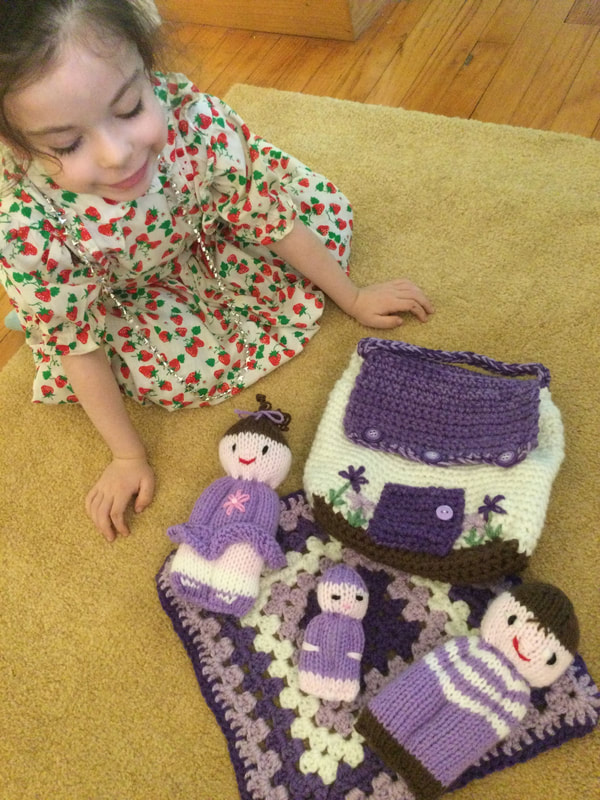
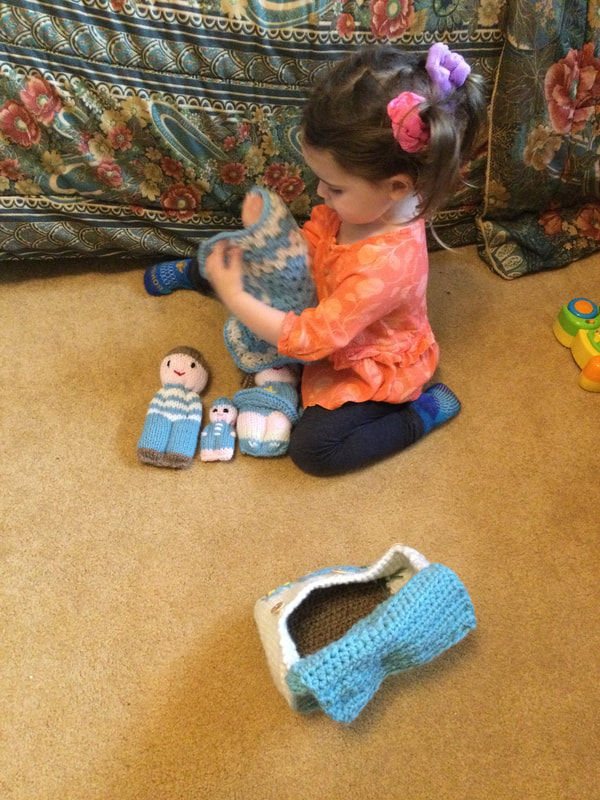
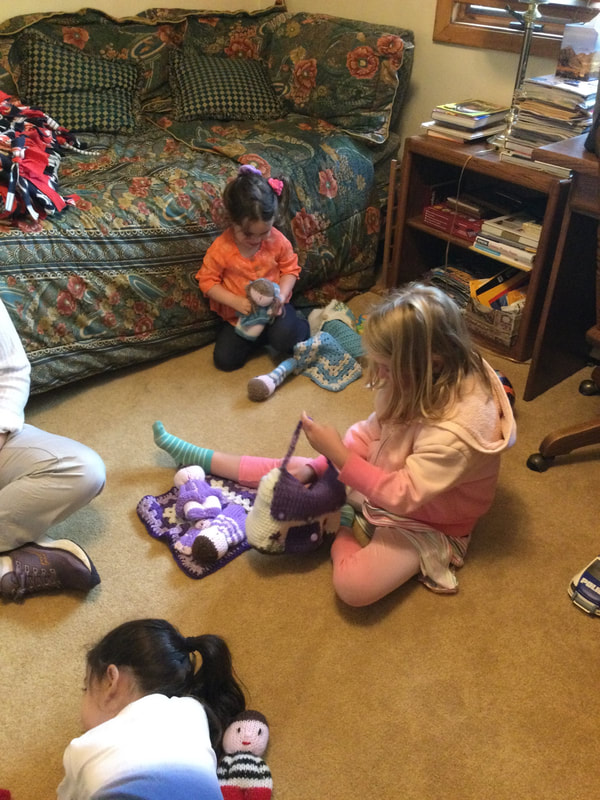
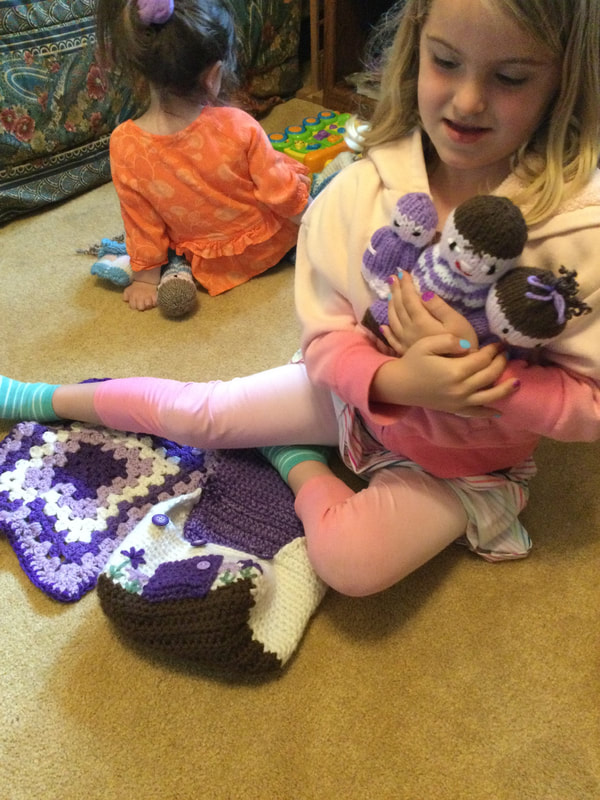
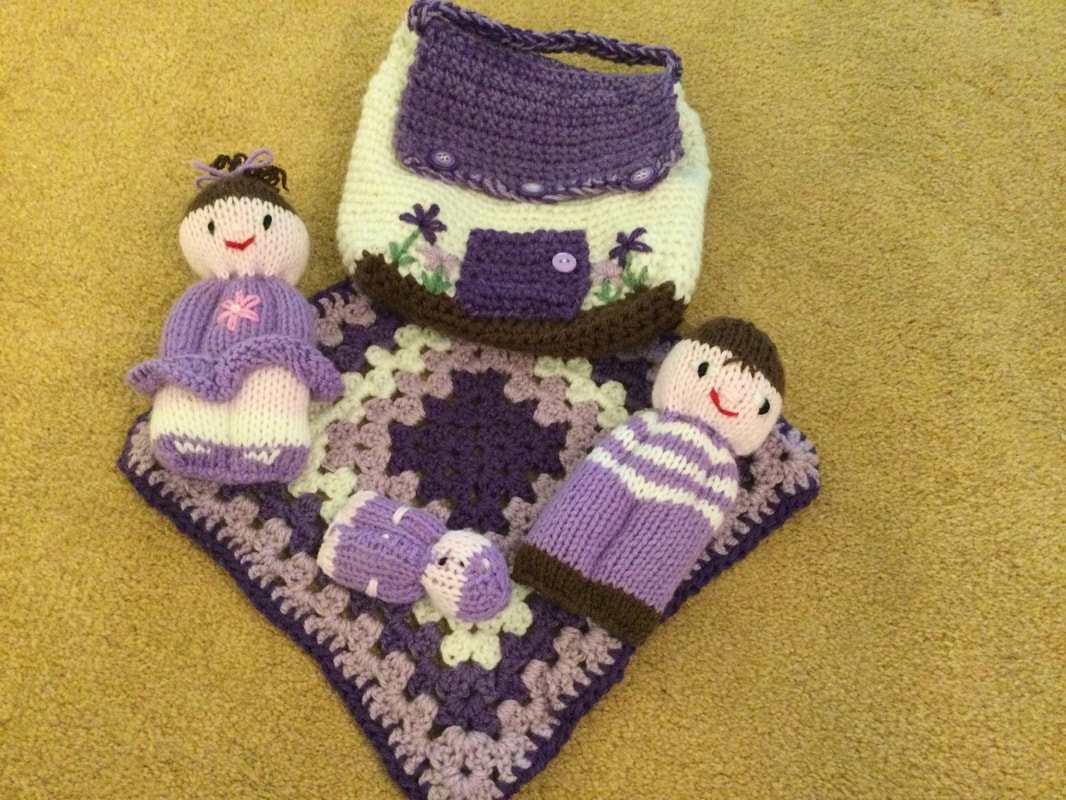
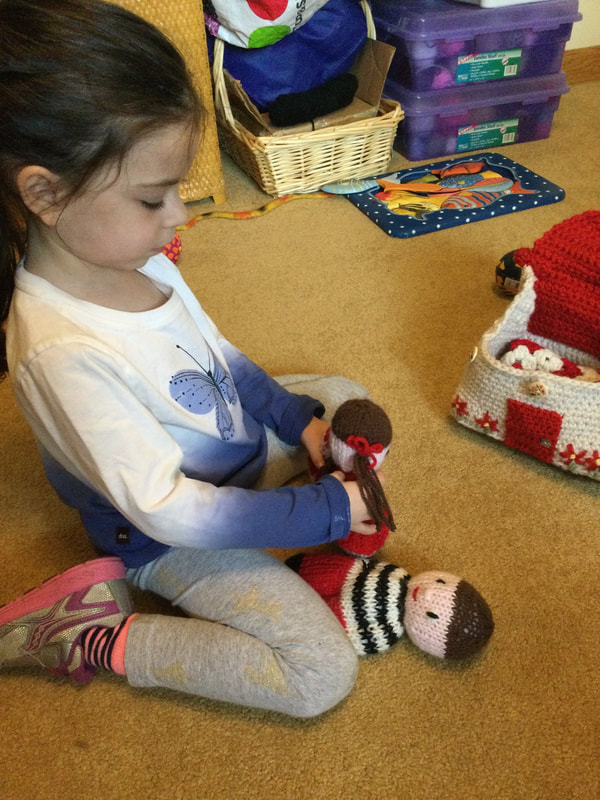
My crocheted doll house purses are truly a gift from the heart. From the time I first saw knitted and other crocheted pieces, I knew I had to create my own crocheted versions. I started with the house with the red roof that was crocheted to house a comfort doll family with coordinated red clothes. When my four year old granddaughter saw the display, her mouth opened awe and glee. "Is this for me? she inquired. Indeed, it was. However, I knew I had to create 2 more for her New York cousins. Each doll house purse takes about 14 hours to create with all of the decorations. This was going to be a big project. I said that she could play with the pieces that day since it was going to be a while before she could take her set home. She undertstood, and had great time with creative play that afternoon. Okay, this was a great idea, but I did not have a pattern. After the first house, my goal was to crochet two additional purses. One girl would get a doll house purse with a blue roof to match that comfort doll family. Her sister would get a doll house purse with a purple roof to match her family as well.. For each girl I also added an extended Granny Square for a blanket or carpet. Again all of the colors matched the dolls and the doll houses. I was truly winging it with the first doll house purse. I made a drawing to set out my measurements. Then I crocheted until my pieces matched the measurements of the diagram. To achieve the stiffness required to give the purse structure, I used 2 strands of worsted weight yarn (#4) with a J hook. I took notes as I went along so that I could replicate the pieces. First came the base at 8 inches by 5 inches in brown. I held both strands together as I crocheted in Half Double Crochet (HD). I started with a chain of 24 so that I would have 23 stitches when I began with the second chain from the hook. Next, I built up the sides in white or off white. By the time I got to the third purse (with one do over), I calculated that I wanted 23 stitches on the long sides and 13 stitches on the short sides. this meant I had to make 2 stitches in each corner. I found that I liked a Single Crochet (SC) for the sides. In the first model, I joined the rows with a slip stitch, but it became harder to align. Therefore, I worked in a spiral without a join for the remaining houses. I marked the beginning of the rows so that I had even sides. I crocheted 10 or 11 rows before started the gables. To make the gables on the short sides I started (Row 1) with a ch1 and a SC in the same stitch. Then I crocheted 12 more SC for a total of 13 stitches. In the next row (/Row 2) I decreased with a SC2tog on both sides so that the edges would be even (11 stitches). In Row3, I crocheted the same number of stitches as Row 2 (11). In the following rows I decreased on the even rows and crocheted the same number on the odd rows. I continued to complete the gable with one stitch remaining. I fastened off and cut the yarn.then I attached the yarn to the other short side to make the second gable. The colored roof was made to be slightly larger than the gables so that there would be a bit of overhang. I chained 24 stitches and crocheted a HDC in the second chain from the hook. After 10 rows I crocheted an extra row with HDC form the Back Loop Only (BLO). to make a ridge for the top of the roof. Then I crocheted an additional 10 rows for the other side of the roof. I fastened off and cut the yarn tail that would I would weave in with the rest of the tails. It is important to note that I only attached one half of the roof to one side of the gable and adjoining side of the door house purse. In that way the girls would be able to open the purse to insert the doll family and blanket. Before I attached the roof, I crocheted the strap with a Half Double Crochet Foundation Stitch (HDCF). Then I added an additional row of HDC. I sewed the strap under the peak of the roof on both sides.Then I proceeded to sew the roof in place, starting at the peak row and down the first gable, across the length of the house and up the second gable to the peak. Since I wanted to add buttons and button holes to close the purse cesucrely, I needed to add an additional row of SC to both long sides of the house. On the loose side, I would make 3 buttonholes, evenly distributed along the side of roof. I started with 2 SC, CH2, skip 3, SC5, CH2, skip 3, SC5, ch2, skip 3,SC2. On the other secured side, I simply SC across. To complete the doll house purse, I sewed the buttons directly under the button holes near the top row of these of the house. Then I crocheted a small door and attached a buttoner a handle.The door was purely for decoration and does not open Embroidered flowerswerejust the right touch. The coordinating Comfort Doll families that would make for hours of creative play were placed inside the houses and the buttons were closed. I eagerly awaited family gathering so that each girl could receive her own house and family. The Comfort Dolls were displayed in earlier LilCreates articles. Here are the links to get that information so that you can knit or crochet your own Comfort Doll families: http:/www./lilcreates.com/lillians-blog/comfort-dolls-made-with-love http://www.lilcreates.com/lillians-blog/comfort-dolls-a-new-look http:/www.lilcreates.com/lillians-blog/crocheters-can-make-comfort-dolls-too Needless to say, the girls were overjoyed with their Crocheted Doll House Purses another ComfortDoll families. They were all together for the Memorial Day cookout. They displayed their houses and matching families and engaged to creative play before returning home with their gifts. I was rewarded for the many hours of constructing the doll purses and doll families with smiles, hugs,and kisses. Friends and members of my craft group have asked met make purses so that they could purchase them for the special children in their lives, but I had to say that I am finished for now. I am sure that I can cut down on the construction time with more practice. However now I feel closure and am eager to start on new projects. We recently went on an fair garden tour, and I took many photos of the delightful creations. Perhaps their is a Crocheted Fairy House in my future. I hope that you enjoyed my general guidelines for the Crocheted Doll House Purses. I can't really call them a pattern yet as there may be steps that I have left out. If I do formalize the guidelines, I will include diagrams, and photos. My stitching journey continues. I welcome you to join me. If you do try your own version of my Crocheted Doll House Purse, I would love to see pictures of your work. Please add your reflections and feedback to the comments.
6 Comments
Phyllis Greytak
6/16/2021 09:03:31 am
Just beautiful thank you for your directions ❤️
Reply
Phyllis Gretak
6/25/2021 09:21:04 am
I hope the directions help you to attempt dollhouse purses of your own.
Reply
Portia roberson
7/31/2022 02:28:00 pm
Hi i just love your little girl doll purse. i love houses . im 56 years old i want to make this purse for me lol. do i need to add more chains tio make it a grownup purse. i just would love to have a purse like this. mrs portia roberson
Reply
Portia Roberson.
9/4/2022 09:39:00 am
I hope you have fun making your purse. It sounds as if you are young at heart. Please send photo of your project,
Reply
Portia Robertson
10/4/2022 06:00:23 am
I am glad you were interested in the dollhouse purses. You will find photos in article Crocheted Doll House Purses.
Portia Robertson.
10/4/2022 06:03:05 am
If I were to make this as a purse for myself, I would not change the size as it would become unwieldy. Enjoy.
Reply
Leave a Reply. |
Archives
November 2022
Categories
|



 RSS Feed