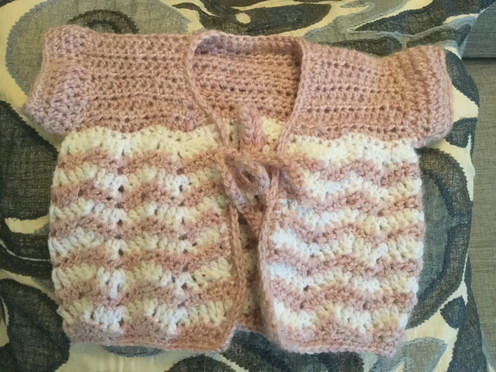
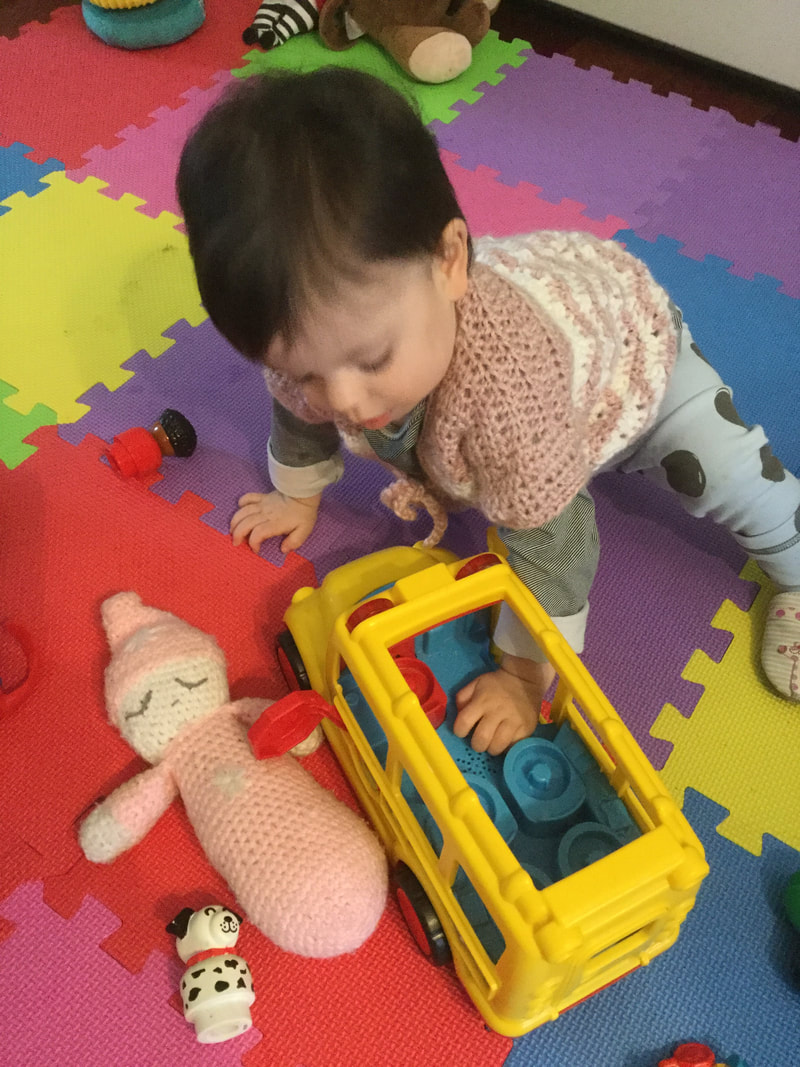
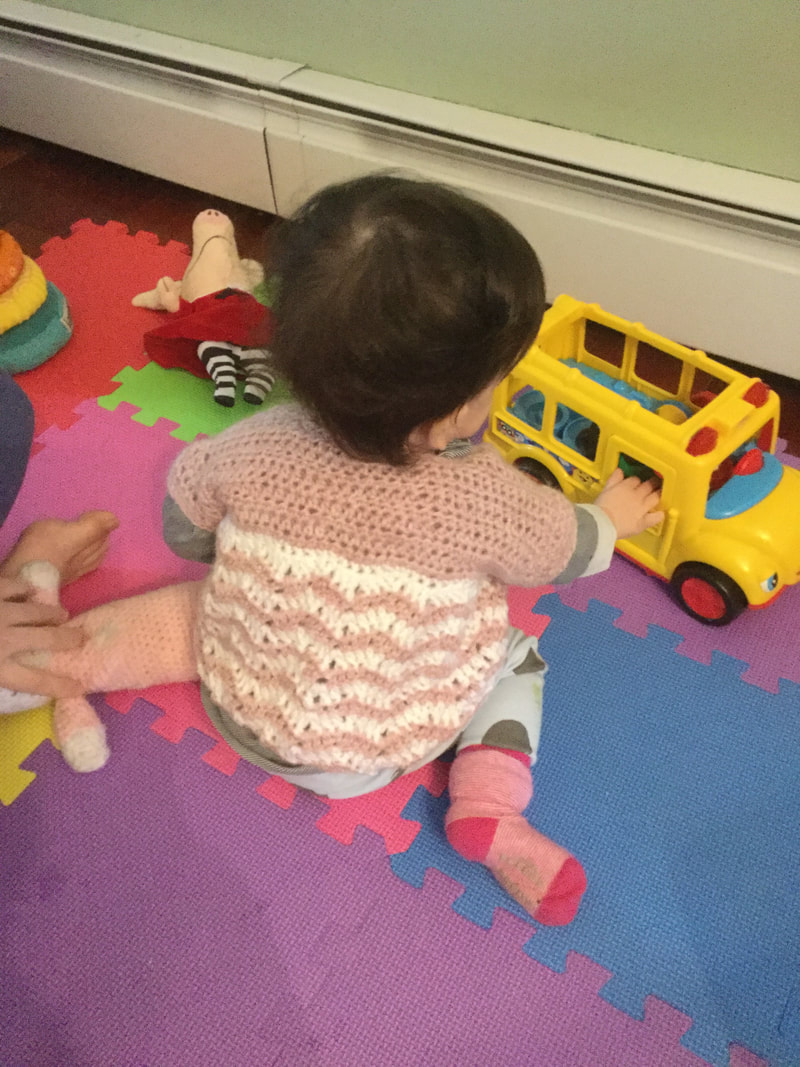
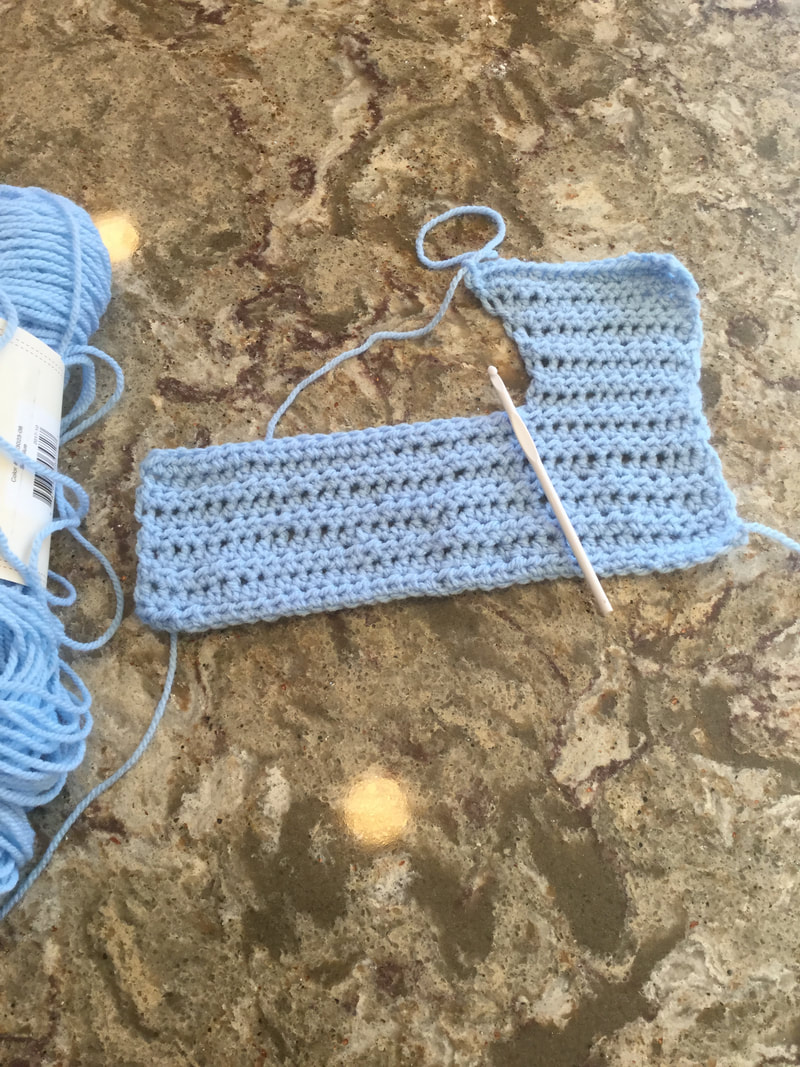
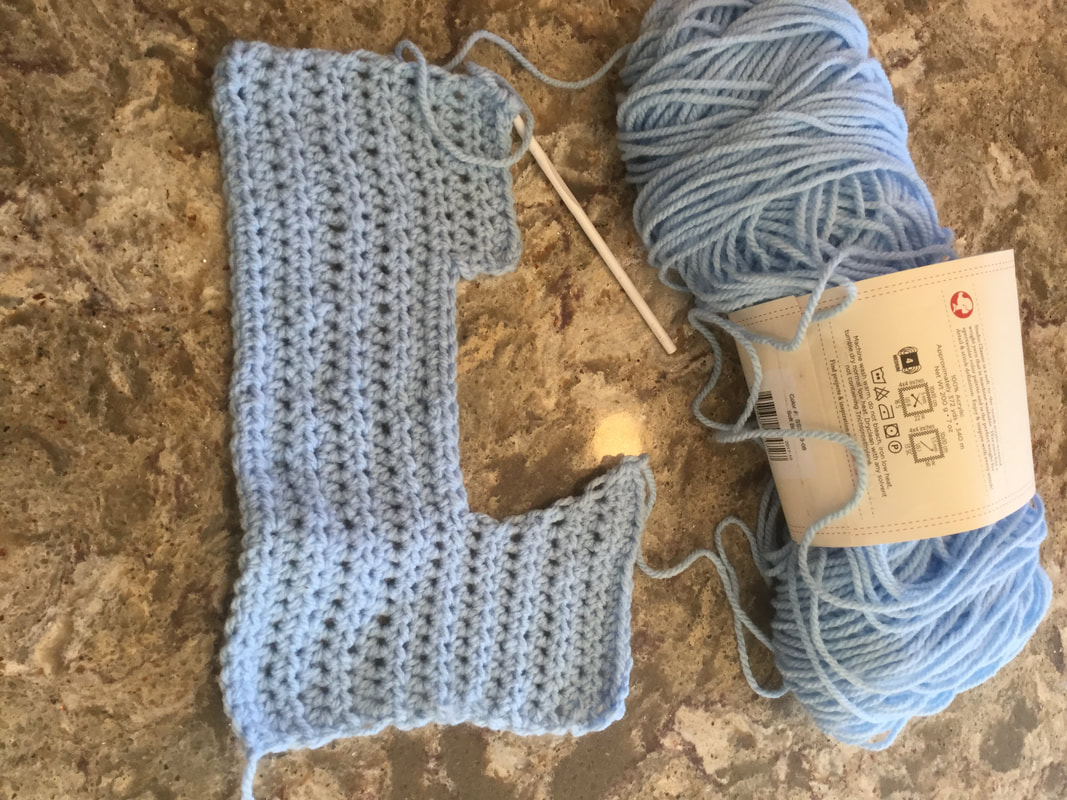
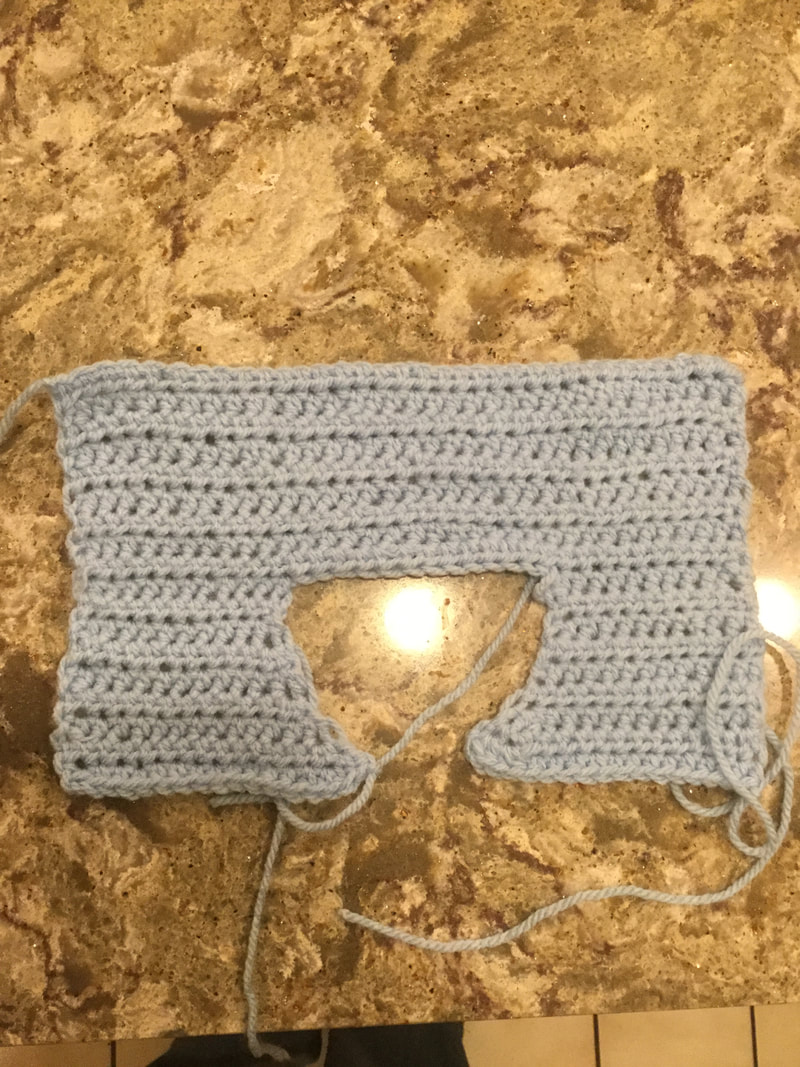
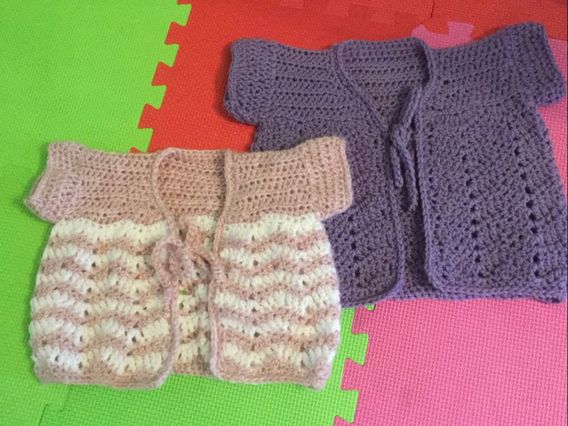
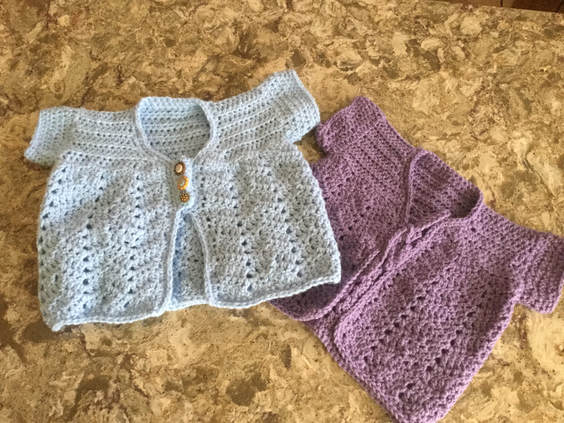
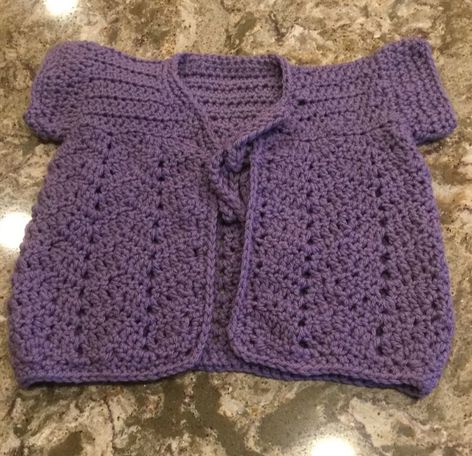
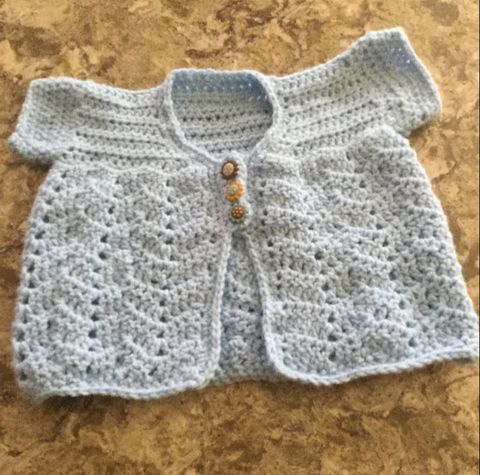
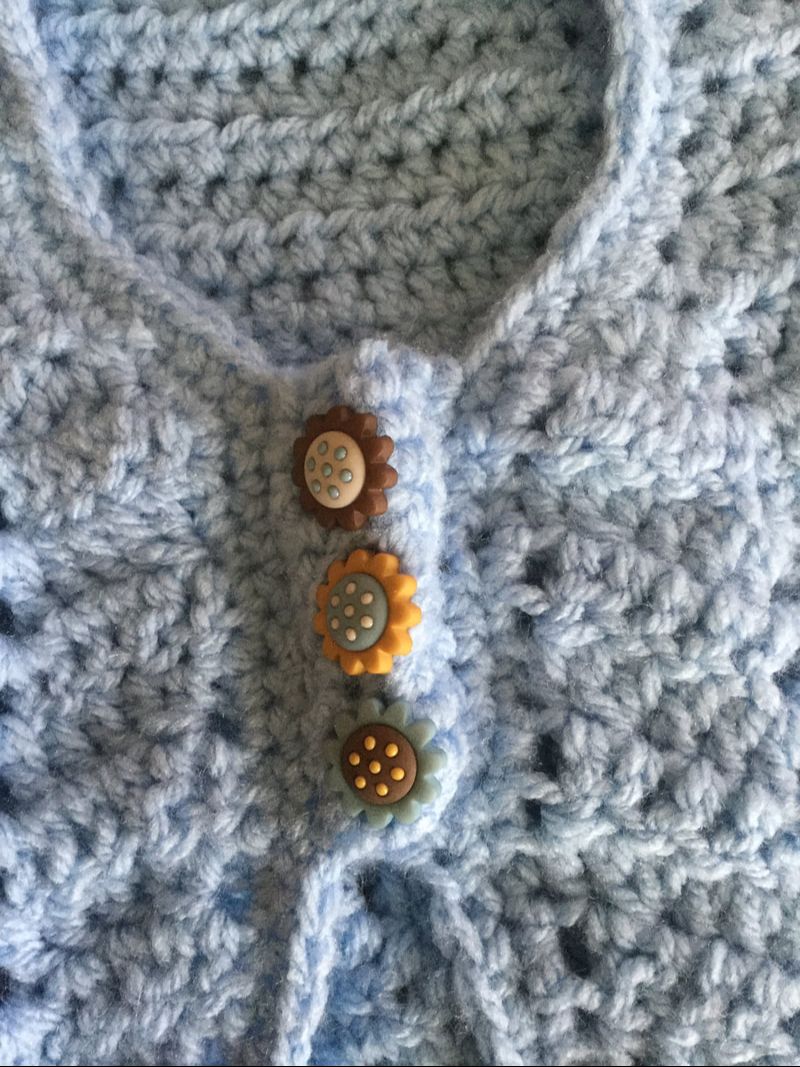
 To celebrate Spring, I decided to get back to my website theme of wearable art. I thoroughly enjoyed my creative burst with amigurumi. Now it is time to renew my interest in stylish and playful apparel for the warmer weather. When my daughter saw this newest sweater, she immediately dressed her little one in the piece. This short sleeved version of a cardigan kept the chill off her daughter while she played inside. Yet, it was not too cumbersome to interfere with her activity. With each of my posts I like to teach myself something new. The ripple stitch short sleeve cardigan pattern provided the perfect medium. I admired the playful ripple effect in the pattern photo and decided to try the pattern first with two colors and then with a solid treatment. See: http://www.crochetforyoublog.com/2018/03/crochet-chevron-spring-baby-cardigan/ After the initial chain for the neckline, the back panel and front bodice pieces are crocheted with a Half Double Crochet into one piece. The crocheter is then directed to single crochet to provide a foundation for the body of the sweater and marks off the armholes. Directions are provide for the special stitches: DC2tog, V-st,2-DC cluster, and #DCtog. In the past I have tried to make chevron or ripple designs, but I always ended up with a stitch count that was way off when I got to the second and third rows of the sequence. The first cardigan took me about 10 hours to complete as I had to master stitches that were not automatic and familiar to me. The second purple cardigan was easier for me as my process was more automatic. The designers provide photos for most steps in this pattern tutorial.By the time I completed the blue sweater, I was able to crochet the sweaterwith its finishing touches in 7 1/2 hours. The pattern calls for a H hook (5.00mm) and worsted weight worsted (#4) on the lighter end of the range. An example would be Caron Simply Soft yarn. When I crocheted the solid purple and light blue versions, my yarn was heavier, and the sweater came out a bit larger. With my rose and white sweater, I crocheted 11 rows plus a final row before crocheting the edging (as directed in the pattern). The sweater was made for the 24 month size. My granddaughter (15 months) is rather petite. I think that this sweater would be too small for a child with average height and weight. Also, I added 2 more rows of ripple for the solid cardigans, and I prefer these proportions. I made two other changes to the solid pattern. I crocheted a second row of Single Crochet (SC) around the entire back fronts, and neck. Be sure to crochet 3 stitches in each corner so that the edge lays straight. In the solid version. The pattern calls for two rows of HDC on each side just below the neckline. As you wear the sweater, the right side has button holes, and the left side has button. As I was having trouble with this part of the directions, I left the panels out of the purple sweater and substituted a crocheted tie on each side. Having crocheted a second line of edging, it was easier to reinforce the tie. As I finished the blue sweater, I decided to try the bands again. This time I was able to work in the button holes. I think blue, gold, and brown flower buttons were the perfect accent, Once I decided to write an article on these pieces, I knew I needed photos of the beginning stages. Therefore, I added the blue cardigan. I tried to create the buttoned panels for this last design. When I tackle a new design I often make multiple pieces to master the technique. Many thanks to the designers at crochetforblog.com. I have enjoyed crocheting their pattern and have finally learned to do a ripple or chevron pattern.
2 Comments
Leave a Reply. |
Archives
November 2022
Categories
|


 RSS Feed