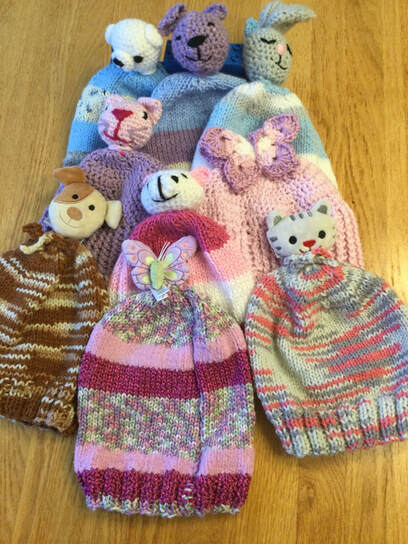
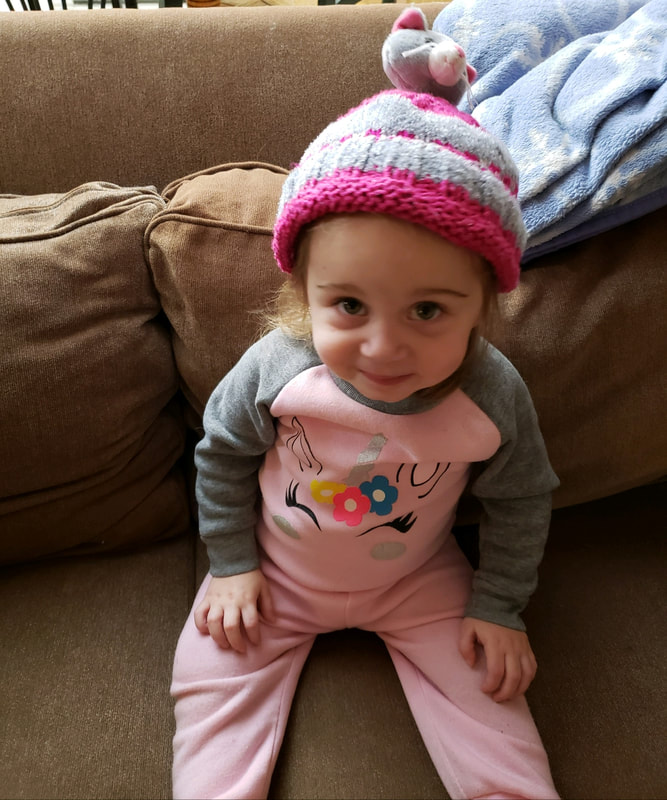
 A whimsical topper can transform an attractive, but simple hat into a creation that brings a smile to children and all those who are young at heart. While reorganizing my yarn tubs I came across several kits from DMC that I had purchased several years ago when they were on sale. I decided to knit them up and gift them to my grandchildren and to my friends' grandkids. While the kits were called Lil Toppers, I found on research that DMC had changed the name to Top This. Kits range in price from $10 on Etsy to $13.49 on other sites. Lion Brand also sells a set of 4 Sesame Street themed hats for $31.99 with Big Bird, Oscar, Cookie Monster,
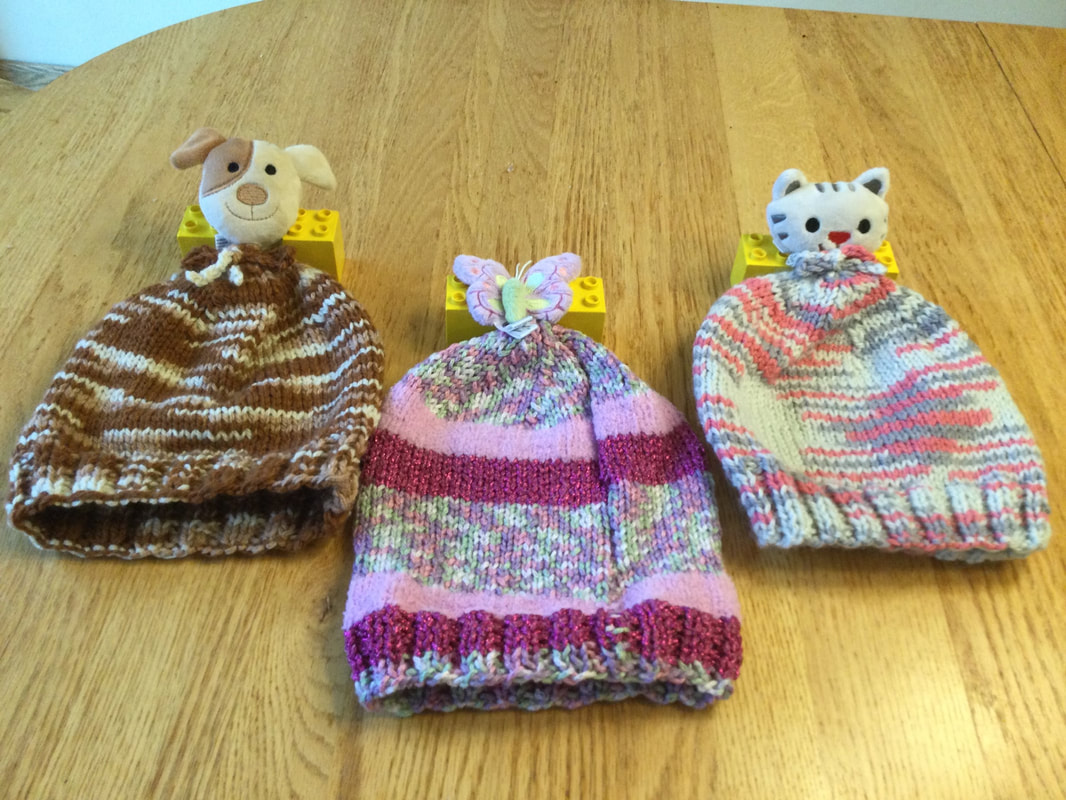
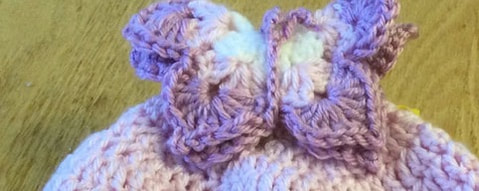
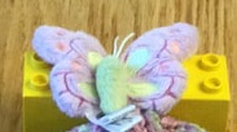
While I may not be able to execute the detail of the manufactured hats, I wondered If I could create toppers with my scraps and knit or crochet coordinating hats from skein ends at almost no additional cost to me. My first attempts were the teddy bear toppers that attached to knitted beanies. Any standard hat pattern will do. Using worsted weight yarn I cast 72 stitches on straight needles. Knitted a2x2 rib for about 1 1/2 inches and continued with stock and knit. Check standard hat charts for length before making decreases. When I attached the critter to the crown I placed 1 1/2inch button under the surface so that the figure would be secure. Make sure that the button has large holes so that you can get the yarn needle through . The ready-made kits include a foam circle for this purpose. My first attempts were teddy bears. I found it easier to crochet the heads than two knit them. Row 1:I started out with 6 single crochets in a magic circle Row 2: sc 2stitches in each sc. (12) Row 3: sc 2 stitches in first stitch. sc in next stitch. Repeat around to join in first stitch of row. (18). Mark beginning of row with marker. Move marker up as you crochet through the rounds. Row 4: sc 2 stitches in first stitch, sc in next 2 stitches. Repeat pattern around. (24) Row 5: sc 2 stitches in first stitch. sc in next 3 stitches. Repeat pattern around. (30) Row 6: sc 2 stitches infers stitches. sc in next 4 stitches. Repeat pattern around. (36) Row 7: sc in each stitch around. Row 8: sc in each stitch around. Row 9: sc in next 4stitches. Make a sc decrease. (24) Row 10: sc in next 3stitches. Make a sc decrease.(18) Row 11: sc in next 2stitches. Make a sc decrease. (12) Row 12: sc in next stitch. Make a sc decrease.(8) Row 13: sc decrease around. (4) Gather stitches and close off. Weave in ends. For ears work the first two rows of body pattern for 12 stitches. For the snout, I worked the first 3 rows of body pattern (18)..Then I stitches around with the same number. The finishing touches were the eyes, nose and mouth. I followed variety of pictures to embroider with black yarn. 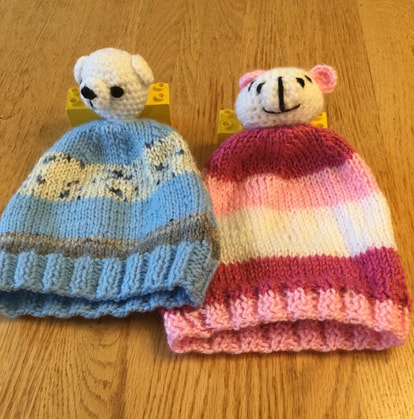 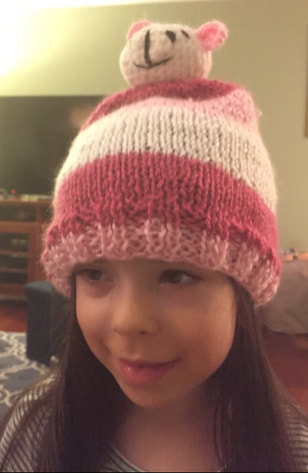 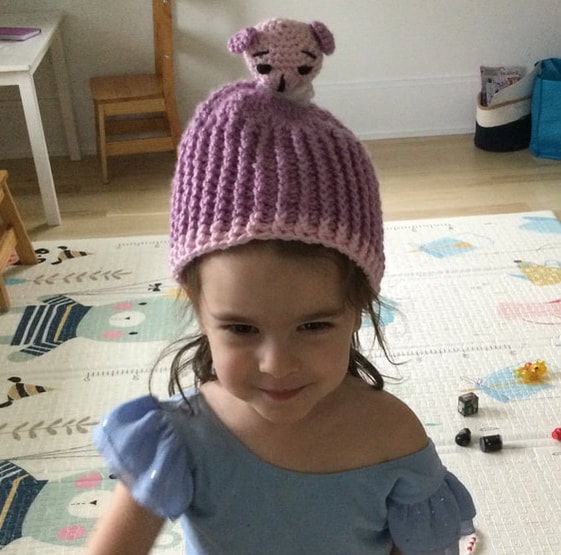 For additional models I researched Loveys which had an animal or figure head with a small blanket. It was an easy transition to use the head to top creative hat. 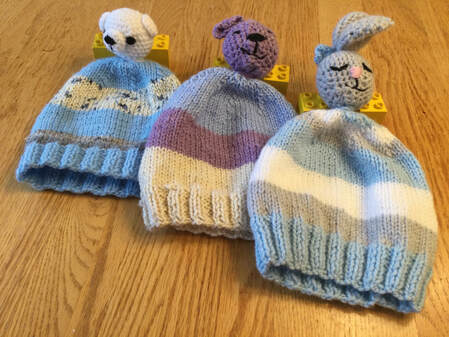 The bunny with the offside ears can be found at Easter Bunny [email protected]. Other interesting ideas can be found at Loveys for [email protected] Please compare the manufactured cat hat with the handmade crocheted hat below. 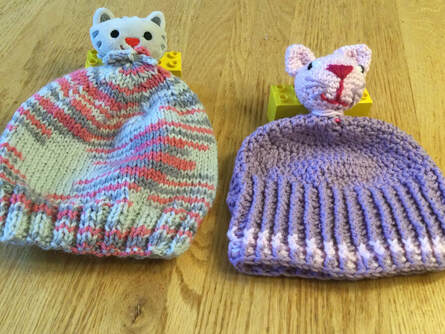 Here are the two butterfly versions.The butterfly from the crocheted hat can be found at How to Crochet Butterfly Video Tutorial at your crochet.com.
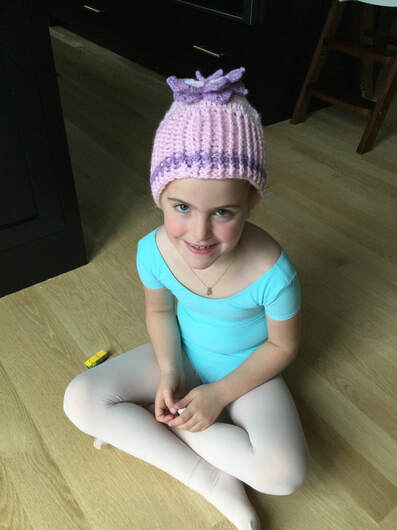 Although I ran out of time to make additional hats for this article, I took the opportunity to explore with a few additional toppers. Here are two examples 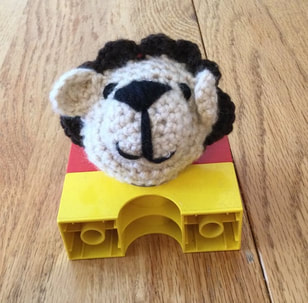  Creating my own toppers for knitted and crocheted hats involves extra research and crochet time, but I really enjoyed creating my own critters for these winter hats. As you can see from the expressions on my models' faces they were also enchanted. I leave it to you DY I (Do It Yourself) or Buy. Both are good options. With the manufactured option. you get more detail and save yourself the time and effort of making stopper. For the DIY, each piece is unique, and the price (almost none) can't be beat.
As always, I welcome your reflections and feedback. Invite you to join me on my stitching journey. Iwouldlove to see your interpretations of hats with critter toppers. 
4 Comments
Leo
12/27/2021 03:14:43 am
This is a brilliant idea and makes the hat so special as well as unique! You have inspired me to do some research and experiment with my own ideas. If I start now I can make gifts in time for next Christmas! It's also a brilliant idea for using up small amounts of left over yarn. Thanks!
Judy
1/30/2022 03:14:16 am
Thanks for your positive comment, I had such fun making them.
Anonymous
1/30/2022 03:11:27 am
I am thrilled when my work inspires other rafters to branch out and experiment. I would love to see your hats when your are done. Leave a Reply. |
Archives
November 2022
Categories
|

 RSS Feed