|
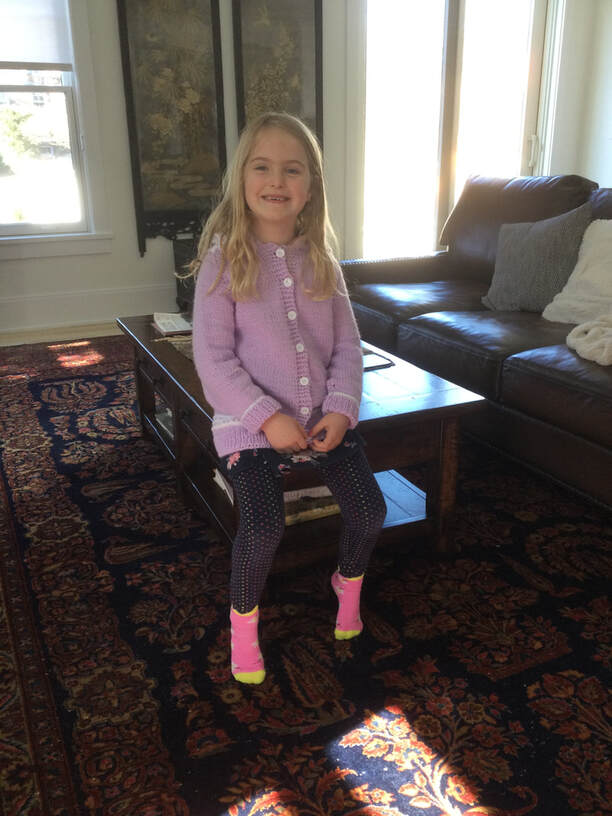
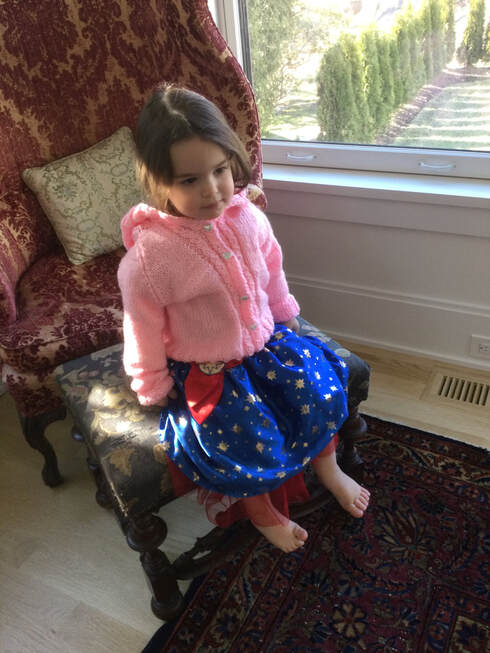
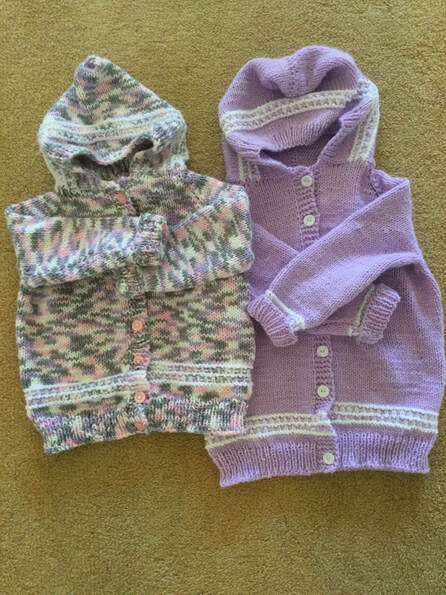
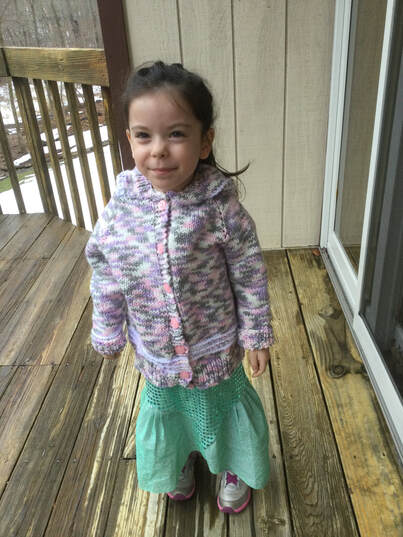
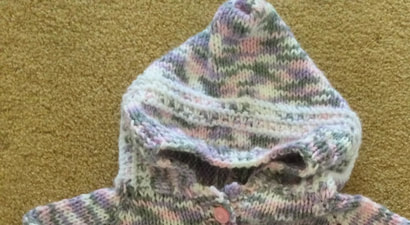
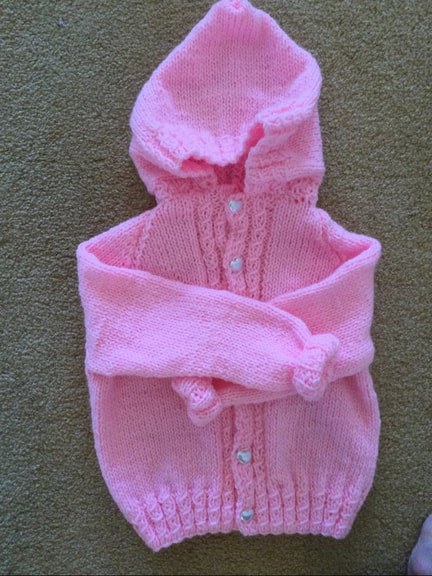
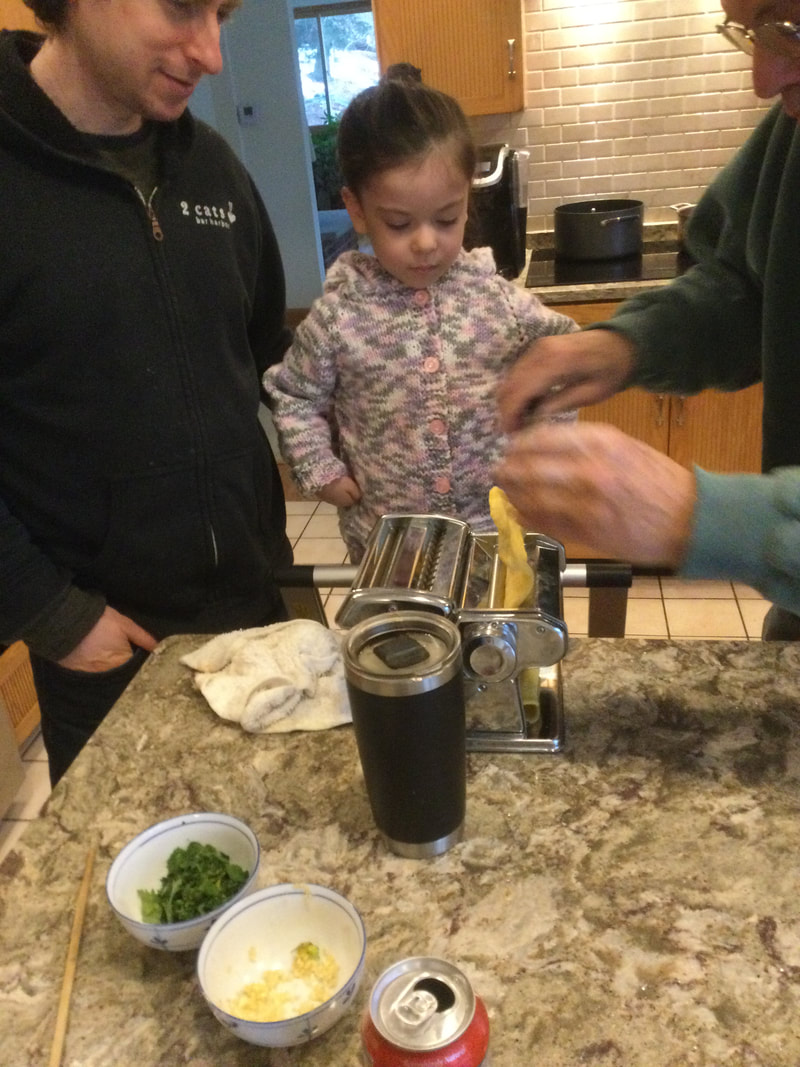
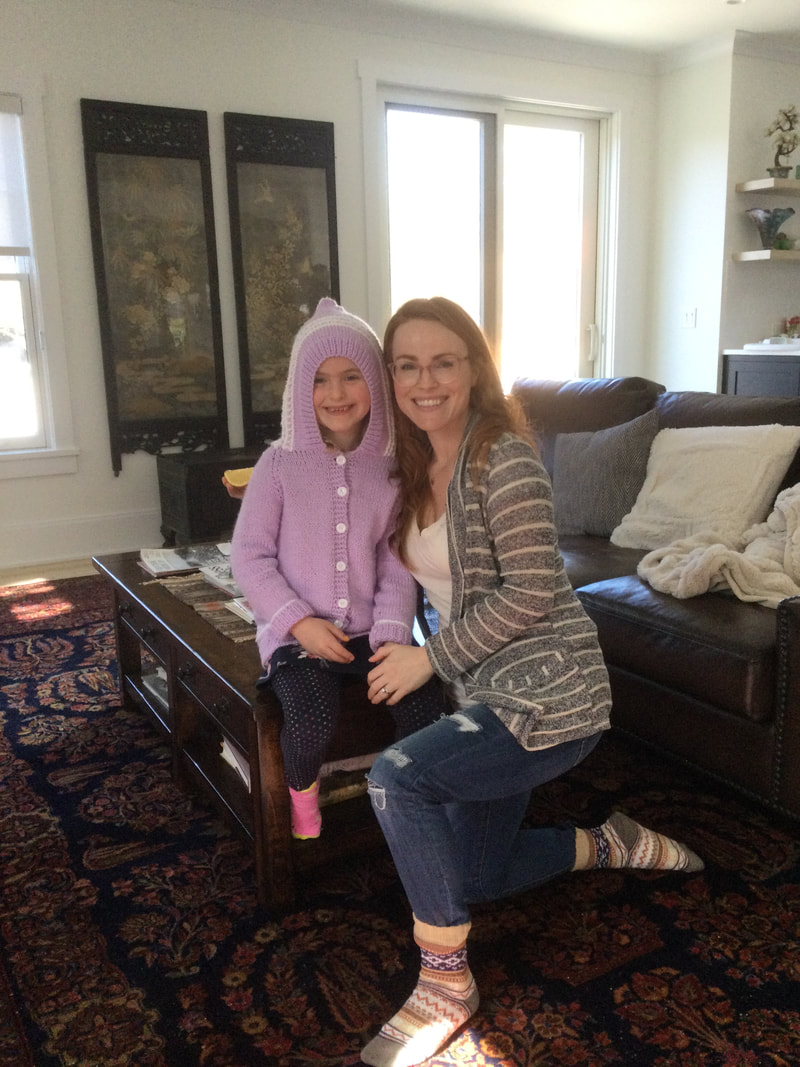
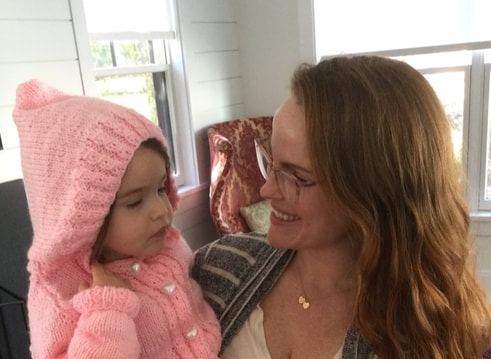
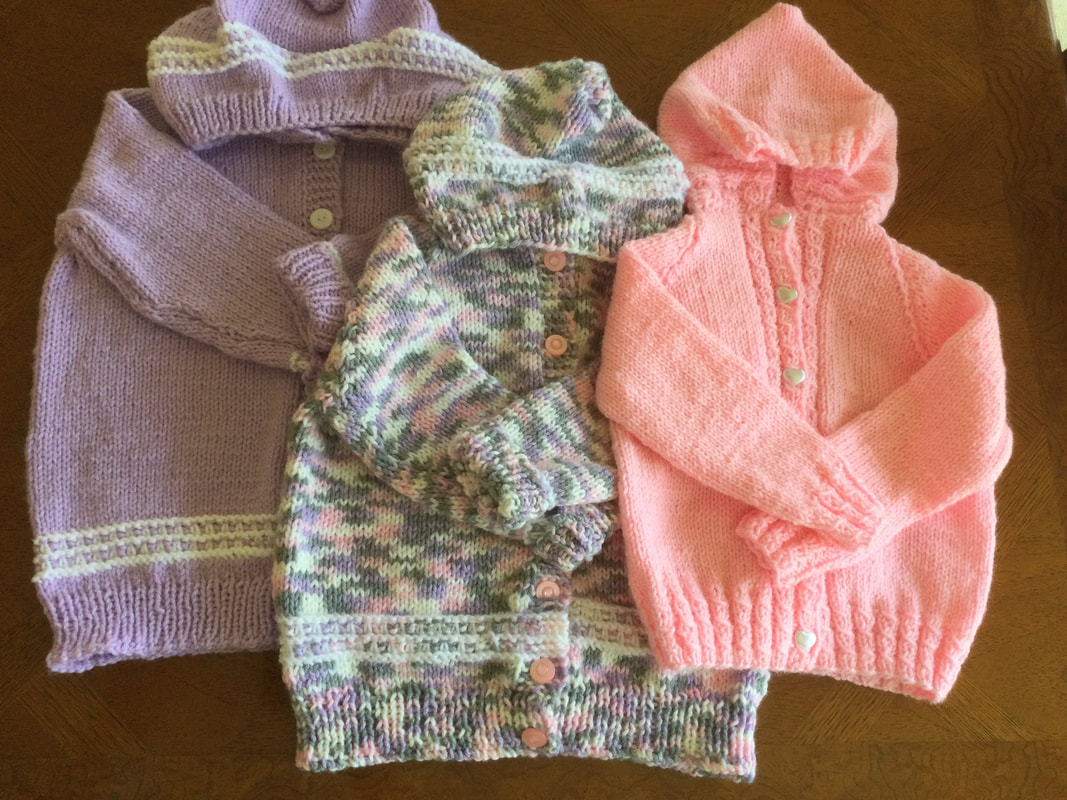
Pink and purple are my granddaughters' favorite colors, and now after months of separation, I was able to hand over their hoodies in person. Now that my husband and I are vaccinated, we could deliver hugs along with these comfortable, squeezable sweaters. We have been fortunate to have been able to include our Connecticut granddaughter as part of our Covid Bubble throughout this trying year. We eagerly await a reunion of all three girls and our families in the coming months. The instructions for both styles can be found in Knit Hoodies for Kids by Jeannine LaRoche, published by Leisure Arts. The book includes 5 designs for patterns in sizes 6 months to 8 years. The camouflage and purple cardigans were in the "Buttoned Cardigan Design," using worsted weight yarn. Needle sizes were 5 for the ribbing and 8 for the sweater body. The solid and the variegated yarn yield dramatically different results with the same pattern. The purple cardigan was made for my 5 1/2 year old girl who is tall for her age. While she usually wears size six, I knitted the sweater in size 8 so that she could wear it into the fall. I knitted the camouflage piece for my petite 4 year old and made it true to size. It is roomy enough wear for many months to come. Besides, when she outgrows this sweater, she can pass it down to her younger cousin for a second life. The book portrays the sweaters in more masculine color camouflage combos of blue tones and the more traditional green and brown. The hooded cardigan style is equally appropriate for boys and girls. Just switch the buttonholes on the front bands. Directions are clear and easy to follow. Difficulty rating is medium. To make the "Buttoned Hooded Cardigan," begin with hood. You will bind off and set this piece aside to attach later to the finished body. The body of the sweater is worked in one piece from the yoke down. When complete, sew the shoulder seams, right sides together. The sleeves are knitted separately. Then sew the side seams. It is easy to fit the sleeves into the prepared armholes. They went in evenly without any bunching or gaps. The next step is to attach the hood. Be sure to start 3 stitches in from the band edge and finish in the same manner. I chose a bubblegum pink for the "Mock Cable Cardigan." The 4 row repeat replaced the typical ribbing at the sweater bottom, on the sleeves, and at the hood opening. In all there were 12 rows. The mock cable also extends from the bottom of the sweater to the neck in two parallel columns. Since there is a small space in the center of each cable, there is no need to make button holes. Just attach 1/2 inch to 5/8 inch buttons at evenly spaced intervals. I used six buttons for a size 3. The pearly hearts were a perfect accent. I found myself in a size quandry when I planned the pink "Mock Cable Sweater." When I had made this sweater previously, I found that it ran on the narrow side. My two year old is starting to grow out of the other 2T sweaters that I have made for her, but I knew that she was not tall enough for the next 4T size. Therefore, I decided to make the following adjustments: I used the 4T size for the chest measurement stitch count. I made the length between the 2T and 4T sizes. Since I find that most patterns have sleeves that are too long, I stuck with the 2T sleeve length. However, I had to be sure to add enough stitch increases so that my decreases for the raglan sleeve would fit into the body. My calculations proved correct. The sweater fits now, and will be roomy enough for the next several months and into the fall. All of my girls were delightful models and were eager to pose for me. I look forward to having them pose together before long. This three sweater project for one blog article has been a big undertaking. Before I contemplate future articles, I need to stick to a single garment or a simpler project to highlight. I want to keep my stream of blogs coming. The maxim "less is more" should be a guiding principle lest I succumb to exhaustion and lose my stitching and blogging mojo.
As always, I appreciate your insights and reflections as you follow me on my stitching journeys.
1 Comment
6/1/2022 08:44:05 pm
Thanks for sharing this useful information! Hope that you will continue with the kind of stuff you are doing.
Reply
Leave a Reply. |
Archives
November 2022
Categories
|


 RSS Feed