|
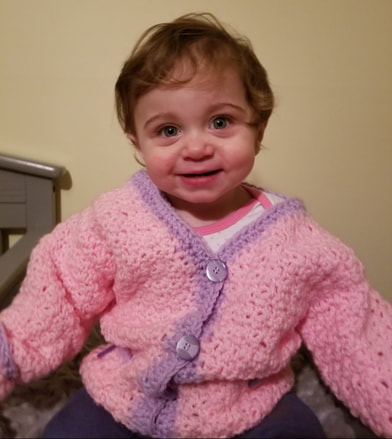
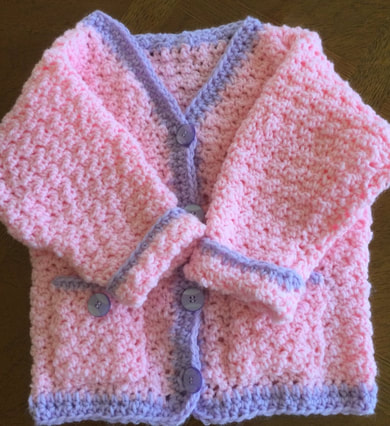
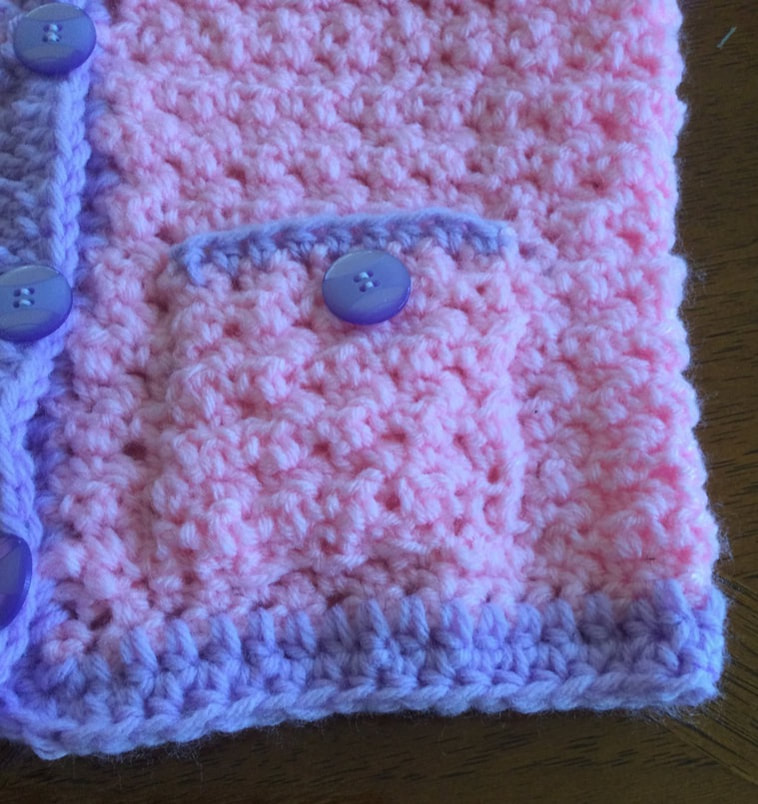
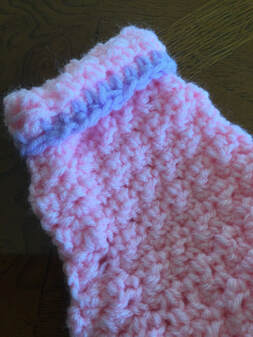
The sweaters in the book were adorable, and the baby models were so huggable. Crochet in a Day for Baby by Candi Jensen, published by Leisure Arts, presents quick and easy projects. I was intrigued by the prospect of producing an attractive piece in such a short a time period. However, as my granddaughters are growing (2, 4, 5 1/2),0 I called a friend's daughter-in-law to make her an offer. I would crochet and gift her a sweater for her little one in exchange for a couple of photos of her toddler wearing the sweater. She understood that I was including the picture in my blog, but readily agreed. Since my daughter had already passed on a few of the sweaters that my granddaughter had outgrown, this delightful mom knew about the quality of the garments first hand, and was happy to accept. I should add that my daughter and the baby's dad had been friends since high school. Their baby is an engaging model, and I am proud to show her wearing my crocheted jacket. Color was simple as I had plenty of a bubblegum pink yarn left over from my knitted hooded cardigan that I had made for my youngest granddaughter. The light purple was a large scrap from her oldest sister's hoodie. Directions for the sweater came in 6, 12, 18, and 24 months. My newest model is just 12 months old. The sweater is roomy, (size 18 months), but I wanted her to be able to wear the sweater for several months. While the directions called for an I hook (5.5mm), I found that the stitch was quite dense, and hard to monitor. The basic stitch is a Double Crochet followed by a Single Crochet in the next stitch. In the next row, we are told to make a Single Crochet above the Double Crochet stitches, and a Double Crochet above the Single Crochet stitches. After several attempts, I moved up to a J hook (6.0mm). The piece was softer and made for better draping on a baby body. The sweater was larger for the same stitch count, and that is why it is even bigger on this little girl. I did not have her exact measurements before I started, and decided to make the larger size. The pattern contains a schematic diagram that helped me picture what the directions tried to tell me. While the written steps were clear, I still needed the extra hint. The sweater was crocheted from the bottom up. The entire body was made in one piece with separation for the armholes. Once complete, I sewed (single crocheted) the armholes together. The sleeves were made separately, and then the side seams were sewn to make a tube. As I had followed the directions carefully, the inserted sleeves fit exactly into the armholes without any gaping spaces. For the trim, I worked two rows of Half Double Crochet from the midback (starting at the neck) down, the front, around the bottom, up the second side, and across to the mid back again. It is important to add a second stitch in the same stitch at the point where the body decreases to the side neck (on left and right front). Otherwise the sweater will curl and not lay flat. You also need to add 3 stitches to the lower front corner on each side. Pretty purple buttons completed the sweater. So how long did I take to complete this baby sweater? Although I worked rather steadily and ignored most of my household tasks, I was sewing the last button at the end of the second day.
Was the project worth my time and materials? I would say "yes". I learned new stitch and construction techniques. Plus, the little girl is a joy to behold in my latest crocheted piece. Many thanks to her mommy for the picture and permission to publish. Please note, Crochet in a Day for a Baby contains 20 designs, including pullovers, vests, hats, booties, and baby blankets. For knitters there is a companion book Knit in a Day for Baby. As always, I welcome your comments, and reflections. Thank you for joining me on my stitching adventures.
0 Comments
Leave a Reply. |
Archives
November 2022
Categories
|


 RSS Feed