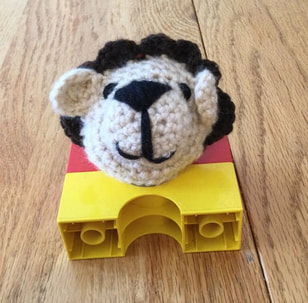
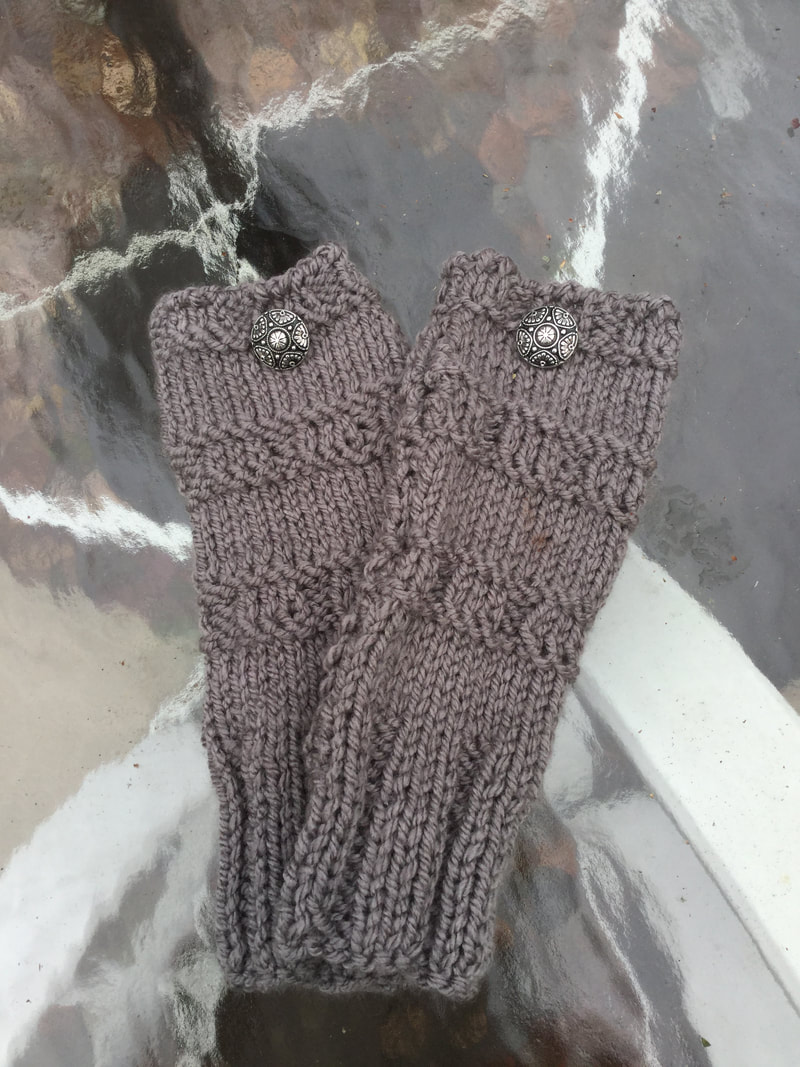
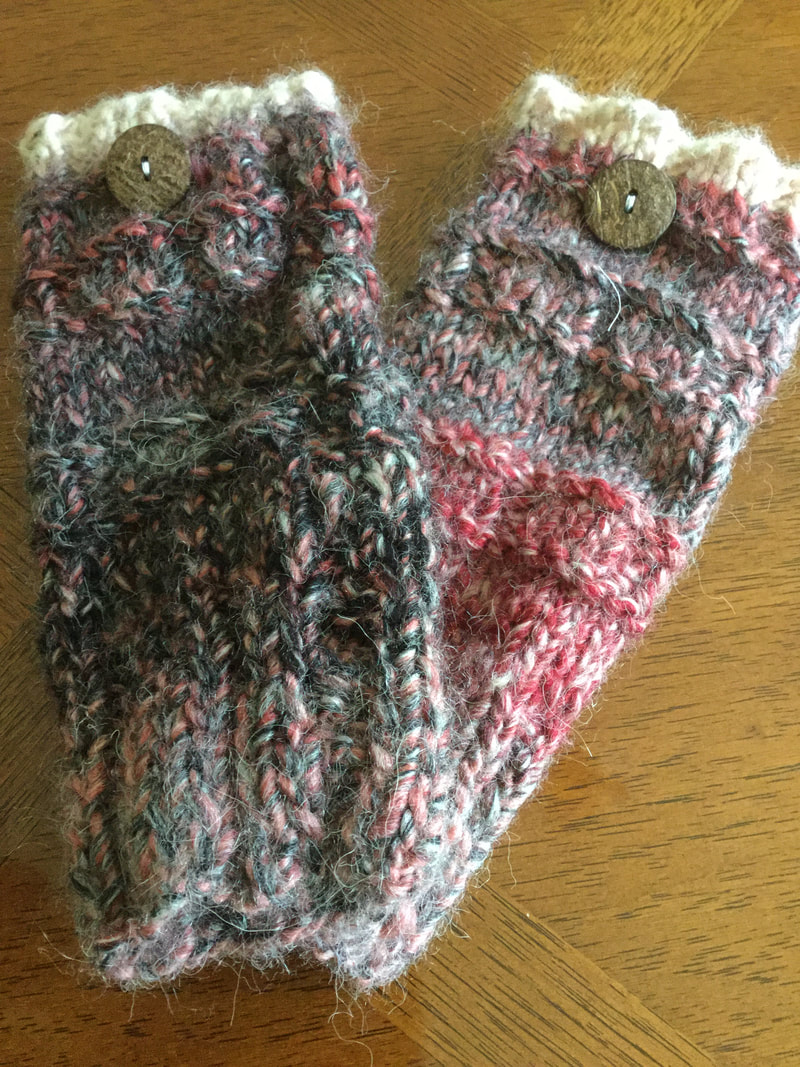
 Writing patterns is a learning process. Designing original pieces and translating the process to written form is part of my journey as a fiber artist for lilcreates. Frequently I start with an idea or image or drawing and work out the details as I go along. There is usually quite a bit of frogging until I get the piece just right. If I make a hat or scarf there is only one piece to work out. However, if I make a pair of gloves, the challenge is to make both gloves the same. The purpose of writing down the pattern is to enable me as a knitter or crocheter to replicate the work consistently. Since I started lilcreates in February, I have presented several free designs. Eventually I hope to take my knitting and crocheting designs to the next level so that my readers and potential customers can follow a set of directions in a perfect pdf with photos and diagrams. However, while I am experimenting and exploring, I decided to make them available for free. Hopefully, I will get useful feedback as I learn to produce a pattern that I would pay for if I chose to purchase a design. In my last knitting post I offered a pattern with a cabled panel at the topic of my rustic fingerless glove. My goal for the next couple of weeks is to create a pdf and register that pattern with Ravelry. In the same article I also introduced a glove knitted in bulky, self striping yarn from Appalachia by Premier Yarns. I did not have time to work on the pattern before my publishing date, but I thought it would be better to take more time to work out some of the kinks in the directions. The first glove was lovely, and I hope to repeat the project for sale, for gifts, or for my own personal wardrobe. As I wrote out the pattern, I wanted to show off the specific elements so that my readers could see what I was talking about. These gloves used a solid color in Chunky Dove by Big Twist Yarns. The fiber is soft and smooth and lends itself to revealing the stitch pattern and design. Another change I made in this project was to reduce the number of cast on stitches from 30 to 28 to make a slightly narrower glove.
Bulky Fingerless Gloves (Make 2 flat pieces that will be stitched to form the gloves.) Dimensions: 9" long 7" circumference Materials: 1 skein of bulky yarn (#5) I used Chunky Dove by Premier Yarns 1 pair #10 knitting needles 1 pair #9 knitting needles optional: 1pair#8 knitting needles 1 tapestry needle 1 scissors Directions: Cuff: Cast on 28 stitches . Use #9 needle. Knit 20 rows in pattern. Row 1: Knit 3, Purl 2 to end of row, ending in Knit 3. Row 2: Purl 3, Knit 2 to end of row, ending in Purl 3. 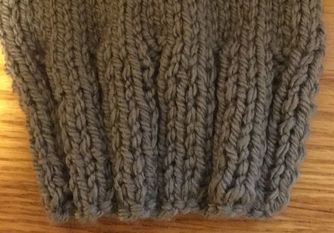 Hand: Change to # 10 needle Rows 1-7: Knit Stockinnette for 7 rows, ending with knit row. Row 8: With Purl side facing you, Knit 1 row. Row 9: Knit 3, Purl 2 to end of row, ending in Knit 3. Row 10: Purl 3, Knit 2 to end of row, ending in Purl 3. Row 11: Knit 3, Purl 2 to end of row, ending in Knit 3. Row 12: With Purl side facing, Knit 1 row. Row 13-19 Knit stockinette for 7 rows, ending with a knit row. 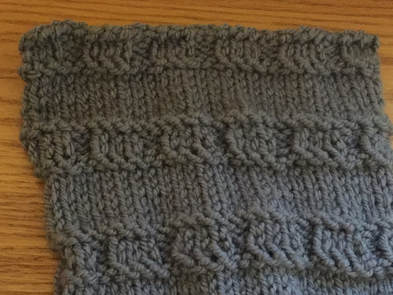 Rows 20-31: Repeat Rows 8-19. Rows 32 - 38: Knit stockinette for 7 rows. Row 39: With purl side facing you , knit 1 row. Upper Cuff Change to # 9 needle. (for those who like a tighter upper cuff, use a # 8 knitting needle for these 3 rows and bind off.) Row 40: Knit 3, Purl 2 to end of row, ending in Knit 3. Row 41: Purl 3, Knit 2 to end of row, ending in Purl 3. Row 42: Knit 3, Purl 2 to end of row, ending in Knit 3. Bind off in pattern. Leave a tail long enough to sew down or crochet finishing seam.   Construction: Fold glove in half lengthwise so that the wrong side faces out. From the top of glove, use a whip stitch or mattress stitch for 3/4 inch to begin finishing seam. Make sure to match stitching rows of pattern. Stop at this point and whip stitch only one side of glove for thumb hole for 1 1/2 inches. Match pattern sides and resume stitching both sides to bottom. Weave in ends from the cast on yarn and stitching yarn. When the glove is folded in half for the stitching the piece appears to be very narrow. However, the pattern and yarn are very stretchy. The glove easily fits an average to slightly above average hand. Turn glove right side out. Place gloves on flat surface so that the thumb holes face one another. Select a coordinating button and sew in place on middle pattern rows. Moisten and block gloves. Lay on towel to dry. Please note that if you prefer the wider glove, add 2 stitches to the cast on.. Your lower and upper cuffs will then end with Purl 2 in Row 1 and Knit 2 in Row 2 of the pattern as you knit through the rows of the glove. Last night I thought about my large stash of worsted weight wool. How could I use this bulky (#5)weight yarn pattern to work with worsted (#4)? Knitters who prefer to work with worsted yarn can use the basic design by casting on 37 stitches. The the pattern design starts with k2, p3 and continues to end with k2. Row 2 starts with p2, k3 and continues to end with p2. I hope you enjoy this pattern. Please give me constructive feedback so that I can make any adjustments. Was there any part that you did not understand? When you followed the pattern did your work look like the photos? Do you have any suggestions for improvements in the design or in the instructions. 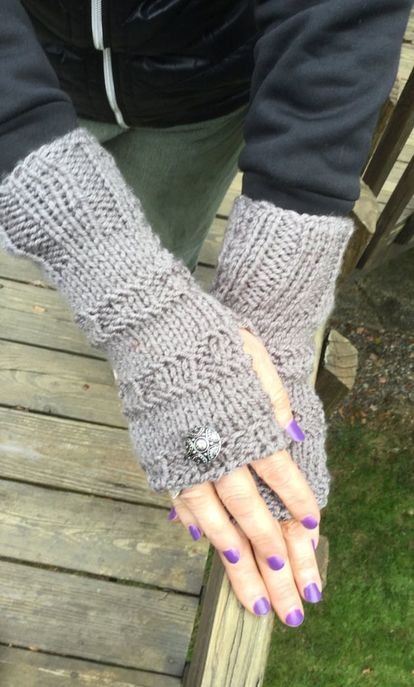 
4 Comments
9/5/2018 09:44:50 am
Very nice post, I certainly love this website, keep on it. :) 5/20/2020 02:30:16 am
I truly value the sort of subjects you post here. If you love pets, let visit game to create a wonderful pet
Monique
6/25/2021 09:24:10 am
I am glad you enjoyed my article. You helped me as well by reminding me to go back to a project I loved. Leave a Reply. |
Archives
November 2022
Categories
|

 RSS Feed