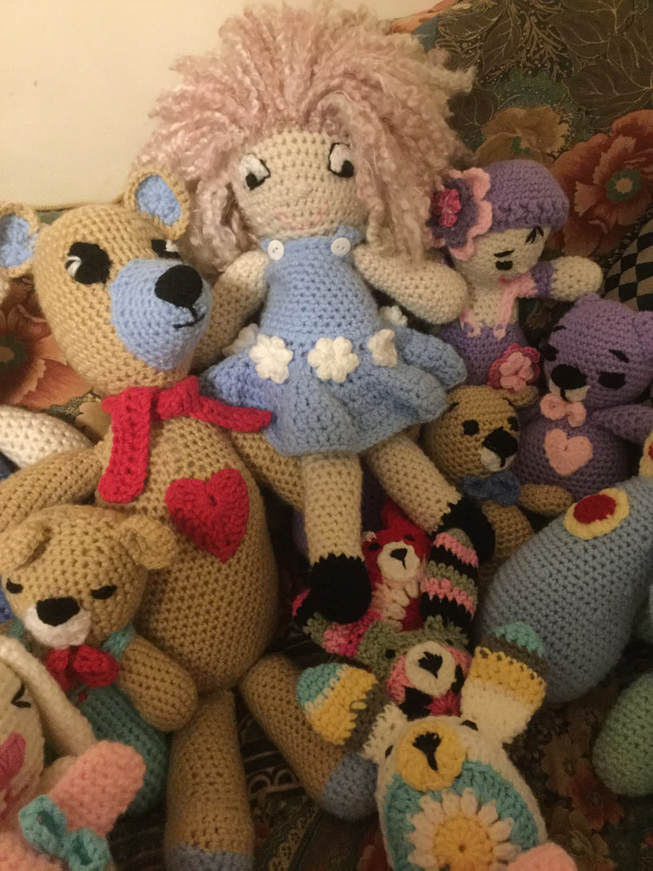
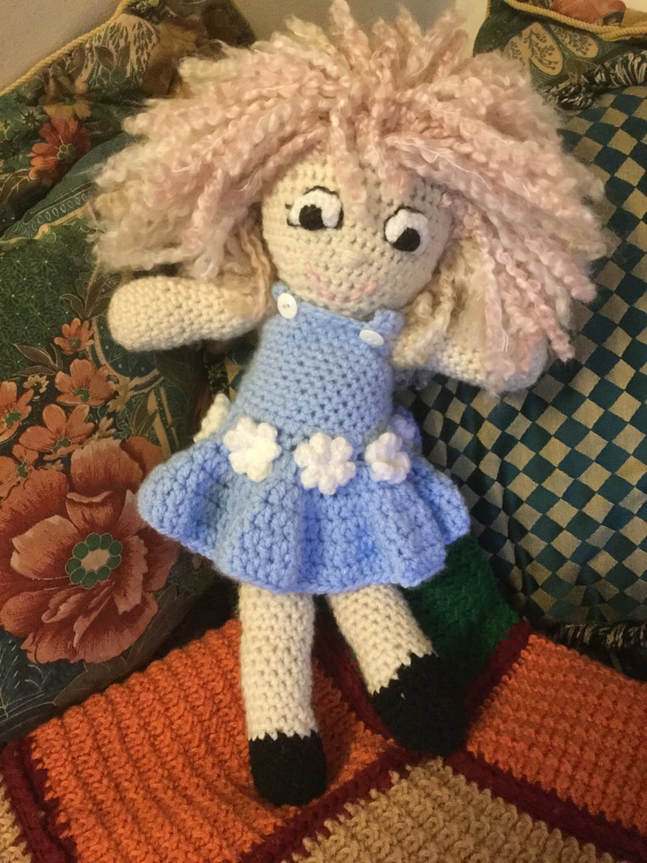
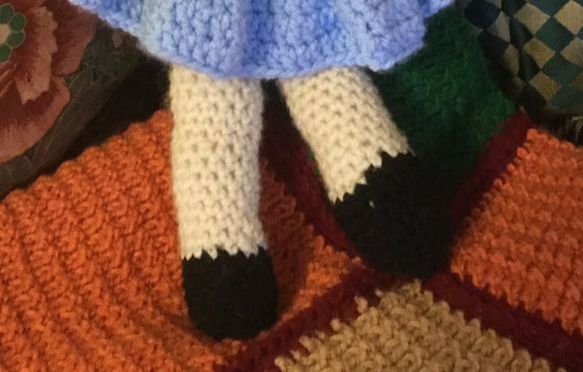
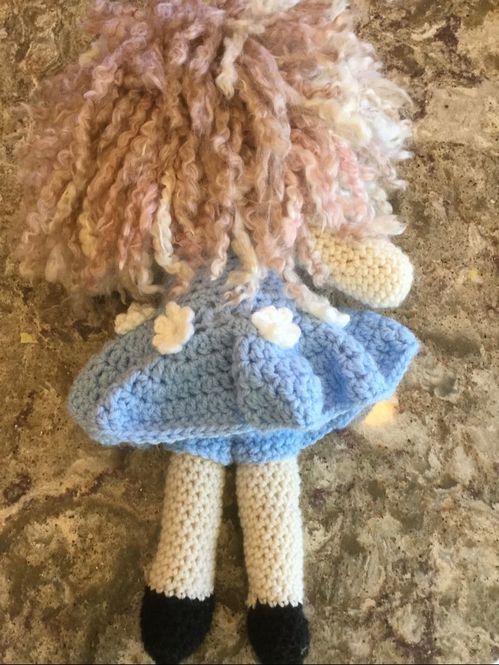
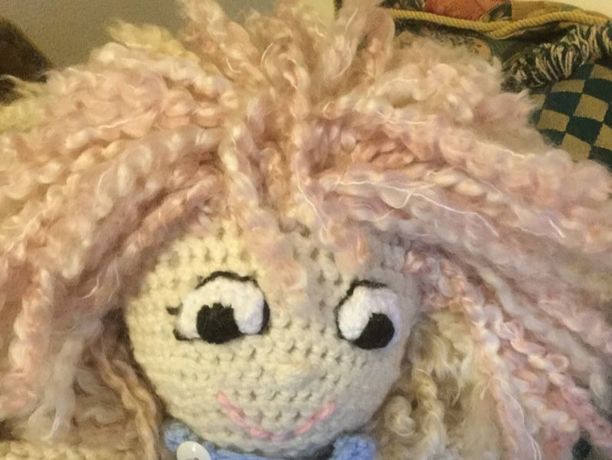
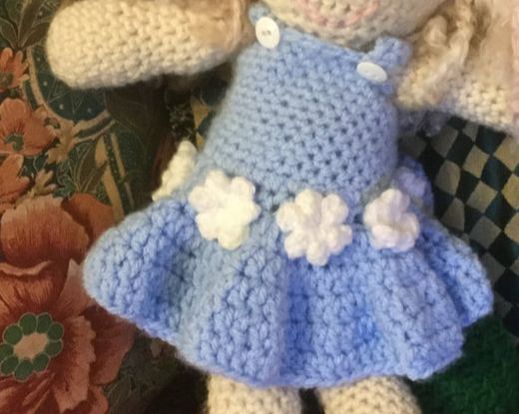
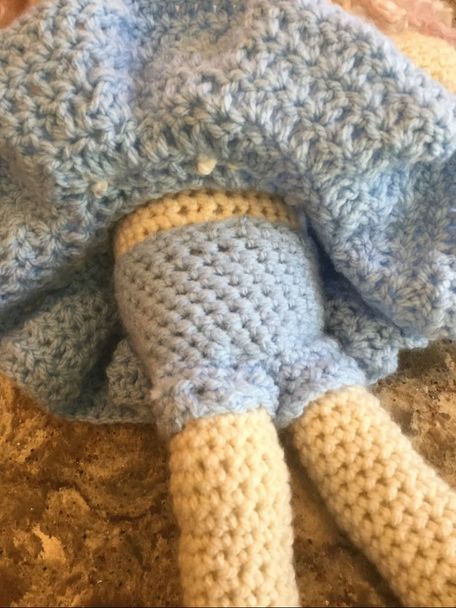
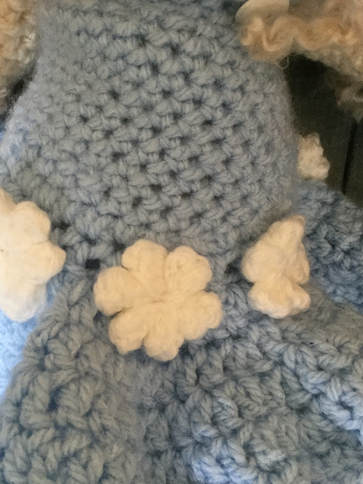
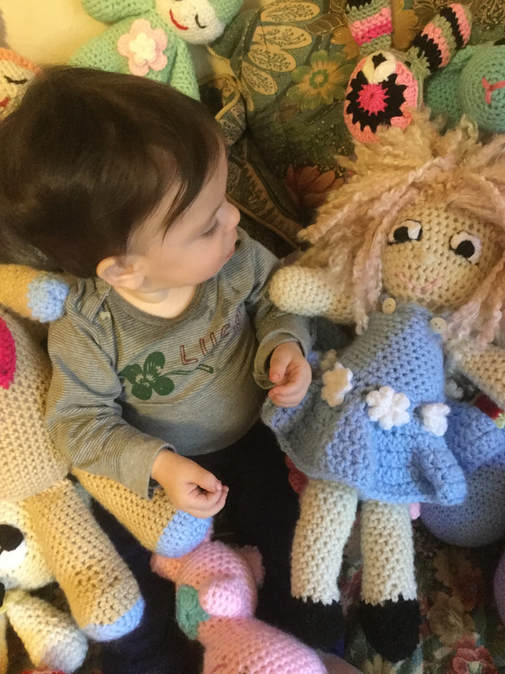
 What I love best about my new ANNA doll is her hair. Her mop-like thick locks of beige, bone, and pink curly strands were crocheted from the remnants of a shawl made from Lion brand Homespun. There is nothing like it to get those curly ringlets. As I designed and constructed this cutie, I did not follow any specific pattern, The doll head and body were similar to many of the various doll patterns that I found on the internet. The finished doll is 17 inches from head to toe. Her hair may make her appear taller. I used a heavier worsted to get a larger doll as I crocheted with a 4.5 mm G hook. The head and body were one piece. The arms and legs followed guidelines for many dolls. However, I had to add stitches and rows to get limbs that were in proportion to the head and body. I started with the head using standard directions for increasing to make a circle up to 48 stitches in circumference. It is helpful to pull a contrasting piece of yarn through on each beginning stitch so that you do not lose count. and keep coming back to the correct first stitch.The head for this doll is slightly larger in proportion to the body. Once I reached the desired number of stitches, I continued for several rows before decreasing. Again I used the standard decrease.until I reached 12 stitches. I wanted a neck that would stay firm when stuffed. I stuffed the head and repeated the 12 stitch count for the neck before I started the body, Both head and body are done in a continuous spiral without a specific join. The body is 36 stitches at its widest part. I crocheted approximately 20 rows before starting to decrease for the bottom of the body. The torso is approximately 6 1/2 inches long. Make two legs. Crochet the bottom part of the leg in black or other color desired to make the shoe. Start with a magic circle and crochet 6 stitches for row one. Single crochet 2 stitches in each stitch to get 12 stitches in row 2. In row 3 SC in first stitch. Then make 2 SC in the next stitch. Repeat pattern a total of 6 times to get 18 stitches. In row 4-6, continue with SC. Row 7 is a decrease row. Sc in first 2 stitches, SC 2stiches together 5 times for 15 stitches. Crochet one more row in dark shoe color. Change to body and face color for the rest of the leg. When changing color, leave 2 loops of the dark shoe color before slipping lighter leg color through the loops .Continue around for a total of 22 rows. Stuff the shoe and moderately up the leg. Do not stuff the top too tightly so that you can sew the leg closed easily. When you stitch the leg to the base of the doll,the doll should be able to sit. Make two arms. Begin with skin tone that you used for the head and body. You will not be changing color. Follow the same stitch pattern. I crocheted about 18 rows in total so that the tips of the hands reached the bottom of the torso. Again I went easy on the stuffing at the top of the arm so that the arm would lie flat when attached. Designers frequently suggest that the crochet make a cap in the same color as the doll's hair so that the scalp does not show through. In the case of my dolly the yarn was thick and had many strands similar in shade to the head of the doll. In stead of a cap, I stitched around the back of the doll's head and up across the forehead. Since I had many 12 inch strands from the shawl fringe, I cut them in half and used the 6 inch strand to make the hair. I folded the strand in half over the hook and inserted the hook into the doll's head before pulling the strands through the loop. I started at the back of the neck and worked alternating sides until I completed a row. As I got closer to the front hairline, I was relieved to see that I would have enough for the full head of hair. This doll was an experiment, and so I was really playing yarn chicken. In the back, the hair reached down to the bottom of the back. The rest of the hair layered beautifully for a glamorous punk rock look. If you go the friendly fox.com, the free mermaid pattern offers a tutorial for crocheting hair onto a doll. I tried on many faces before I settled on one that portrayed the doll's perky punk personality. This face was the third try. I was challenged to make the eyes right. The first pair were blue and black, but they were too small. The second pair were white and black , but they were too wide set. This pair was the best of the lot. Even though I am not entirely satisfied, I will try to perfect my skill in future dolls. This was the hardest design part of the doll. I know that it would be easier to use safety eyes, which would look more like a real little girl. However, the crocheted eyes are probably better for toddlers. Dollies must have clothes. Again, i worked without a pattern, crocheting the dress right on the doll. I crocheted a chain around the lower middle of the doll. After joining the chain, worked in SC around the ring. In the second row of the skirt, I double crocheted in each SC stitch. At the end of the circle, I joined the circle. and chained three. In the next stitch I made 2 DC. I made one DC in the next stitch and 2 DC in the following one, repeating the sequence around the skirt. Row 3 called for 2DC and then 2 DC in the next stitch all around the skirt. Row 4 Called for 3 DC and then 2 DC in the next stitch all around. Row 5 called for 4 DC and then 2 DC in the next stitch all around.. Then I fastened off and wove in my end. I slipped the skirt up the doll's legs so that the hem rested nicely a few rows from the top of the legs. This time I was working on the torso of the dress.I used SC in each stitch for several rows. When the doll's torso narrowed, I made one decrease on each side so that the dress fitted to the form of the doll. I kept the stitch count constant until I had to decrease one more time. A couple of rows below the neck I made a chain that crossed over the shoulder to the back of the doll.I SC into the back of the dress and then along the chain to anchor the strap. Then I repeated the procedure on the other side. The doll definitely needed panties, and again I crocheted them right on the doll. I crocheted a ring one stitch larger than the circumference of the leg and single crocheted for 3 rows before fastening off. I followed the same procedure for the second leg, but I did not fasten off. I joined the two rings and crocheted around for about 2 inches until the piece looked like a pair of panties. I fastened off and began sewing the panties onto the the doll so that they would stay put. The last bit was the floral decoration for the dress, I made a series of tiny blossoms and attached them to dress where the lowered torso met the skirt. I like that look better than a skirt that dropped from the waist. After 2 and1/2days my doll was finished and ready for her new home. Although the materials were not expensive, the labor involved in making my sweet dolly was considerable. Aside from my emotional attachment to the doll, there was no way I could price her with over 24 hours of crocheting and embroidery. Of course, my granddaughter will be waiting with open arms. ANNA is a little big for her now.
By the way I used to make dolls for her mother. At that time I sewed them on my sewing machine. Now crochet is my passion.
3 Comments
Evelyn
7/28/2018 08:08:31 am
This is a lovely pattern. I have two teen daughters so eventually I see myself having grandchildren for whom I will be making dolls. I love this pattern. Is there a way you could email me the pattern so I can use it in the years to come.
Reply
Evelyn
6/25/2021 09:56:01 am
In going over my old comments I found yours. Please read blog article for directions. I do not have a specific pattern. Good luck.
Reply
Leave a Reply. |
Archives
November 2022
Categories
|




 RSS Feed